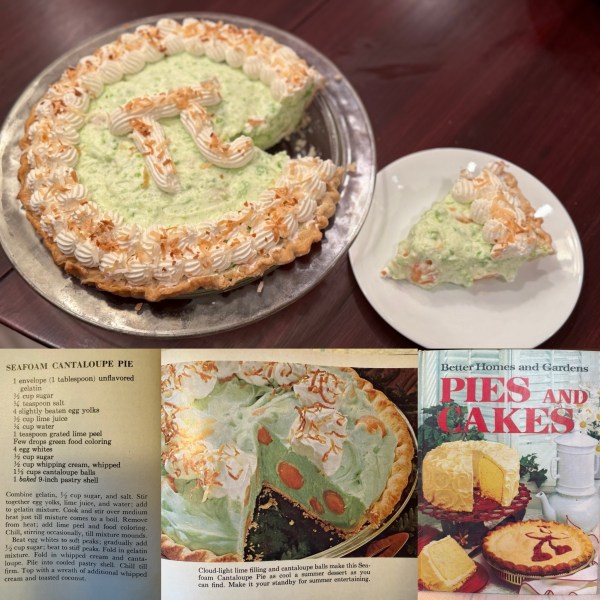
A Recipe from Better Homes and Gardens Pies and Cakes (1966)
About the Recipe
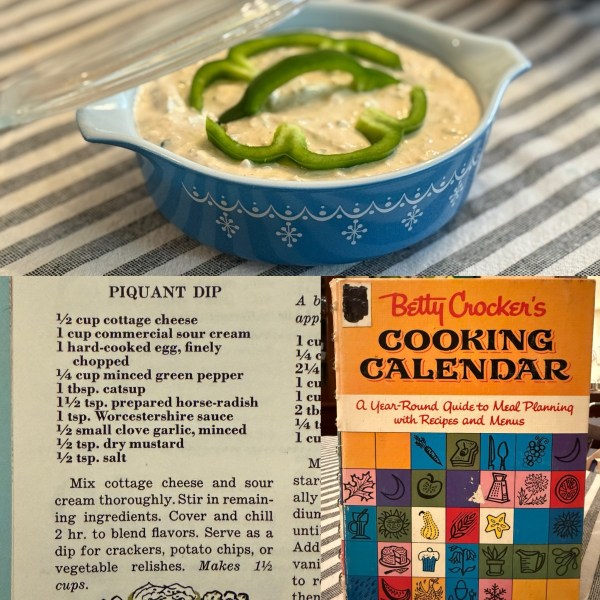
It’s Pi(e) Day 2026! I just got this cookbook a few weeks ago, and I’ve been waiting for Pi(e) Day to use it. I was paging through and I saw this light green mid-century nonsense. As a joke, I snapped a photo and sent it to my brother who usually joins me for the holiday. His response: “That’s some 50s house wife bullsh*t if I ever saw it…But yes.” And so it was!
I’m slightly annoyed because I screwed it up. Learn from my mistake – watch your filling once you put it in to fridge and make sure you fold it in before it sets into jell-o. Oops.
Other than that, this was actually really delicious. It’s a chiffon pie, so super light and fluffy. The lime with the coconut is fabulous. It’s perfect for a summer party as a chilled dessert. I honestly can’t wait to make it again.
For more Pi(e) Day recipes, click here!
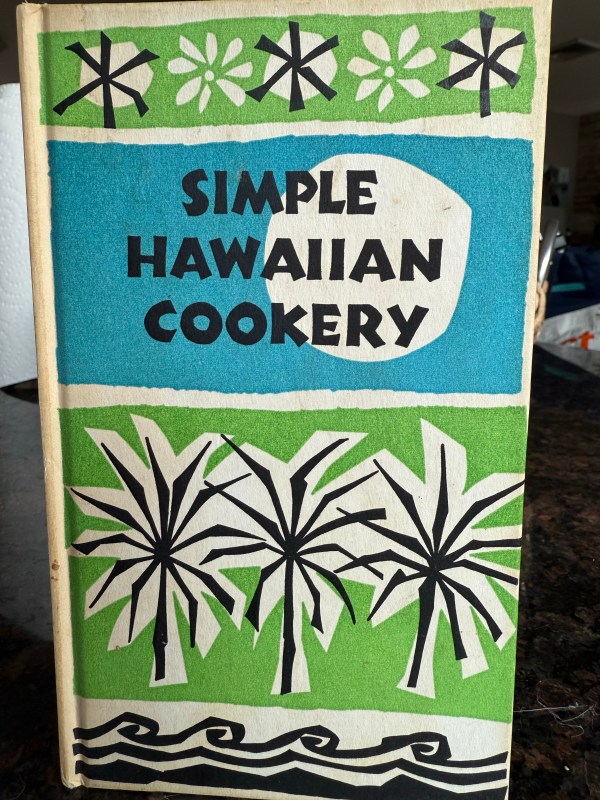
About the book
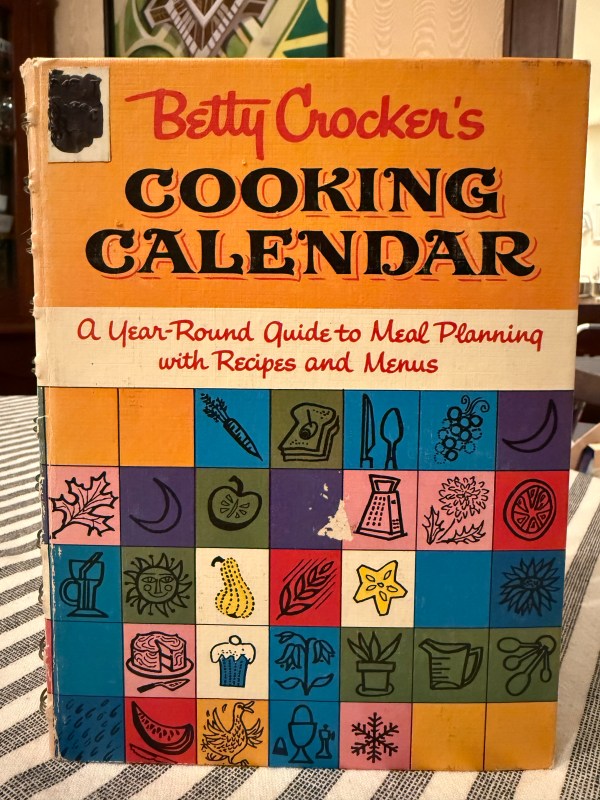
I was so excited to have this book in my collection. Pies and Cakes are my favorite, and having this resource at hand just sparks so much joy. As always with BHG, the tips and tricks are as wonderful as the recipes. Enjoy!
The Recipe!
Ingredients:
1 envelope (1 tablespoon) unflavored gelatin
1/2 cup sugar
1/4 t salt
4 slightly beaten egg yolks
1/2 cup lime juice
1/4 cup water
1 t grated lime peel
Few drops green food coloring
4 egg whites
1/2 cup sugar
1/2 cup whipping cream, whipped
1 1/2 cups cantaloupe balls
1 baked 9-inch pastry shell
additional whipped cream
toasted coconut
Directions:
Combine gelatin, 1/2 cup sugar, and salt. Stir together egg yolks, lime juice, and water; add to gelatin mixture. Cook and stir over medium heat just till mixture comes to a boil. Remove from heat; add lime peel and food coloring. Chill, stirring occasionally, till mixture mounds. (Note from author: Do not let it set! You want that magic period where its starting to set and forming little mounds, but still fairly liquid.)
Beat egg whites to soft peaks; gradually add 1/2 cup sugar; beat to stiff peaks. Fold in gelatin mixture. Fold in whipped cream and cantaloupe. Pile into cooled pastry shell. Chill till firm. Top with a wreath of additional whipped cream and toasted coconut.