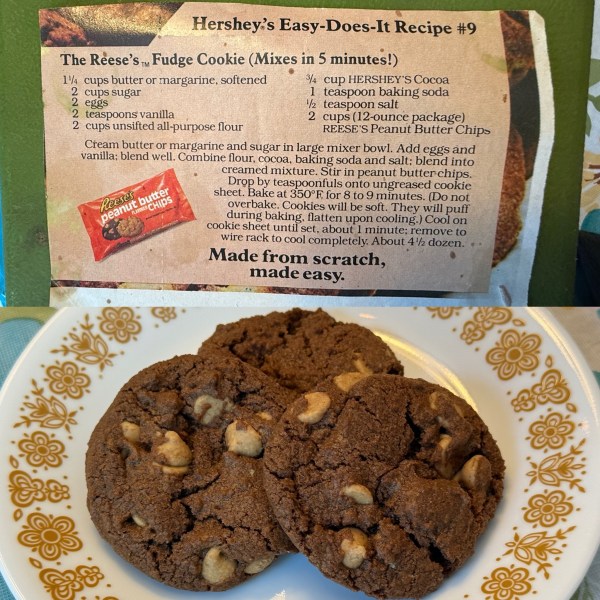
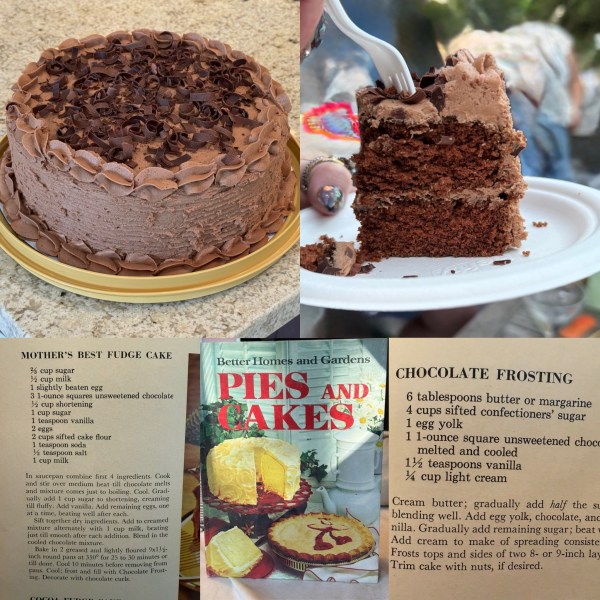
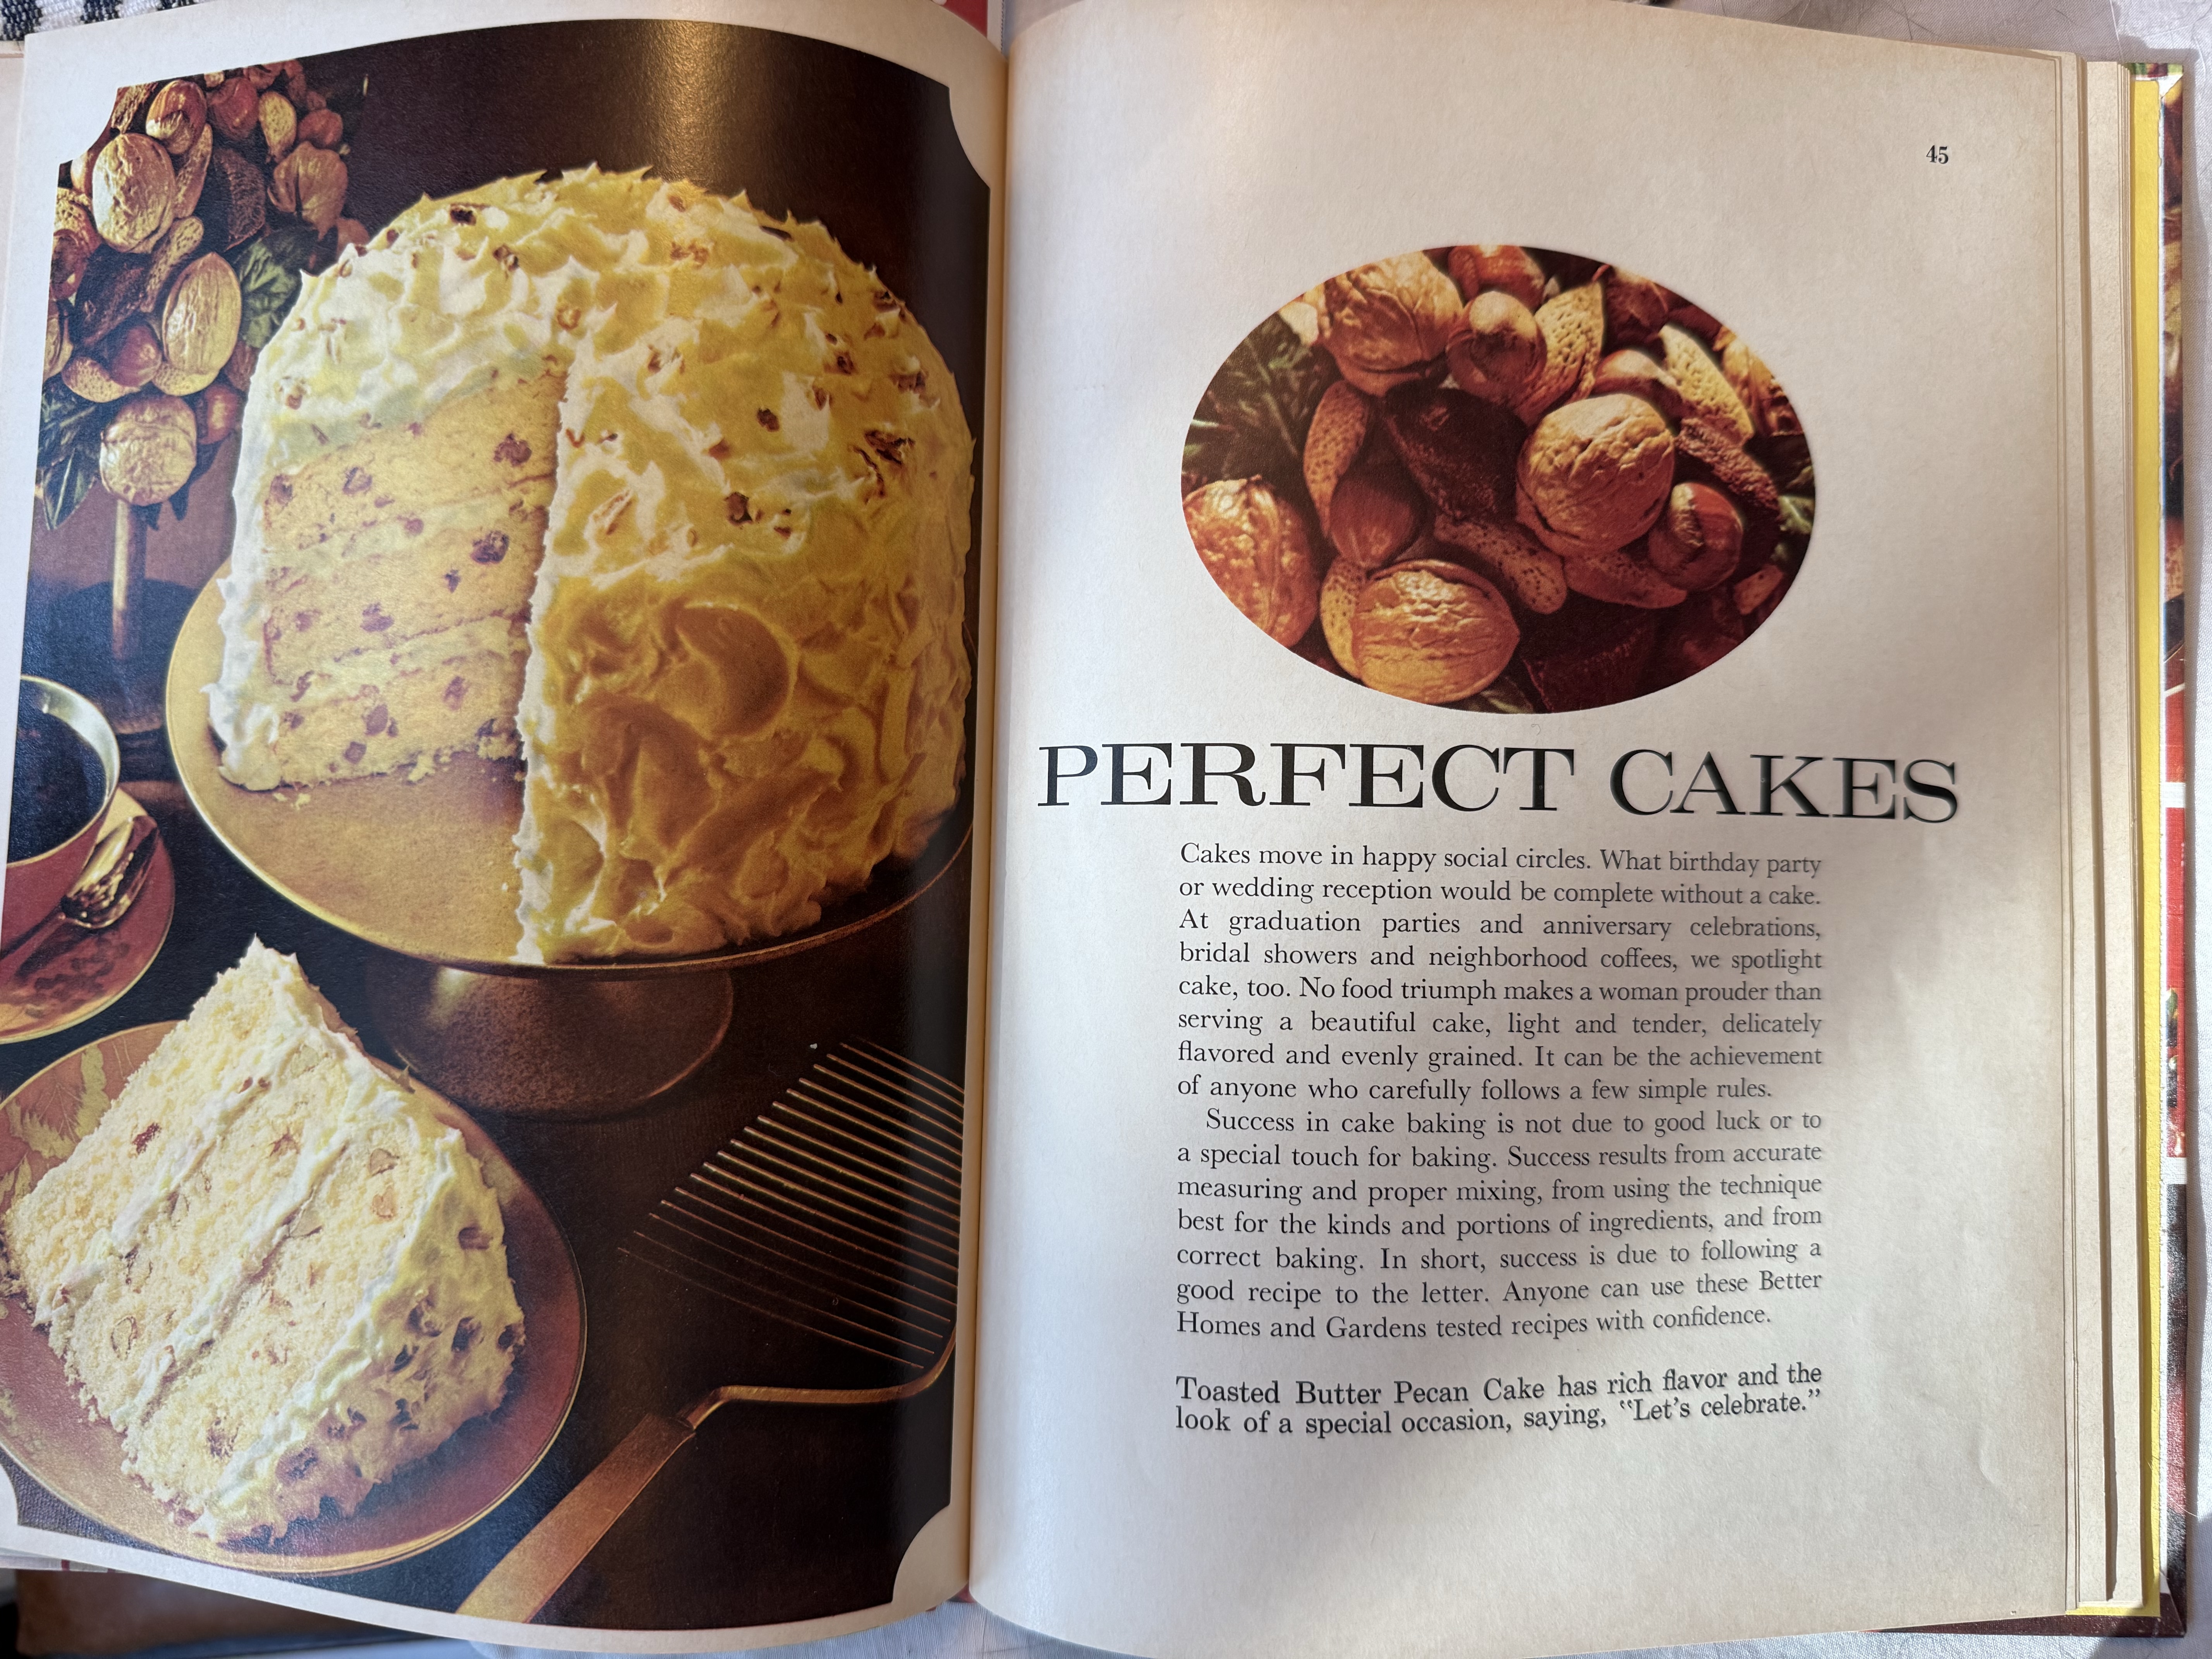
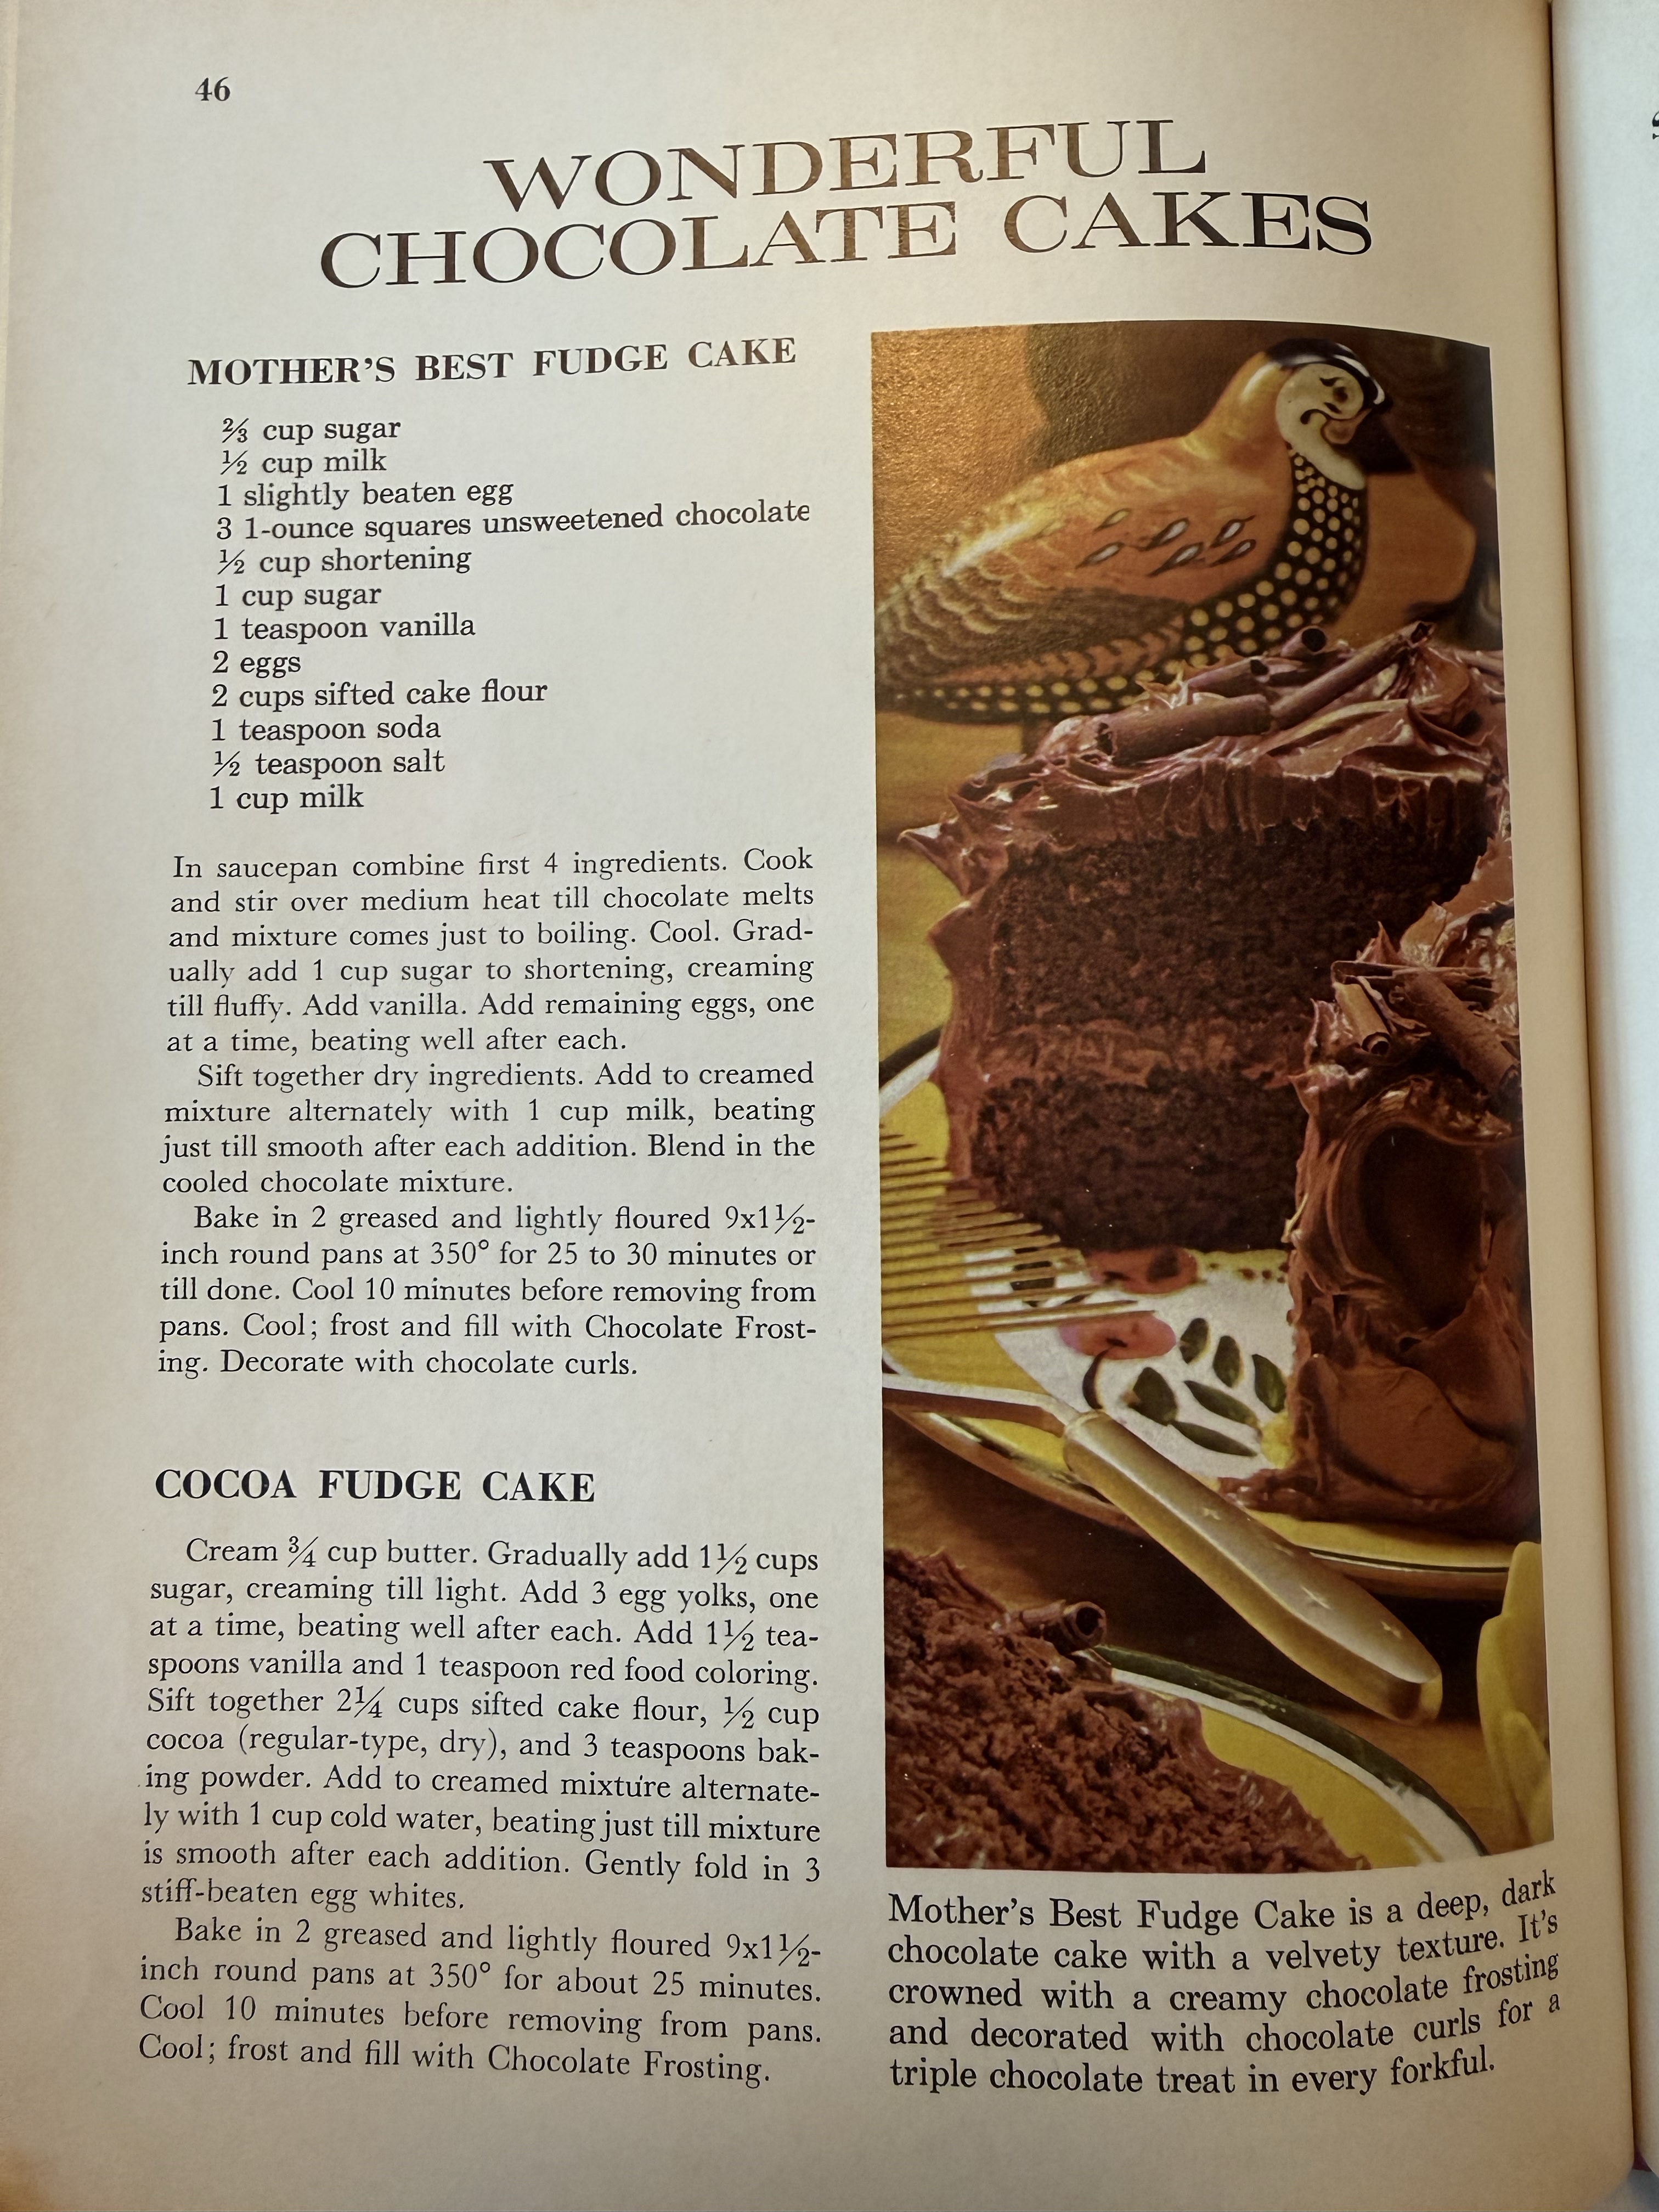
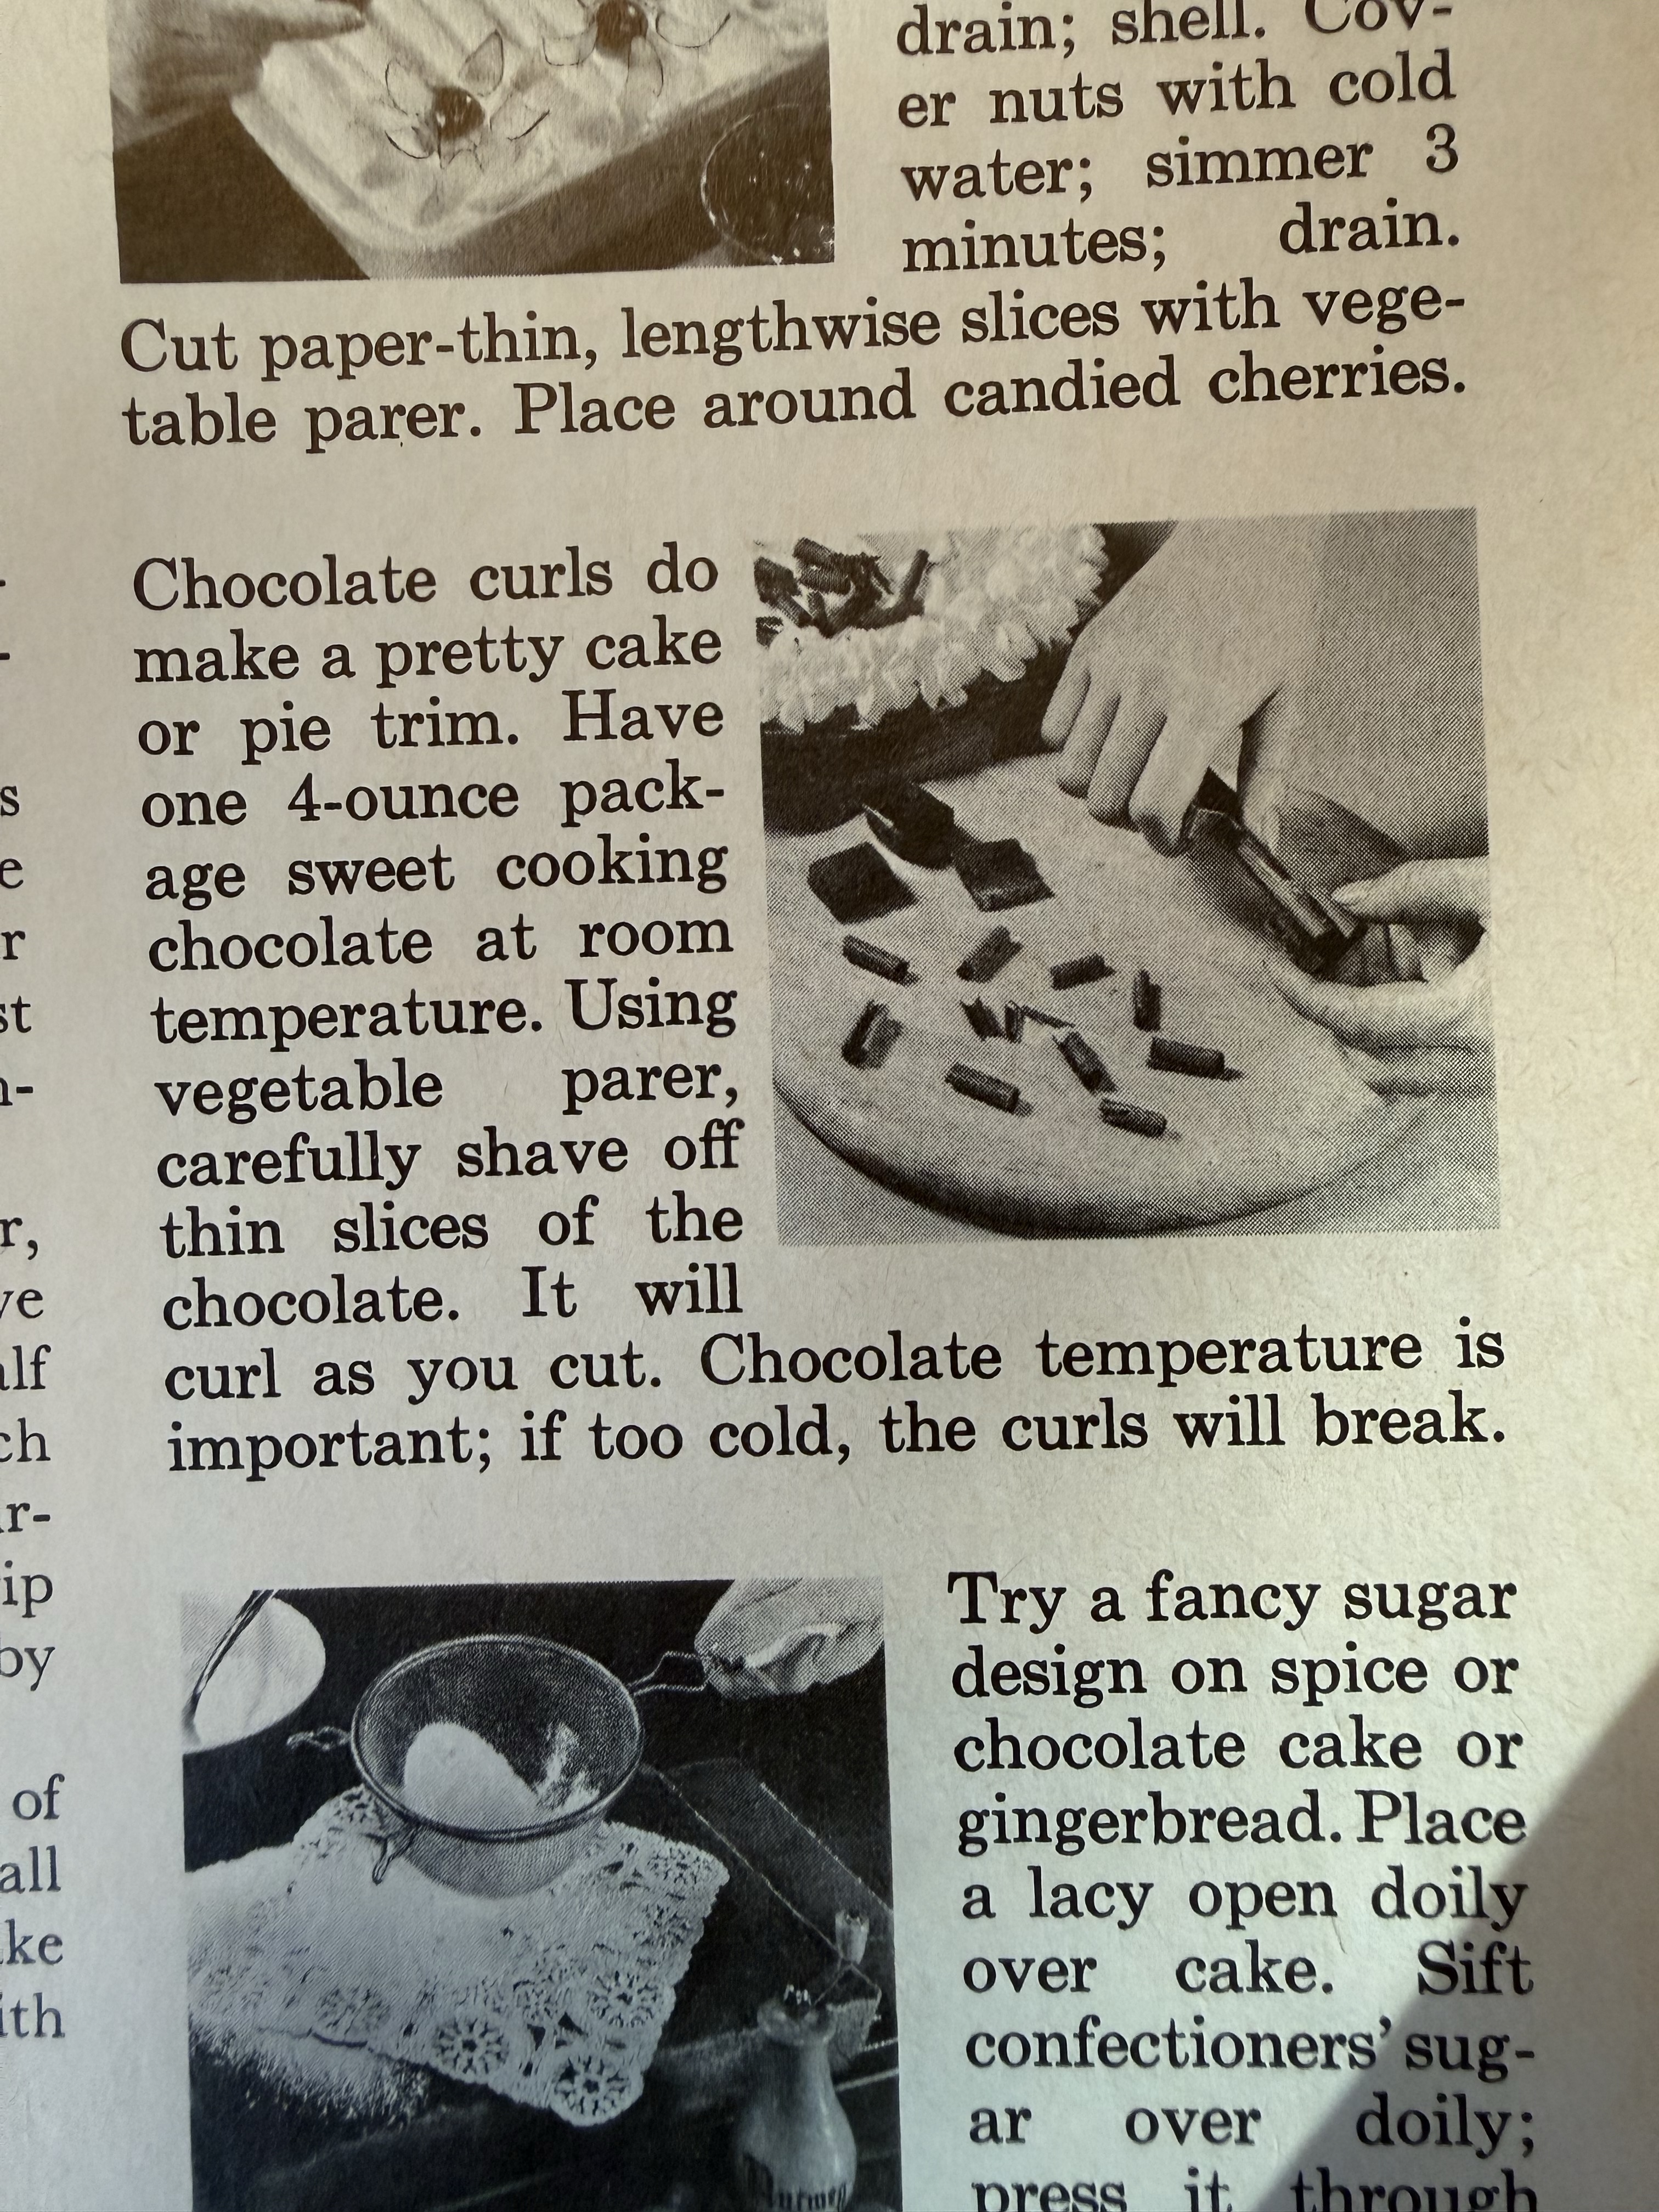
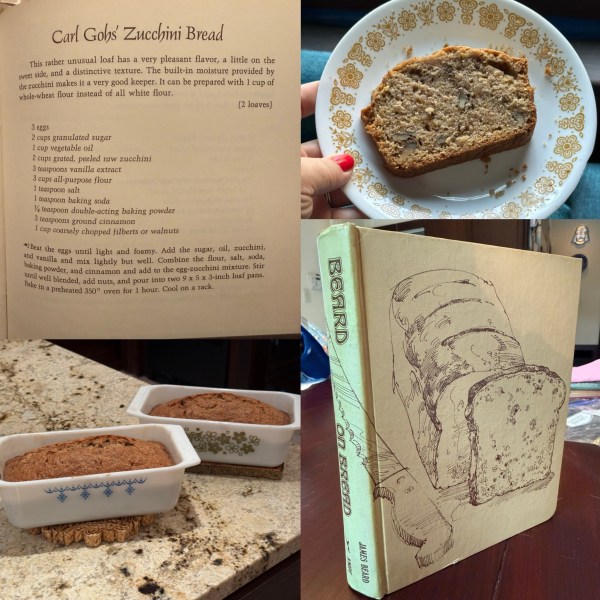
Zucchini is in season! Summer squash season is one of my favorites. So when I was in the mood to bake something, how lucky that I had some fresh zucchini to make these delightful loaves with.
I honestly don’t have much to say or change on this recipe. I used chopped walnuts, but any nut will do. I also think this would be spectacular with some chocolate chips or dark chocolate chunks.
Pro tip: A slice of the bread heated up slightly, topped with a scoop of ice cream – pure heaven. Enjoy!
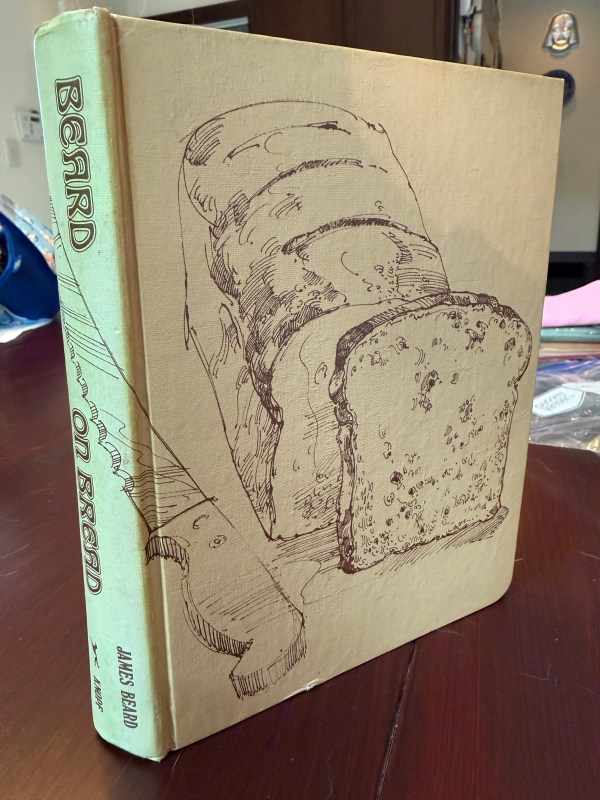
About the book
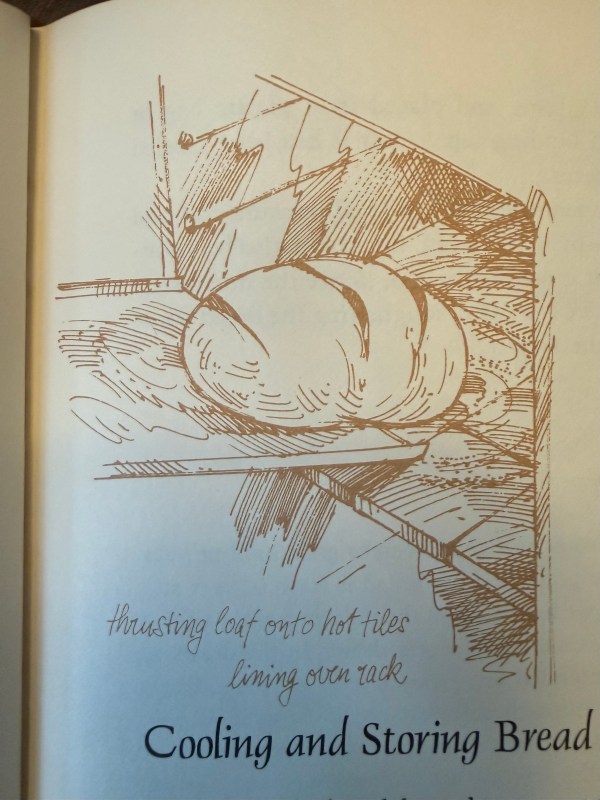
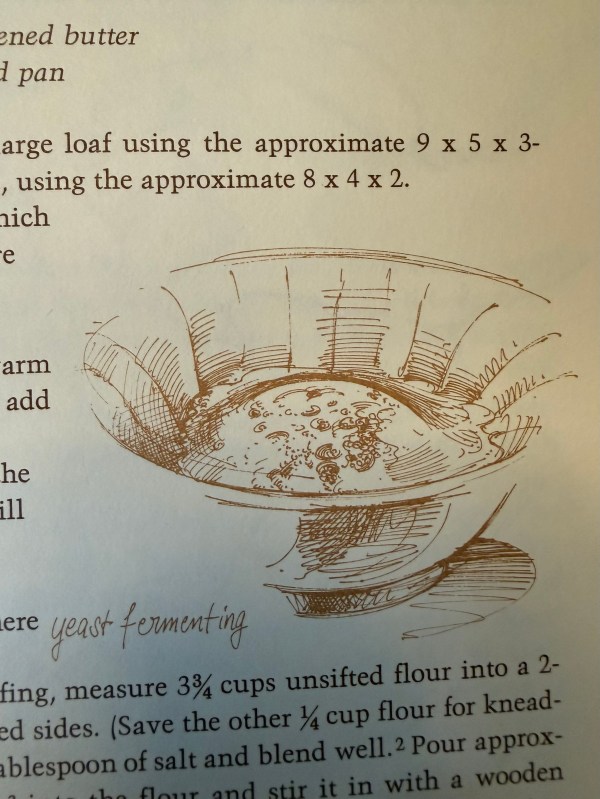
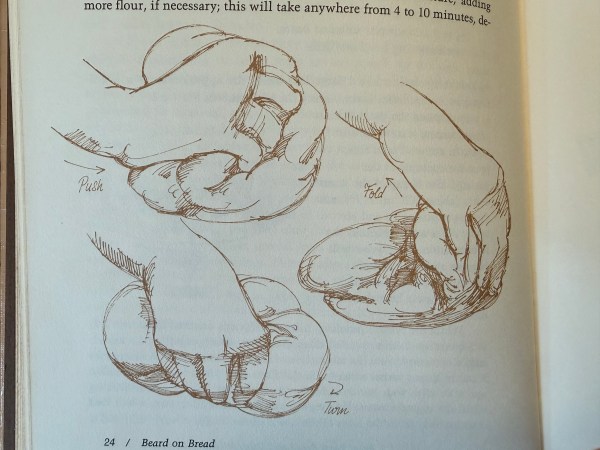
This book is truly one of the bibles of baking. I was lucky enough to stumble on a first edition, first printing. The recipes are classics. It includes little illustrations to show you how to manage each recipe just so. It’s perfect for any beginner baker or experienced chef.
The Recipe!
Ingredients:
3 eggs 2 cups granulated sugar 1 cup vegetable oil 2 cups grated, peeled raw zucchini 3 t vanilla extract 3 cups all-purpose flour 1 t salt 1 t baking soda 1/4 t double-acting baking powder 3 t ground cinnamon 1 cup coarsely chopped filberts or walnuts
Directions:
Beat the eggs until light and foamy. Add the sugar, oil, zucchini, and vanilla and mix lightly but well. Combine the flour, salt, soda, baking powder, and cinnamon and add to the egg-zucchini mixture. Stir well until blended, add nuts, and pour into two 9 x 5 x 3-inch loaf pans. Bake in a preheated 350* oven for 1 hour. Cool on a rack.
This year’s July 4th weekend also happened to be the 10th anniversary of our beautiful house in High Falls, NY. We had a few friends over to hang out and barbecue. Clearly a festive dessert was in order. With blueberries in season, this looked to be the perfect fit.
This pie definitely takes a bit of time to make with more than a few steps to get there. But oh wow was it ever worth it! A few tips and tricks to get you to the finish line:
I used a butter pie crust recipe that my grandma passed down to me for this one. If you decide to make your own, don’t forget to refrigerate it overnight. Especially when you’re blind baking (baking with no pie filling) it makes a massive difference. That said – feel free to use a premade crust. Totally fine, just make sure to roll it out a little bit so it fits the 9-inch pie plate.
I used fresh blueberries instead of frozen without a problem. Just cook them with a tiny bit of water until they start to break down before running through the rest of the recipe.
I added some fresh lemon zest into the filling along with the lemon juice. No regrets.
My only error (and it wasn’t critical) is that I used instant pudding instead of cook and serve. I’ll definitely go for the cook and serve next time. It would have made for a more set pie. But again – not a critical failure, just a slightly less set pie.
That’s it! This is a fantastic pie, and great to make ahead and take with you next day. I might even say that it was better on day 2. Maybe.
Enjoy!
About the Book
This is such a cute little booklet. Classic mid-century illustrations accompany a note from the (fictional) Ann Pillsbury. It’s definitely worth grabbing for all the creative recipes inside.
The Recipe!
Ingredients: Pastry for one-crust 9-inch pie 1/2 cup sugar 2 T cornstarch 1/4 t salt 1/2 cup water 2 2/3 cup frozen (or fresh! see my notes!) blueberries (from a 12-oz. pkg.), separated 1 T butter 2 t lemon juice 1 package vanilla pudding and pie filling 2 cups milk whipped cream
Directions:
Prepare the pastry for your pie crust. Prick generously with fork. Bake at 450*F for 8-10 minutes until golden brown. Cool.
Combine sugar, cornstarch, and salt in saucepan. Blend in water. Then add 1 cup of your blueberries. Cook over medium heat, stirring constantly, until thickened. Remove from heat. Add butter and lemon juice. Stir in remaining blueberries. Spread in cooled baked pie shell.
Prepare your vanilla pudding and pie filling with milk as directed on package. Cool 5 minutes after cooking, stirring twice. Pour over blueberries. Cool 30 minutes, then chill until set, (Note: if you use instant pudding, spread once thickened then chill right away) 1 to 2 hours before serving. Spread top with thin layer of whipped cream.
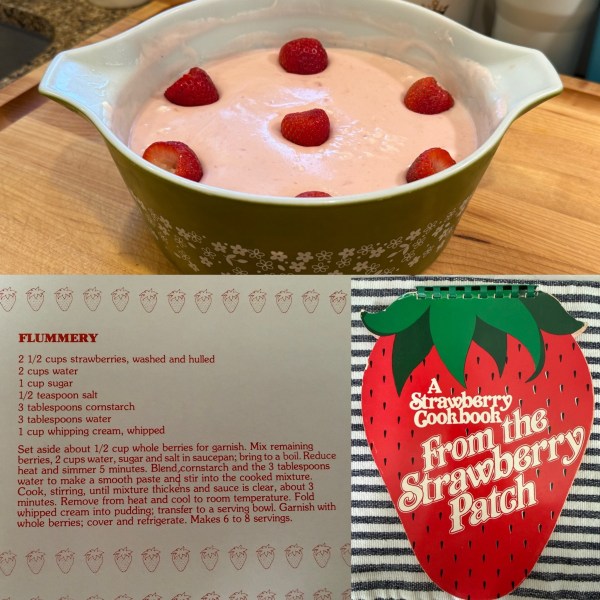
It’s strawberry season again! My favorite time of year, when strawberries are sweet, juicy, and relatively inexpensive. We were meeting friends for a casual bbq dinner. I went straight for this cookbook to find a dessert to bring along. And of course when I got to this recipe my first thought – what the heck is Flummery?!
Turns out that flummery is a light, fluffy dessert. According to the internet, it comes from Great Britain and is a starch-based, sweet, soft dessert pudding. And – yeah! That’s exactly what it was. The perfect summertime dessert
A few notes and thoughts:
I cooked exactly to the specifications in the recipe from a timing perspective. I actually would cook it a little longer in the future. Really make sure that you’re getting the post-cornstarch step right to get the right texture going.
Do not use pre-made whipped cream! Get the cream and whip it yourself. If you go for the pre-made stuff it will be way too sweet.
I used small whole strawberries on top. For future batches, I’d definitely do some fun decorating with slices. Everyone wanted their own fresh strawberry, and those slices would have gone a longer way.
Other than that – easy and delicious! Enjoy! Oh, and if you want some more goodness for Strawberry Season, check out the collection!
About the book
I love this strawberry cookbook. I usually don’t do cookbooks from the 80’s, but I love a good cutout. I’ve tried a few recipes from this book before and actually – they’re all pretty good! Worth the browse if you see a copy hanging around.
The Recipe!
Ingredients:
2 1/2 cups strawberries, washed and hulled 2 cups water 1 cup sugar 1/2 t salt 3 T cornstarch 3 T water 1 cup whipping cream, whipped
Directions:
Set aside about 1/2 cup whole berries for garnish. Mix remaining berries, 2 cups water, sugar, and salt in saucepan; bring to a boil. Reduce heat and simmer 5 minutes.
Blend cornstarch and the 3 tablespoons water to make a smooth paste and stir into the cooked mixture. Cook, stirring, until mixture thickens and sauce is clear, about 3 minutes. Remove from heat and cool to room temperature.
Fold whipped cream into pudding; transfer to a serving bowl. Garnish with whole berries; cover and refrigerate. Makes 6 to 8 servings.
A Recipe from Better Homes & Gardens Dessert Cookbook (1968)
About the Recipe
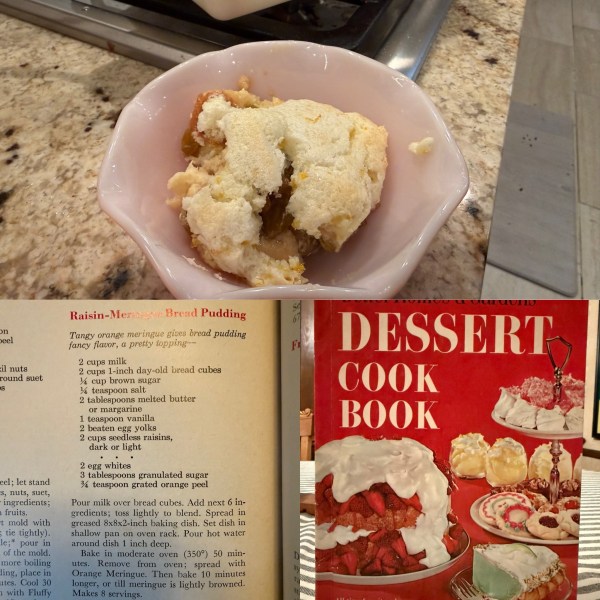
The other day, I got some dinner rolls from the grocery store for free. It was one of those specials – buy some meat and we’ll give you the sides! So I bought the meat. And I got the sides. But we don’t really do dinner rolls in my house. So I asked the internet – what should I make?
And the internet picked… Raisin-Meringue! Reader – it’s delicious. Some quick notes to help you make a successful bread pudding:
I used a little more bread than the recipe called for. Probably closer to 3 cups, rather than just 2. It was necessary.
This is so so raisiny. Now don’t get me wrong, I love raisins. But even for a raisin-lover like me, this was a bit much. I’d cut it down to a cup and a half of raisins, and you’ll still be fine.
Separate your eggs when they’re cold, and let the whites come to room temp for the best, most-fluffy meringue. I separated them when I was ready for the yolks, and about 10 minutes out from the pudding being done I whipped up the whites. That worked well.
No one ever was sorry that they added too much orange zest to a meringue.
Ingredients: 2 cups milk 2 cups (+ see note) 1-inch day-old bread cubes 1/4 cup brown sugar 1/4 t salt 2 T melted butter or margarine 1 t vanilla 2 beaten egg yolks 2 cups seedless raisins, dark or light * * * 2 egg whites 3 T granulated sugar 3/4 t grated orange peel
Directions:
Pour milk over bread cubes. Add next 6 ingredients; toss lightly to blend. Spread in greased 8x8x2-inch baking dish. Set dish in shallow pan on oven rack. Pour hot water around dish 1 inch deep.
Bake in moderate oven (350*F) 50 minutes. Remove from oven; spread with Orange Meringue. Then bake 10 minutes longer, or till meringue is lightly browned. Makes 8 servings.
Orange Meringue: Beat egg whites till fluffy. Gradually add the granulated sugar; beat till soft peaks form. Fold in grated orange peel. Spread on baked pudding.
A Recipe from ‘Round the Clock Recipes from Mary Alden (1963)
About the Recipe
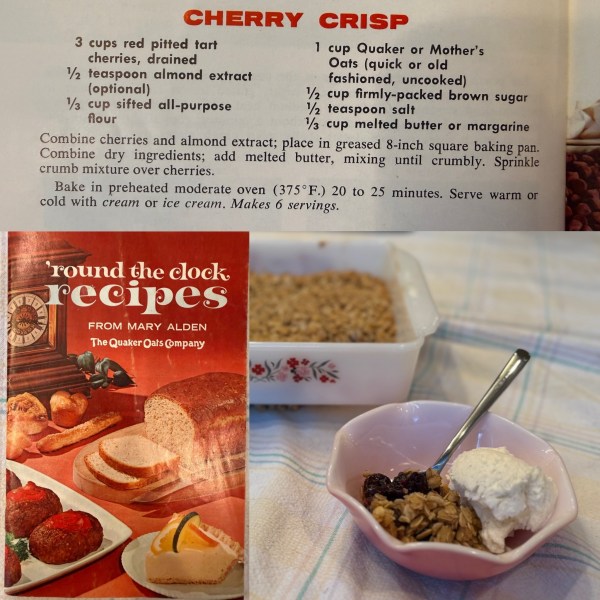
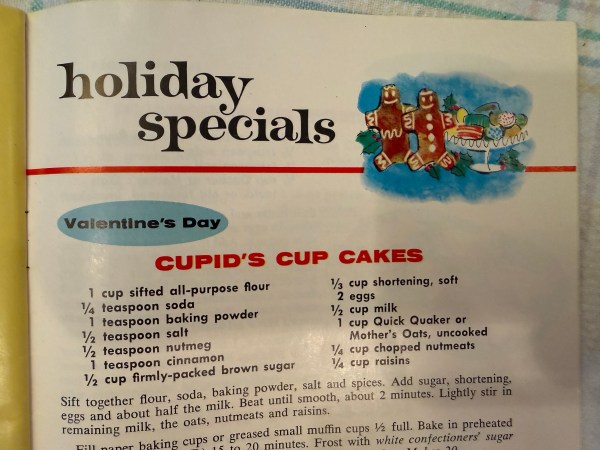
Some days, you wake up and say – “I want to bake something today.” And you ask your husband what you should bake. And he says, “I don’t know, some fruity, crumbly, cobbler-y thing?” So obviously, you go to your shelf and start thumbing through a Quaker Oats advertising cookbook – obviously! And you end up with this super easy, delicious cherry crisp.
This was so easy to make, but I do have a few thoughts:
I would easily double the cherries that this recipe calls for. I used frozen cherries and let them thaw in the morning before I baked.
I used regular old rolled oats (Quaker brand, of course). I think quick oats actually would work better for this one. The oats came out just a little more crunchy than I would have liked.
The almond is a great touch. Almond and cherry go really well together. If almond isn’t your thing, it would work just as well with vanilla or even orange extract.
The vanilla ice cream was an absolute must. It cut through the tartness of the cherries and was just perfect, especially when it was hot out of the oven.
But that’s it! This is an easy one to pull out when you need a quick dessert or are just jonesing for something sweet. Enjoy!
About the book
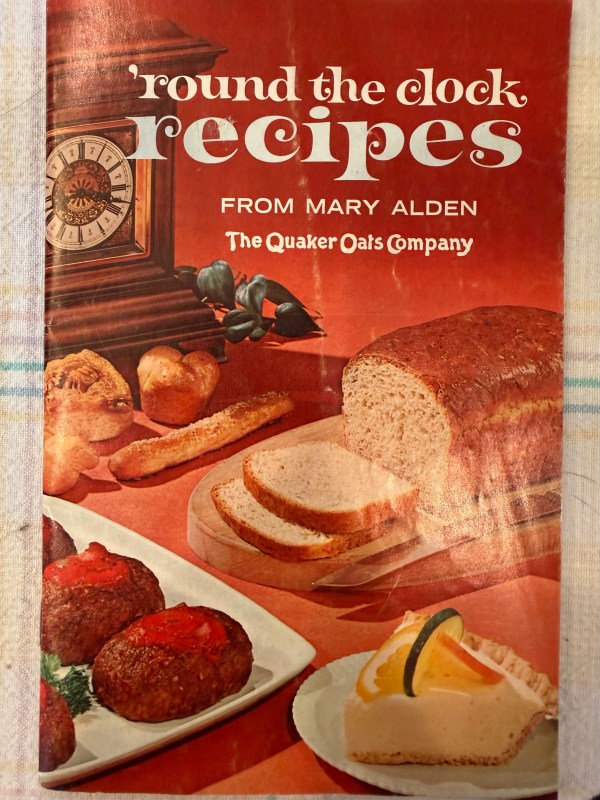
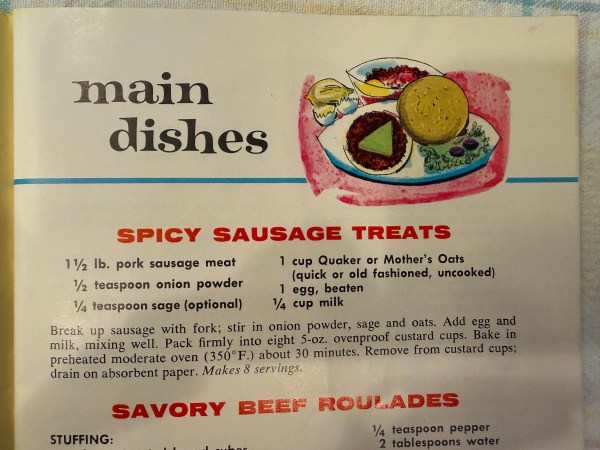
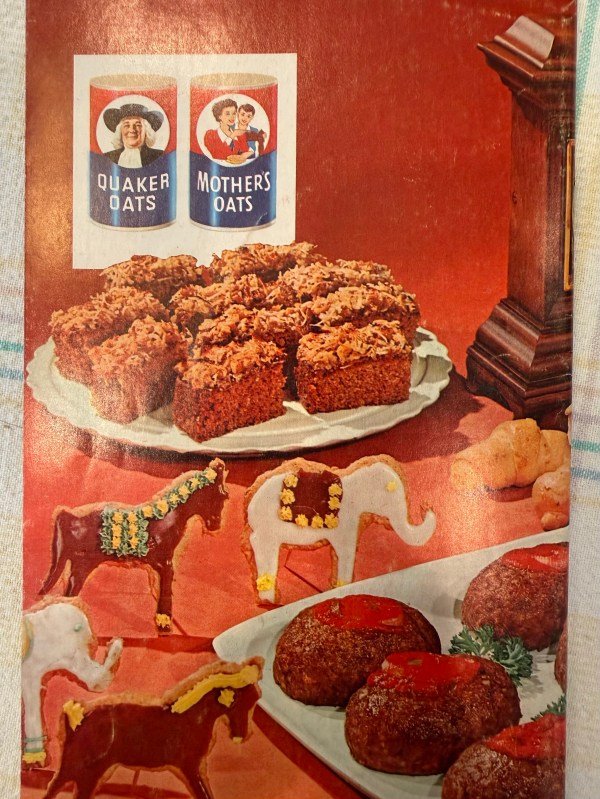
I’ve said it before, and I’ll say it again – I love these advertising cookbooks. The title pages and illustrations are so delightfully ’60’s. The font reminds me of the original Parent Trap, the one with Hayley Mills. Enjoy the art (and a few bonus recipes)!
The Recipe!
Ingredients:
3 cups red pitted tart cherries, drained 1/2 t almond extract (optional) 1/3 cup sifted all-purpose flour 1 cup Quaker or Mother’s Oats (quick or old fashioned, uncooked) 1/2 cup firmly-packed brown sugar 1/2 t salt 1/3 cup melted butter or margarine
Directions:
Combine cherries and almond extract; place in greased 8-inch square baking pan. Combine dry ingredients; add melted butter, mixing until crumbly. Sprinkle crumb mixture over cherries.
Bake in preheated moderate oven (375*F) 20-25 minutes. Serve warm or cold with cream or ice cream. Makes 6 servings
A Recipe from Antoinette Pope School Cook-Book (1953)
About the Recipe
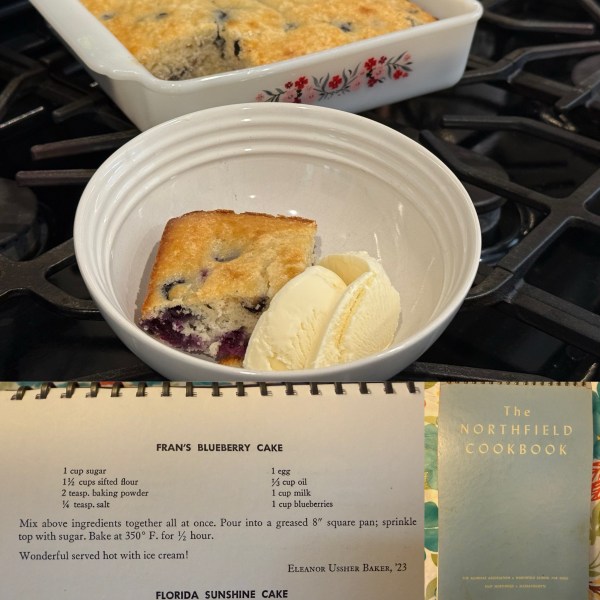
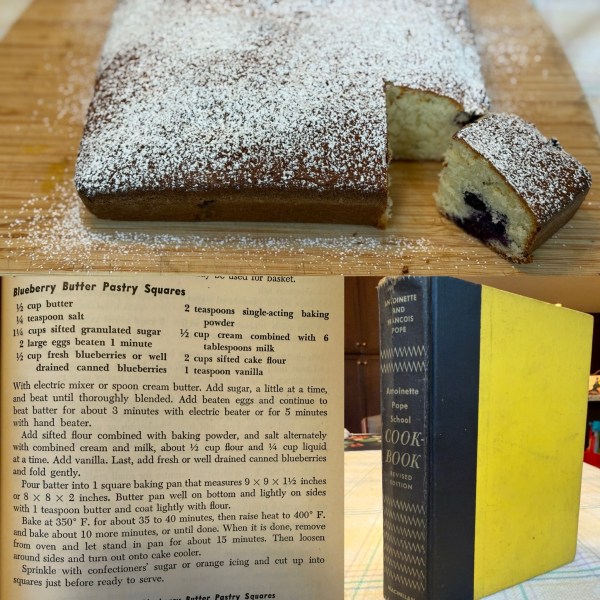
I can’t for the life of me figure out why this cake is called “pastry.” It doesn’t bake like a pastry. It doesn’t taste like a pastry. What it does taste like is buttery, cakey, blueberry goodness.
This recipe is super simple and elegant. The only quirky part of the recipe is the single-acting baking powder. I have two thoughts on that:
If you truly want something single-acting as the recipe states, make your own by combining 1 part baking powder to 2 parts cream of tartar. That will create fast-acting reaction that’s dictated in the recipe. Be aware – you can’t let this batter sit once the single-action hits the liquid. If you do, prepare for a super dense cake.
Don’t worry about it! Just use 2 teaspoons of double-acting baking powder, and you’ll be good to go.
I opted for the powdered sugar sprinkle, which was just perfect. The top of the cake is slightly crunchy, which worked well with the powdered sugar. The crunch comes from those last 10 minutes at 400*F. Don’t want the crunch? Leave the oven where it is!
About the book
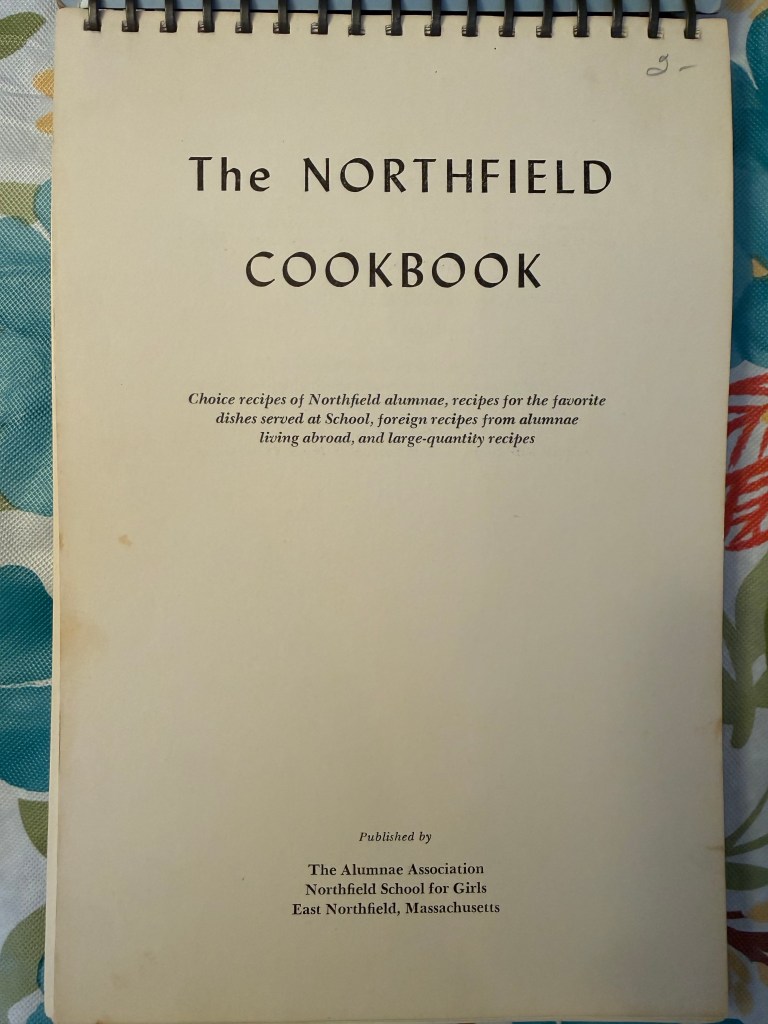
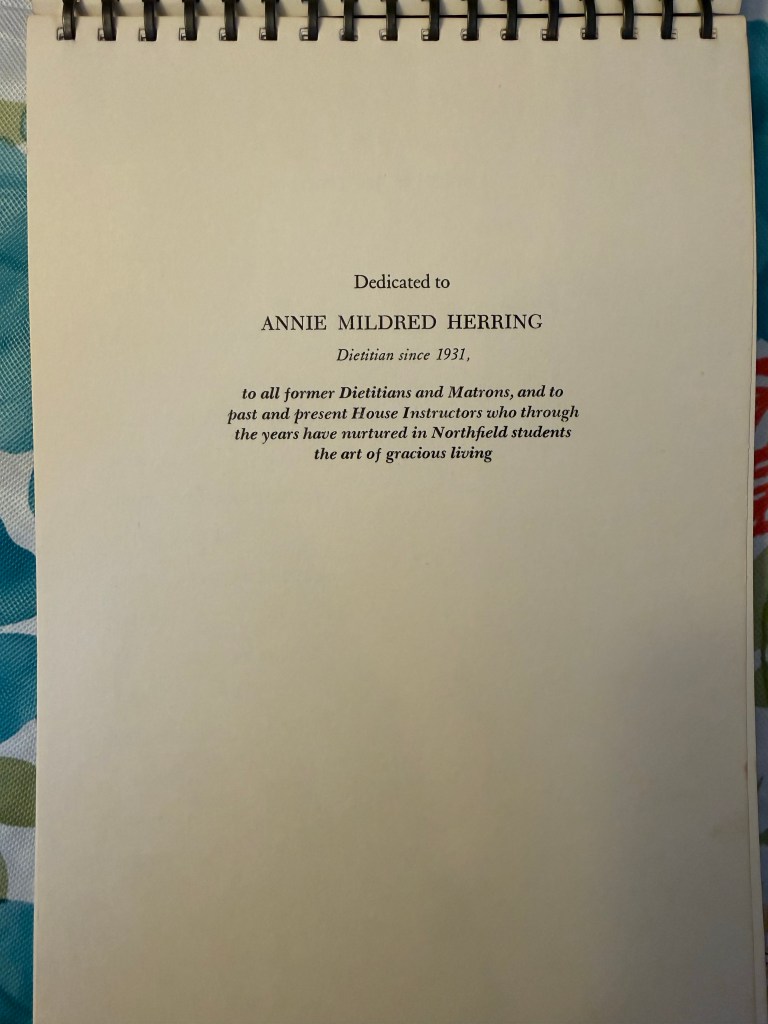
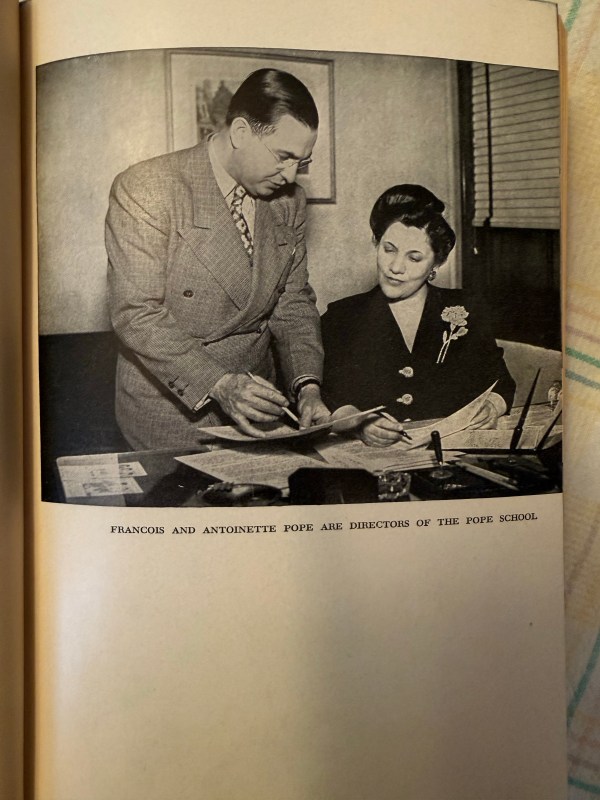
Everything you need to know about this book can be found in the dedication (photo below). This is such a lovingly crafted resource from the school. It’s clearly designed as an on-hand resource to have in your household and to guide continued success. Definitely worth picking up if you see it on a shelf.
The Recipe!
Ingredients:
1/2 cup butter 1/4 t salt 1 1/4 cups sifted granulated sugar 2 large eggs beaten 1 minute 1/2 cup fresh blueberries or well drained canned blueberries 2 t single-acting baking powder 1/2 cup cream combined with 6 T milk 2 cups sifted cake flour 1 t vanilla
Directions:
With electric mixer or spoon cream butter. Add sugar, a little at a time, and beat until thoroughly blended. Add beaten eggs and continue to beat batter for about 3 minutes with electric beater or for 5 minutes with hand beater.
Add sifted flour combined with baking powder, and salt alternately with combined cream and milk, about 1/2 cup flour and 1/4 cup liquid at a time. Add vanilla. Last, add fresh or well drained canned blueberries and fold gently.Â
Pour batter into 1 square baking pan that measures 9 x 9 x 1 1/2 inches or 8 x 8 x 2 inches. Butter pan well on bottom and lightly on sides with 1 teaspoon butter and coat lightly with flour.Â
Bake at 350*F for about 35 or 40 minutes, then raise heat to 400*F and bake about 10 more minutes, or until done. When it is done, remove from oven and let stand in pan for about 15 minutes. Then loosen around sides and turn out onto cake cooler.Â
Sprinkle with confectioners’ sugar or orange icing and cut up into squares just before ready to serve.
This year, I had the pleasure of hosting a family Passover Seder. And when I say host, I mean the whole darn thing, including the Festive Meal. For those not familiar, there’s some ceremony and storytelling that come before anyone can eat. Sometimes it’s a lot, and sometimes it’s short and sweet. But any way you do it, the highlight is always the Festive Meal. And the Festive Meal must have matzah ball soup.
I had planned on grabbing a matzah ball recipe from my cousin, or perhaps sourcing from the internet. But, by chance, I was going through Grandma’s recipe box and I stumbled on this recipe! It was no doubt cut from the back of the matzah meal box. There are layers of tape on it. Knowing my grandma, she probably taped it to her cabinets each year for easy reference during the holiday season.
A reverse image search on Google says that this is probably Manischewitz, likely from the late 20th century. That sounds about right. Let me tell you – they’re floaters, and they’re delicious.
Some tips on making a great matzah ball:
Seltzer instead of water or broth is said to make extra fluffy balls
Make the batter and then let it sit in the refrigerator. The recipe says 15 minutes, experience says at least a few hours.
Cook the balls in water the day before your Seder. Drop them in your broth and let the broth and balls sit in the refrigerator overnight.
A little extra salt never hurts
Use one of your balls as a tester for done-ness. Remove it from the pot and cut it in half. If it’s not done, pop the halves back in and cut one of them again to test again. It almost always requires at least 10-20 minutes more than the recipe to get them fully cooked and fluffy.
For more recipes from my family recipe box, check out my Recipes from Grandma page.
A vintage Seder
I love using my family heirlooms and vintage Pyrex to make a celebration dinner beautiful. I used my great-grandfather’s dining table, my great-aunt’s tablecloth, grandma and great-aunt’s china, grandpa Koppelman’s kiddush cup for Elijah… and so much more. Everything was topped off with a Pyrex Seder Plate and Matzah holder.
Andi’s No-Fail Chicken Broth
A great broth is an absolute must when cooking Matzah Ball Soup. Here’s how I do it:
I make turkey stock from my Thanksgiving turkey bones. If you can’t make your own stock, don’t stress. Penzeys has some great bases.
Line a big stock pot with cheese cloth. Put in the cheese cloth one roaster chicken, some onions, some carrots, some celery, and one big sweet potato (don’t sleep on the sweet potato). Cut your veggies into chunks before putting them into the cheese cloth. You’ll want to save them for when you serve the soup.
Gather the corners of the cheese cloth together and bind them at the top with a rubber band or some twine. The goal is to be able to lift the whole bundle out of the soup when it’s done.
Add your stock or soup base, a little salt, a little pepper.
Cover the bundle with water, just until you hit the twine. Cover and simmer for 4-5 hours.
Let it cool enough to handle the bundle. Take the bundle out and put it into a bowl. It’s going to drain some more delicious broth, so don’t put it into a colander or over the drain!
Open your bundle, but don’t get rid of the cheese cloth yet. Get rid of the sweet potatoes. Pick the meat off the chicken and put the meat along with your veggies in a container and into the fridge. You’ll want to put that back into your soup before you reheat it.
Re-bundle your cheese cloth and squeeze all of the broth out of what’s left. Throw out the bundle and put the additional broth back into the pot.
Matzah balls go into the broth and the whole pot goes into the fridge overnight. When you’re about an hour away from the Festive Meal, take the pot out of the fridge and skim the fat. Put the pot back on the stove and add back in the chicken and veggies. Simmer until it’s time to eat.
The Recipe!
Ingredients:
2 T vegetable oil 2 large eggs, slightly beaten 1/2 cup Manischewitz Matzo Meal 1 t salt, if desired (from Andi: yes, you’ll want to add this) 2 T soup stock or water
Directions:
Blend vegetable oil, eggs, matzo meal and salt together.
Add soup stock or water and mix until uniform. Cover and place in the refrigerator for 15 minutes
Bring 1 1/2 quarts of water to a brisk boil
Reduce flame and drop balls approximately 1-inch in diameter formed from refrigerated mixture
It’s Pi(e) Day 2026! I always like to make a savory pie to go along with the sweet. Honestly, this year I was at a little bit of a loss. I kept looking through book after book, but nothing was inspiring me. At the same time, I was thinking of my grandma, who passed away a few months ago. Pies always make me think of her. Some of my earliest baking memories are rolling pie dough in her kitchen. So I picked up the Better Homes and Gardens that she gifted me. And what a gift it turned out to be.
This recipe is deceptively simple, and would be so easy to adapt depending on your circumstances. Have access to fresh green beans? Steam them quickly and pop them in! Don’t want to spend time boiling potatoes? Use instant! Not a red meat eater? Use ground turkey! No matter how you choose to make it, this one will turn out delicious.
My grandma gave me this book several years ago. It was a gift to her when she married my grandpa Marvin, after whom I’m named. It’s stuffed to the gills with updated pages and little notes. She left a page of lined notebook in the front where she wrote down (and crossed out) recipes that she tried. And most importantly, there’s this inscription:
The Recipe!
Ingredients:
1 medium-sized onion, chopped 1 pound ground beef salt and pepper 1 No. 2 can (2 1/2 cups) or 1/2 pound cooked green beans 1 10.5 or 11-ounce can condensed tomato soup 5 medium-sized potatoes, cooked 1/2 cup warm milk 1 beaten egg salt and pepper
Directions:
Brown onion in hot fat; add meat and seasonings; brown. Add drained beans and soup; pour into greased casserole. Mash potatoes; add milk, egg, and seasonings. Spoon in mounds over meat. Bake in moderate oven (350*F) 30 minutes. Serves 6.
A Recipe from Better Homes and Gardens Pies and Cakes (1966)
About the Recipe
It’s Pi(e) Day 2026! I just got this cookbook a few weeks ago, and I’ve been waiting for Pi(e) Day to use it. I was paging through and I saw this light green mid-century nonsense. As a joke, I snapped a photo and sent it to my brother who usually joins me for the holiday. His response: “That’s some 50s house wife bullsh*t if I ever saw it…But yes.” And so it was!
I’m slightly annoyed because I screwed it up. Learn from my mistake – watch your filling once you put it in to fridge and make sure you fold it in before it sets into jell-o. Oops.
Other than that, this was actually really delicious. It’s a chiffon pie, so super light and fluffy. The lime with the coconut is fabulous. It’s perfect for a summer party as a chilled dessert. I honestly can’t wait to make it again.
I was so excited to have this book in my collection. Pies and Cakes are my favorite, and having this resource at hand just sparks so much joy. As always with BHG, the tips and tricks are as wonderful as the recipes. Enjoy!
The Recipe!
Ingredients:
1 envelope (1 tablespoon) unflavored gelatin 1/2 cup sugar 1/4 t salt 4 slightly beaten egg yolks 1/2 cup lime juice 1/4 cup water 1 t grated lime peel Few drops green food coloring 4 egg whites 1/2 cup sugar 1/2 cup whipping cream, whipped 1 1/2 cups cantaloupe balls 1 baked 9-inch pastry shell additional whipped cream toasted coconut
Directions:
Combine gelatin, 1/2 cup sugar, and salt. Stir together egg yolks, lime juice, and water; add to gelatin mixture. Cook and stir over medium heat just till mixture comes to a boil. Remove from heat; add lime peel and food coloring. Chill, stirring occasionally, till mixture mounds. (Note from author: Do not let it set! You want that magic period where its starting to set and forming little mounds, but still fairly liquid.)
Beat egg whites to soft peaks; gradually add 1/2 cup sugar; beat to stiff peaks. Fold in gelatin mixture. Fold in whipped cream and cantaloupe. Pile into cooled pastry shell. Chill till firm. Top with a wreath of additional whipped cream and toasted coconut.
A Recipe from Betty Crocker’s Dinner-in-a-Dish Cookbook (1965)
About the Recipe
The other day, my local grocery store had fancy canned crab on sale. The kind of canned crab that you get in the fish section, not the canned section. My original plan was to make crab cakes, one of my son’s favorite dinners. But then, I was paging through this lovely cookbook and, well – sometimes the recipes guide the ingredients, and sometimes the ingredients guide the recipe.
This recipe creates a creamy and delicious casserole version of a crab cake. It’s a little mid-century nonsense (you can’t ignore the chopped hard-boiled egg). It’s a little heavy on the cholesterol clogging (so creamy). Wow, was it delicious.
A few quick notes on this one:
Use high quality crab meat. Do it. Stretch the budget a little and get the good stuff. Or don’t! I’m actually a big fan of canned crab, especially out of season.
I only used about half the bread crumb topping, and it was still way too much. Next time, I’ll probably use crushed Ritz crackers tossed in butter instead of a plain crumb.
The canned carrots were surprisingly good. You could definitely steam your own and they would work just fine. Either way, they need to be cooked before they get folded in.
You’re making a roux for this dish so please (PLEASE!), set your mise-en-place. This dish comes together quickly and having everything close at hand and ready to go is so important.
I love this cookbook so much. A friend of mine recently gave me a few boxes full of old books that she was cleaning out. A copy of this one was near the top of one of the boxes. I handed it back to her and said, “Keep this. It’s a great one.” The recipes are always good. The illustrations are just wonderful.
The Recipe!
Ingredients:
1/4 cup butter or margarine 2 T flour 1 cup light cream 1 t prepared mustard 1/2 t salt 1/4 t pepper 1/4 t mace 1 T lemon juice 1 can (1 lb.) sliced carrots, drained 2 cans (7.5 oz. each) crabmeat, drained and cartilage removed 2 hard-cooked eggs, finely chopped 2 cups soft bread crumbs 2 T butter, melted Lemon wedges
Directions:
Heat oven to 350*F. Melt butter in heavy saucepan; stir in flour. Cook over low heat, stirring until mixture is smooth and bubbly. Remove from heat.
Stir in cream; heat to boiling, stirring constantly. Boil 1 min.
Gently fold in seasonings, carrots, crabmeat, and eggs. Pour mixture into 1 1/2-qt. casserole. Toss breadcrumbs with butter; sprinkle over top.
Bake uncovered 45 min., or until bubbly. Serve with lemon wedges. 4 to 6 servings.