Grandma’s Pumpkin Pie

Grandma’s Pumpkin Pie

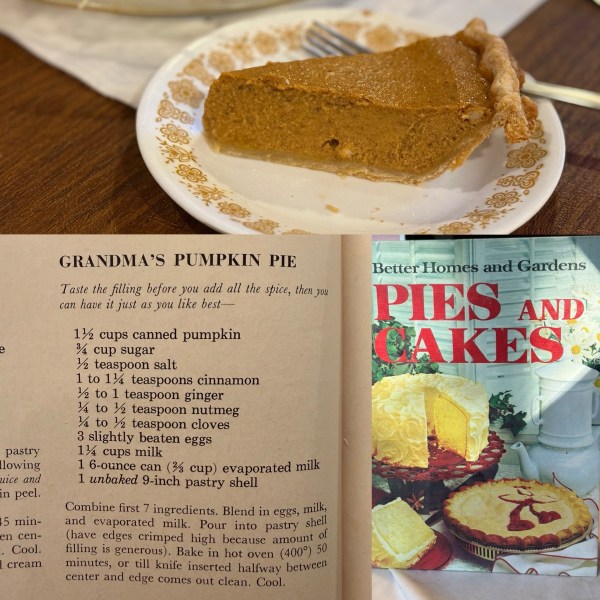
A Recipe from Better Homes and Gardens Pies and Cakes (1966)
About the Recipe

It’s pumpkin pie season, friends! I love this time of the year. I love a creamy, spicy pumpkin pie with a crisp, flaky crust. When my son asked me to make some, I very happily went to my cookbook stack. I have to say – this might be my favorite of all the pumpkin pies I’ve ever made.

I love that this one kind of free-hands pumpkin pie spice. Like it a little more gingery? Great! Add more ginger! Want a little more soft heat? Throw in more nutmeg. The spice world is your oyster!

The recipe is a winner, but as always a few quick thoughts and tips to help drive success:

  • If you’re not interested in the choose-your-own-adventure with the spices, use about 2 teaspoons of pumpkin pie spice
  • I used a classic Crisco pie crust for this one. Take note of the time to chill the dough. It’s not to firm up the Crisco, it’s to give the flour a little time to hydrate. Your dough will be much easier to work with.
  • How to not get a crack in your pie: When you bake the pie, bake it until the outer inch to two inches of the filling are set. The middle should be a little jiggly still. Turn off your oven, but don’t take out the pie! Crack the oven open (I hold it open with a wooden spoon) and let the pie and the oven cool down together. The middle of your pie will set, and you won’t get a crack.

Enjoy and happy fall!

The Recipe!

Ingredients:

1 1/2 cups canned pumpkin
3/4 cup sugar
1/2 t salt
1 to 1 1/4 teaspoon cinnamon
1/2 to 1 teaspoon ginger
1/4 to 1/2 teaspoon nutmeg
1/4 to 1/2 teaspoon cloves
3 slightly beaten eggs
1 1/4 cups milk
1 6-ounce can (2/3 cup) evaporated milk
1 unbaked 9-inch pastry shell

Directions:

Combine first 7 ingredients. Blend in eggs, milk, and evaporated milk. Pour into pastry shell (have edges crimped high because amount of filling is generous). Bake in hot oven (400*) 50 minutes, or till knife insterted halfway between center and edge come out clean. Cool.
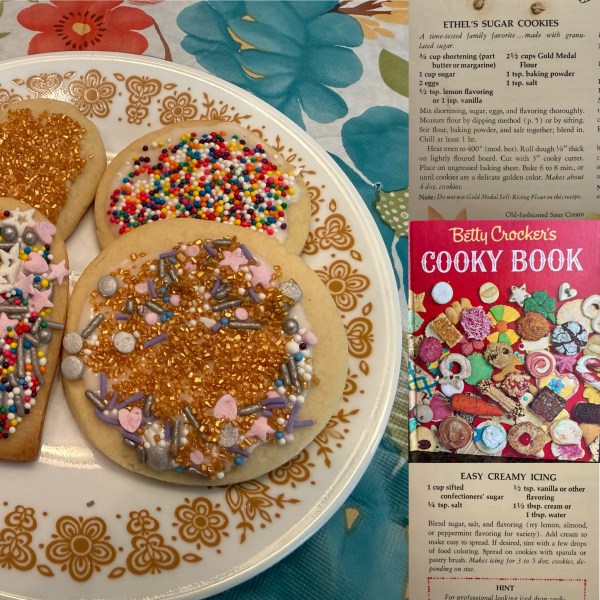
Ethel’s Sugar Cookies

Ethel’s Sugar Cookies

A Recipe from Betty Crocker’s Cooky Book (1963)

About the Recipe

If you have a small child around, you probably already know that for every older kid / adult Disney thing, there’s probably a Disney Jr. version. For Alice in Wonderland, that’s Alice’s Wonderland Bake Shop. It’s a delightful musical show where, well, Alice bakes. My son is very into it. One day while watching, he came up to me and asked if we could make sugar cookies with frosting and sprinkles. To the Cooky Book we went!

This was such a lovely little recipe. A dirty cookbook page is usually a good indication. It’s been made over and over, and let me tell you – Ethel (whoever she may be) knew what she was doing. These cookies are light and slightly caky. Not too sweet with just enough crunch. A perfect sugar cookie.

There’s a whole section for icings and frostings, but for what my son was looking for, the Easy Creamy Icing seemed the way to go. Don’t be afraid to add the amount of cream you need to make the frosting work.

We frosted the cookie and then dipped into sprinkles, which worked really nicely. My son had extra fun dipping into multiple sprinkles to make some crazy combinations.

The Recipe!

Ingredients:

Ethel’s Sugar Cookies:
3/4 cup shortening (part butter or margarine)
1 cup sugar
2 eggs
1/2 t. lemon flavoring or 1 t. vanilla
2 1/2 cups flour
1 t. baking powder
1 t. salt

Easy Creamy Icing:
1 cup sifted confectioners’ sugar
1/4 t salt
1/2 t vanilla or other flavoring
1 1/2 T cream or 1 T water

Directions:

Ethel’s Sugar Cookies:
Mix shortening, sugar, eggs, and flavoring thoroughly. Measure flour by dipping method or by sifting. Stir flour, baking powder, and salt together; blend in. Chill at least 1 hr.

Heat oven to 400*F (mod. hot). Roll dough 1/8″ thick on lightly floured board. Cut with 3″ cooky cutter. Place on ungreased baking sheet. Bake 6 to 8 min., or until cookies are a delicate golden color. Makes about 4 doz. cookies.

Easy Creamy Icing:
Blend sugar, salt, and flavoring (try lemon, almond, or peppermint flavoring for variety). Add cream to make easy to spread. If desired, tint with a few drops of food coloring. Spread o cookies with spatula or pastry brush. Makes icing for 3 to 5 doz. cookies, depending on size.

Fran’s Blueberry Cake

Fran’s Blueberry Cake

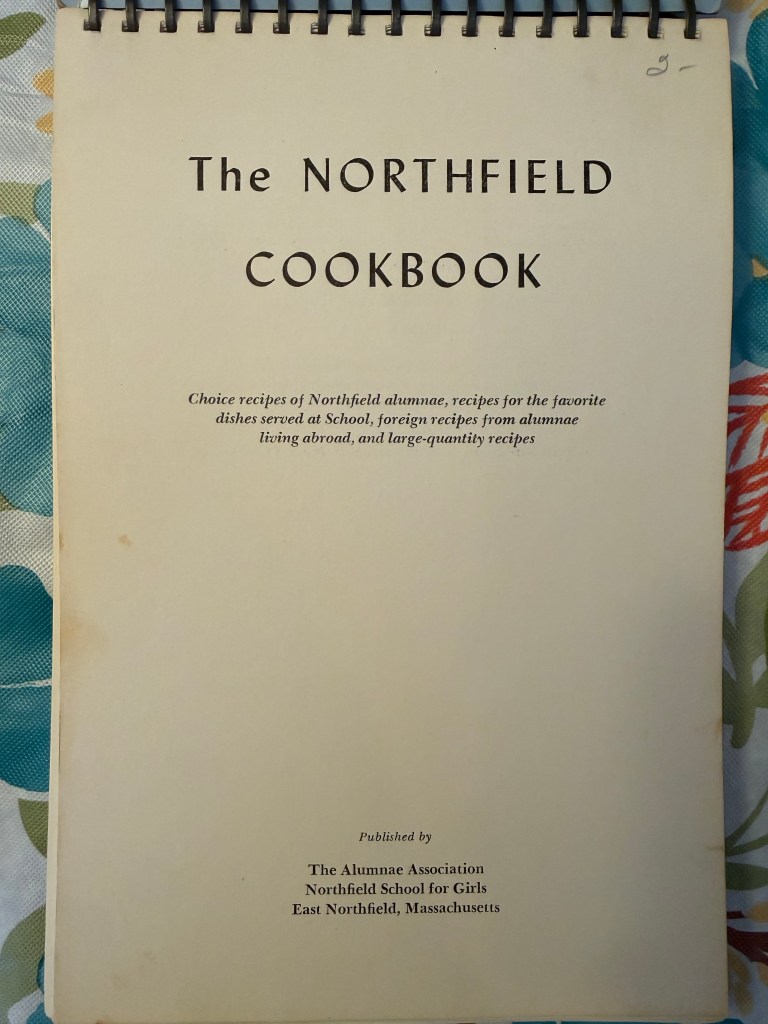
A Recipe from The Northfield Cookbook (1957)

About the Recipe

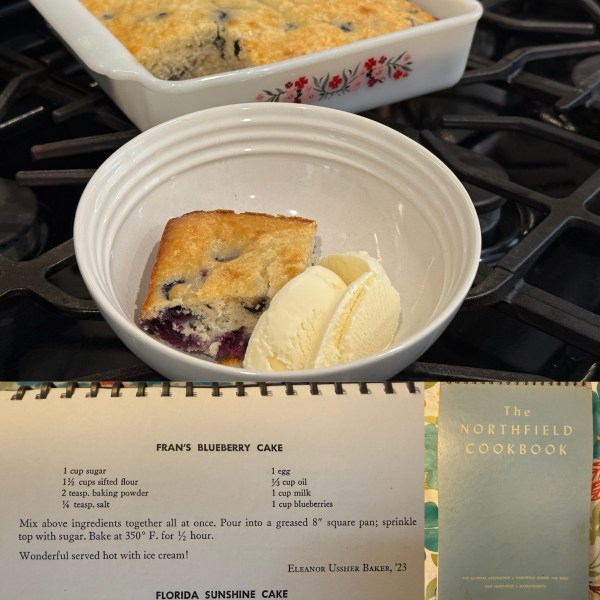
Every summer, as we get closer to fall a few things are sure to happen: School starts, it gets way hotter than it feels like it should, everyone is freckled and tanned, and Pablo’s going to do an asado. A feast for kings of meat upon meat with sides and cold beverages. And every summer at the asado, I bring the dessert. Usually a blueberry one as the last of the season comes around the bend. This year, it was Fran’s Blueberry Cake.

For a hectic time of year, this cake was absolutely perfect. Literally dump everything in the mixer, run it on stir setting for a minute or two. Finish it with a spatula. Dump into the pan. Bake. DONE!

The result is a light, fluffy cake with a bit of a crisp on top from the caramelized sugar sprinkled on top. It was the perfect counter to the heavy, meaty meal. And with how easy it is to bake, I know this is going to be a regular in my kitchen.

About the book

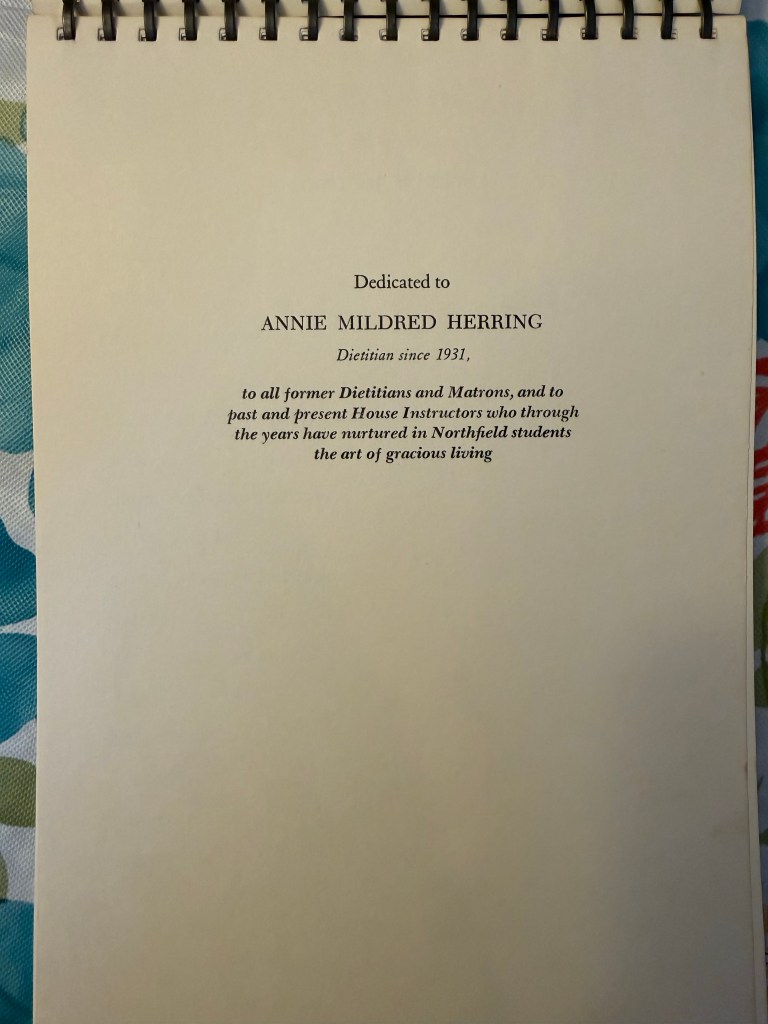
The history of this book is so freaking cool. I got it from a friend who was helping to liquidate her partner’s mother’s extensive collection of cookbooks. The Northfield School for Girls exists today as part of Northfield Mount Hermon, a private school in Massachusetts. It boasts many famous alumni including Laura Linney, Natalie Cole, Uma Thurman, Lawrence Ferlinghetti, Bette Davis, and more. Such a lovely snapshot into history.

The Recipe!

Ingredients:

1 cup sugar
1 1/2 cups sifted flour
2 t baking powder
1/4 t salt
1 egg
1/3 cup oil
1 cup milk
1 cup blueberries

Directions:

Mix above ingredients together all at once. Pour into a greased 8″ square pan; sprinkle top with sugar. Bake at 350*F for 1/2 hour.

Wonderful served hot with ice cream!

The Reese’s Fudge Cookie

The Reese’s Fudge Cookie

A Recipe from Florence Jones’ Recipe Box (1983)

About the Recipe

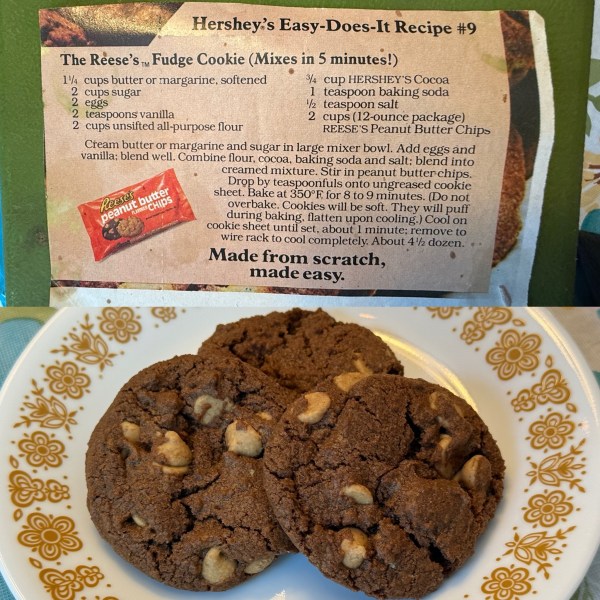
I woke up this morning with the feeling that it was time to look in Grandma’s recipe box again. In truth, I went looking for a chicken recipe (and Grandma made a lot of chicken). But sifting through the green box, I found this clipping tucked in. It’s covered in little spatters and stains, which means it got used and probably more than once. I ran to the store for some peanut butter chips.

Reader – these cookies might be one of the best I’ve ever made. I don’t like chocolate. I could eat the whole 4 dozen.

A few quick notes:

  • I ran out of cocoa in the middle of making this and didn’t feel like running to the store. I used Penzey’s hot chocolate mix for the last maybe 1/8 of the cocoa needed. It worked fine. If you need to go this route, just make sure you cut the sugar back a little bit.
  • The recipe says one bag of chips. Shrink-flation is real, so make sure you have 2 cups or 12 oz, which means you may need to buy 2 bags.
  • Sadly, I don’t have a teaspoon cookie scoop, so I used my tablespoon scoop instead. I still got 4 dozen cookies out of it, but I did need to bake them for about 11-12 minutes.
  • They are super soft when they come out of the oven, as the recipe says. Give them a minute or two before removing them from the cookie sheet. Trust that they’ll solidify well enough as they cool.

It occurred to me as I was nibbling one – these are kind of perfect for a Kosher household (which my Grandma and Zayde kept). Making them with margarine and cocoa powder meant they were pareve and could be used for any type of meal. Granted, they seem to be best dunked into a giant glass of cold milk.

For more recipes from my family recipe box, check out my Recipes from Grandma page.

About the Clipping

I can’t resist a note on this little clipping and the year it was published. The Hershey’s Easy Does It Recipes were published in the 1980’s in magazines and on the tins and bags of Hershey products. Designed for the ’80’s career woman, the goal was to make baking easy and accessible. I’m not sure that this recipe actually takes “5 minutes to mix!” but it certainly didn’t take long.

While there are more than 10 recipes, I can’t find a definitive answer to how many total there were. They were prolific though, and most vintage recipe lovers have at least one or two in their repertoire.

The Recipe!

Ingredients:

1 1/4 cups butter or margarine
2 cups sugar
2 eggs
2 t vanilla
2 cups all-purpose flour
3/4 cup Hershey’s cocoa
1 t baking soda
1/2 t salt
2 cups (12-0z package) Reese’s Peanut Butter Chips

Directions:

Cream butter or margarine and sugar in large mixer bowl. Add eggs and vanilla; blend well. Combine flour, cocoa, baking soda, and salt; blend into creamed mixture. Stir in peanut butter chips.

Drop by teaspoonfuls onto ungreased cookie sheet. Bake at 350*F for 8 to 9 minutes. (Do not overbake. Cookies will be soft. They will puff during baking, flatten upon cooling.) 

Cool on cookie sheet until set, about 1 minute; remove to wire rack to cool completely. About 4 1/2 dozen.

Mother’s Best Fudge Cake

Mother’s Best Fudge Cake

A Recipe from Better Homes and Gardens Pies and Cakes (1966)

About the Recipe

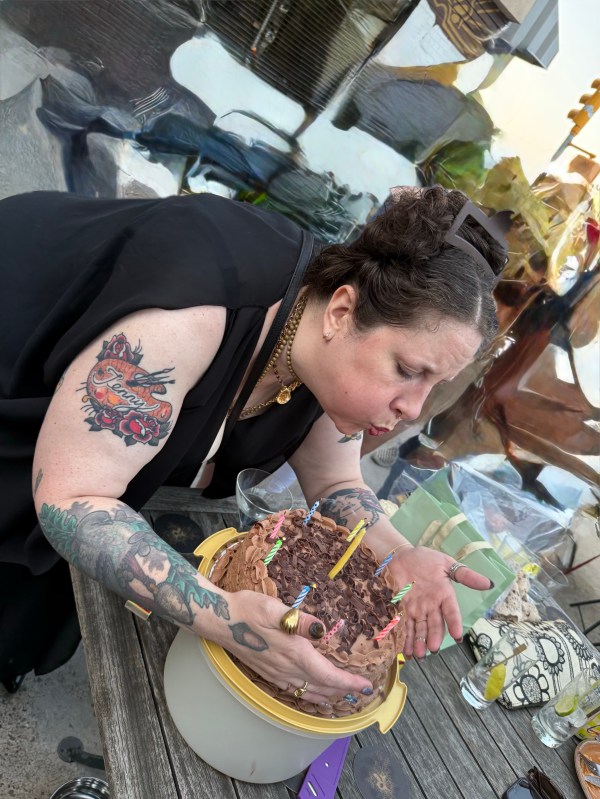
There’s a bit of a tradition that’s been established amongst my family and chosen family. When someone has a birthday or a party, I ask them what their favorite kind of cake is. Then I find a good matching vintage recipe just for them. When my friend Jenny’s birthday rolled around, they had one request – chocolate!

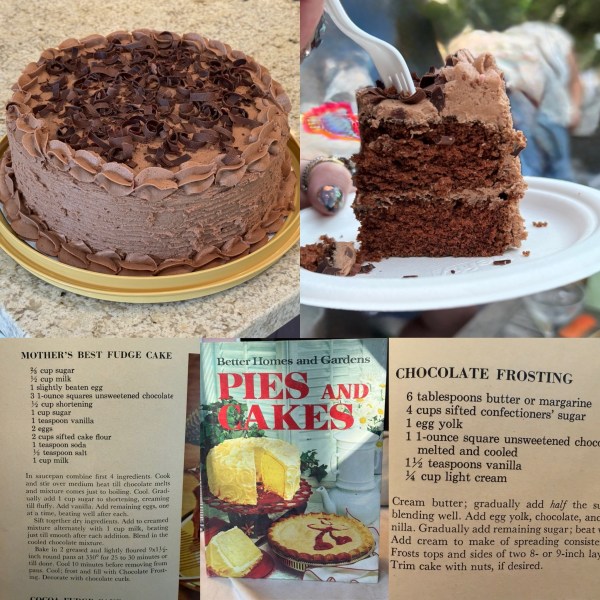
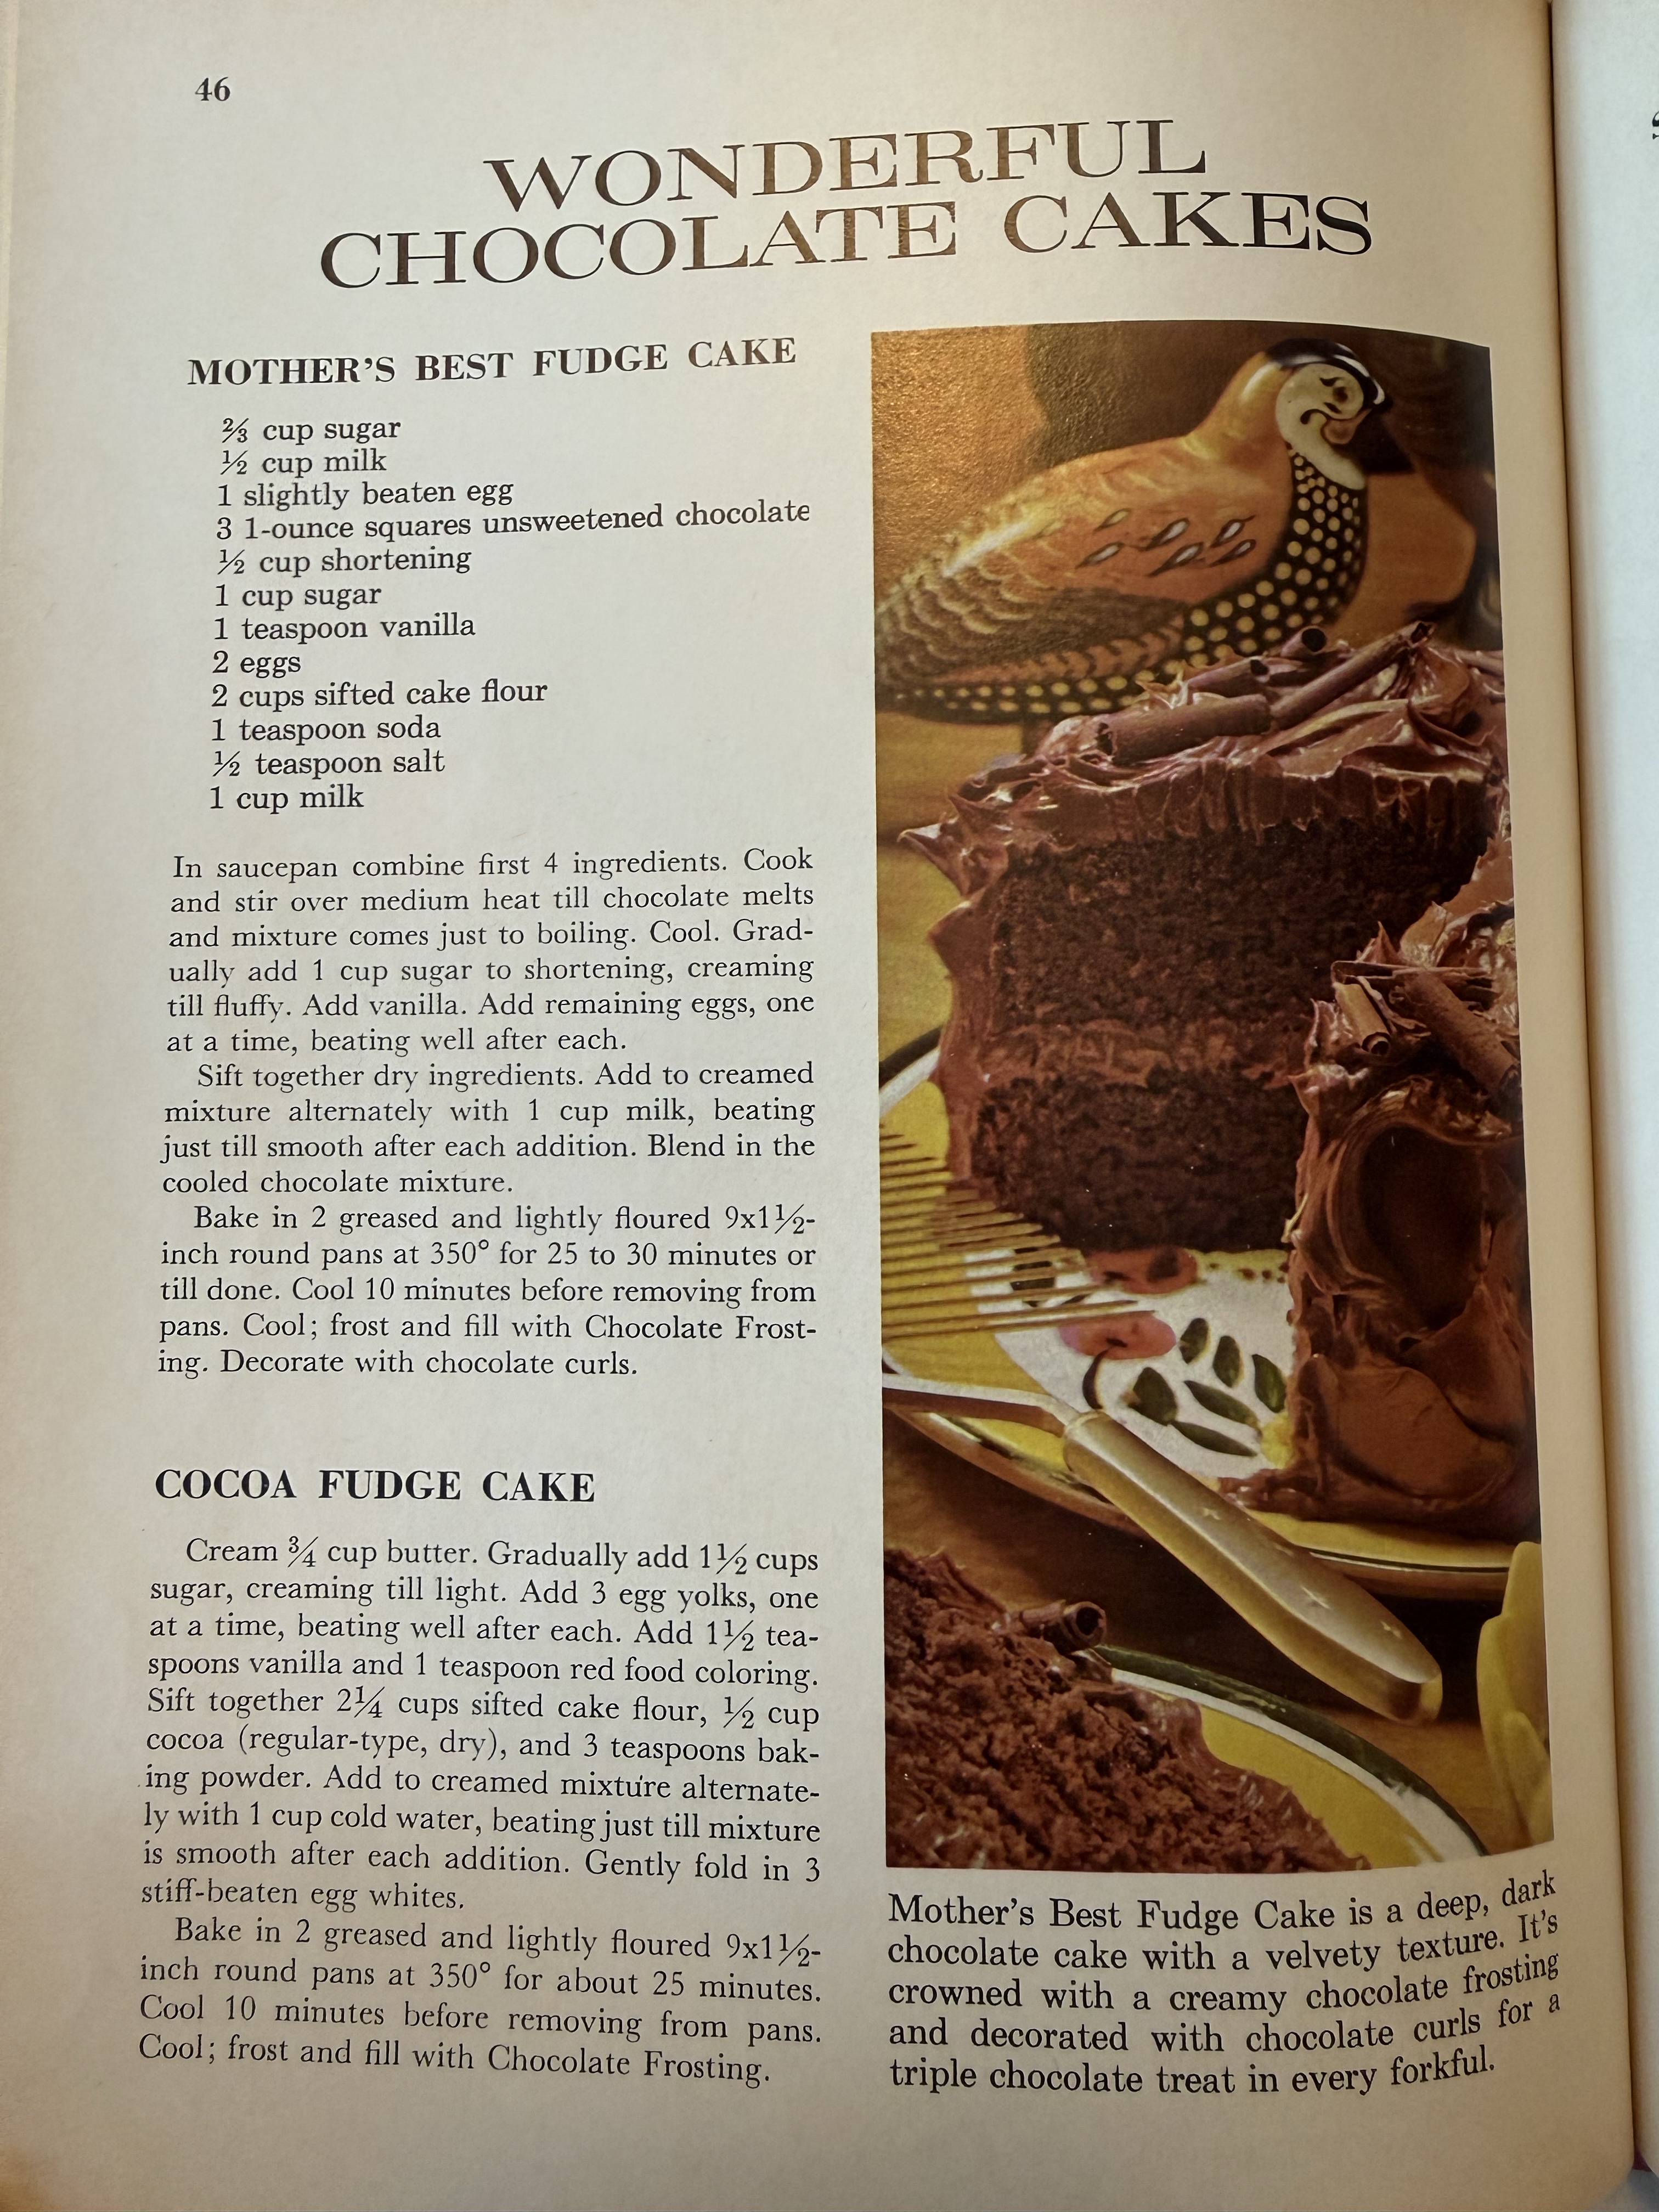
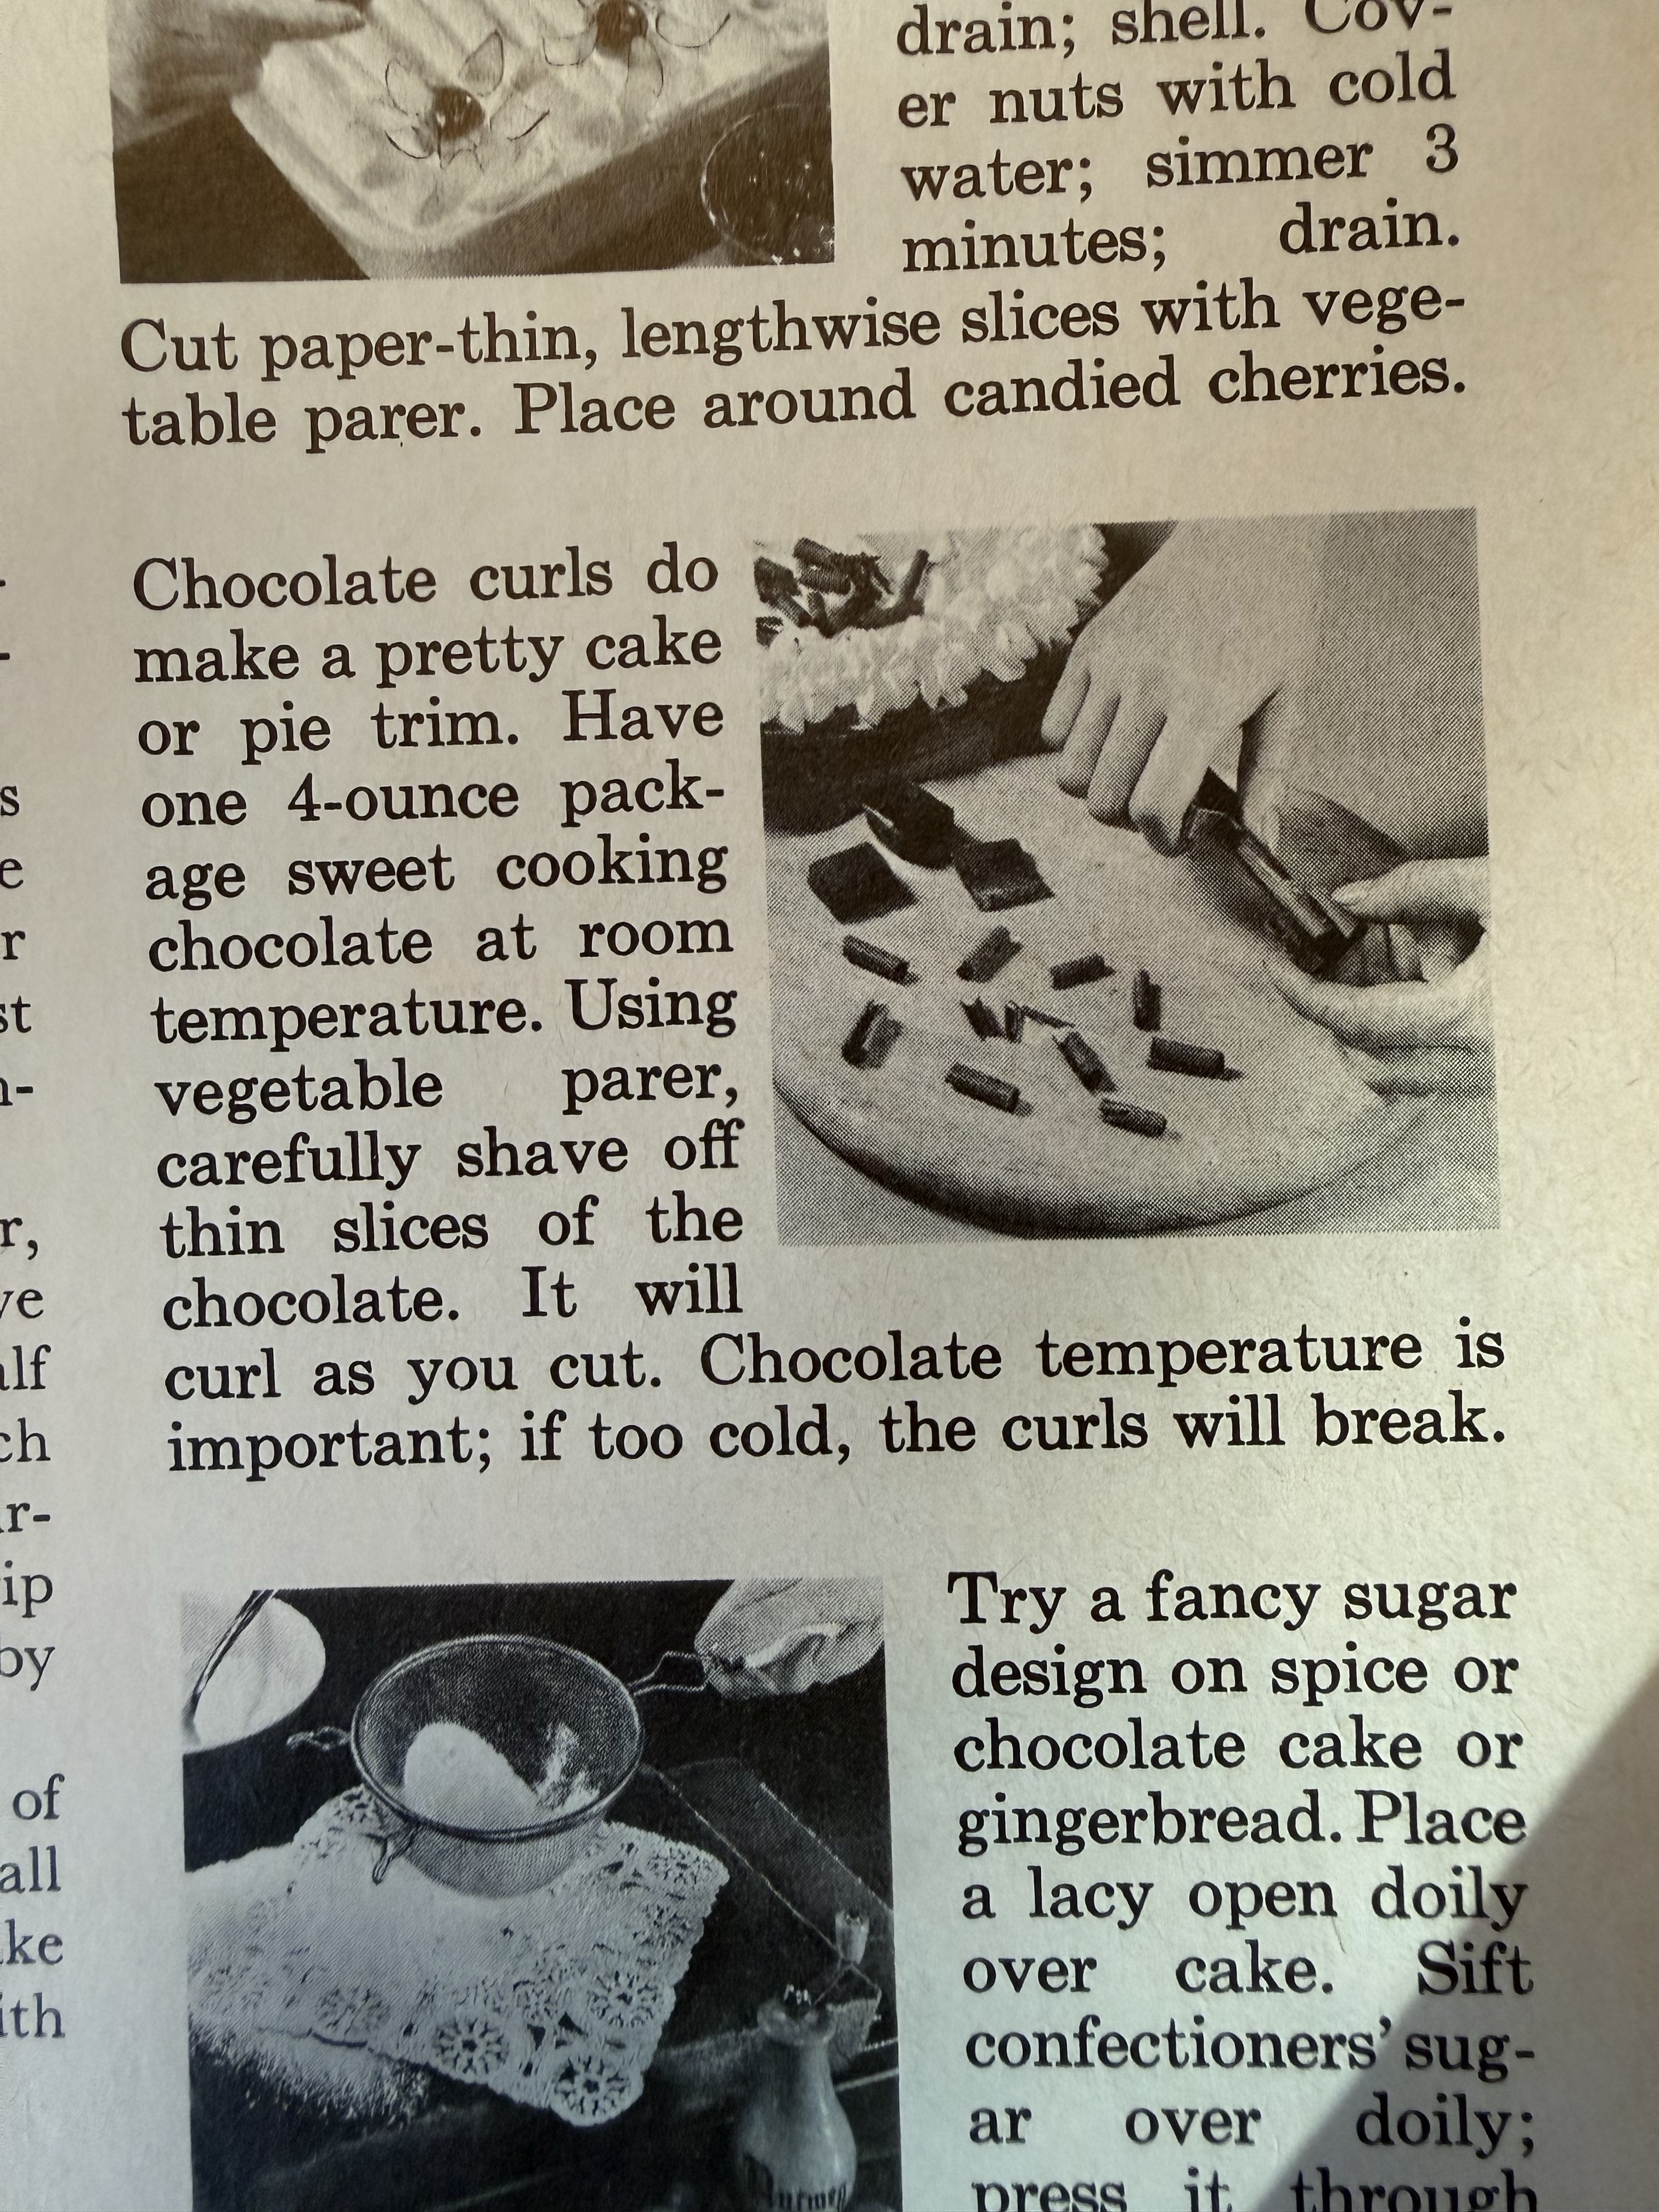
I love a chocolate fudge cake where the first instruction is basically – make the fudge. The process in this one resulted in a really fluffy, but moist crumb. It dictates both chocolate frosting and chocolate curls (see photo below for how to make them!). Basically, a chocolate lover’s dream.

This is also a very straightforward cake. No notes, except for the usual: let everything come to or close-to room temperature. It truly helps the ingredients come together more effectively.

A quick note on Jenny, one of my favorite humans: In the world of vintage cooking, there are people who appreciate good food no matter what, and there are people who just love a vintage aesthetic and appreciate the history of the dish as well. Lucky for me, Jenny falls into the later category. Not only was this the perfect cake for them, but they just look so perfect blowing out the candles. And yes – that is an authentic Tupperware cake carrier from the 1950’s. I, too, have an aesthetic. Happy birthday, Jen!

About the Book

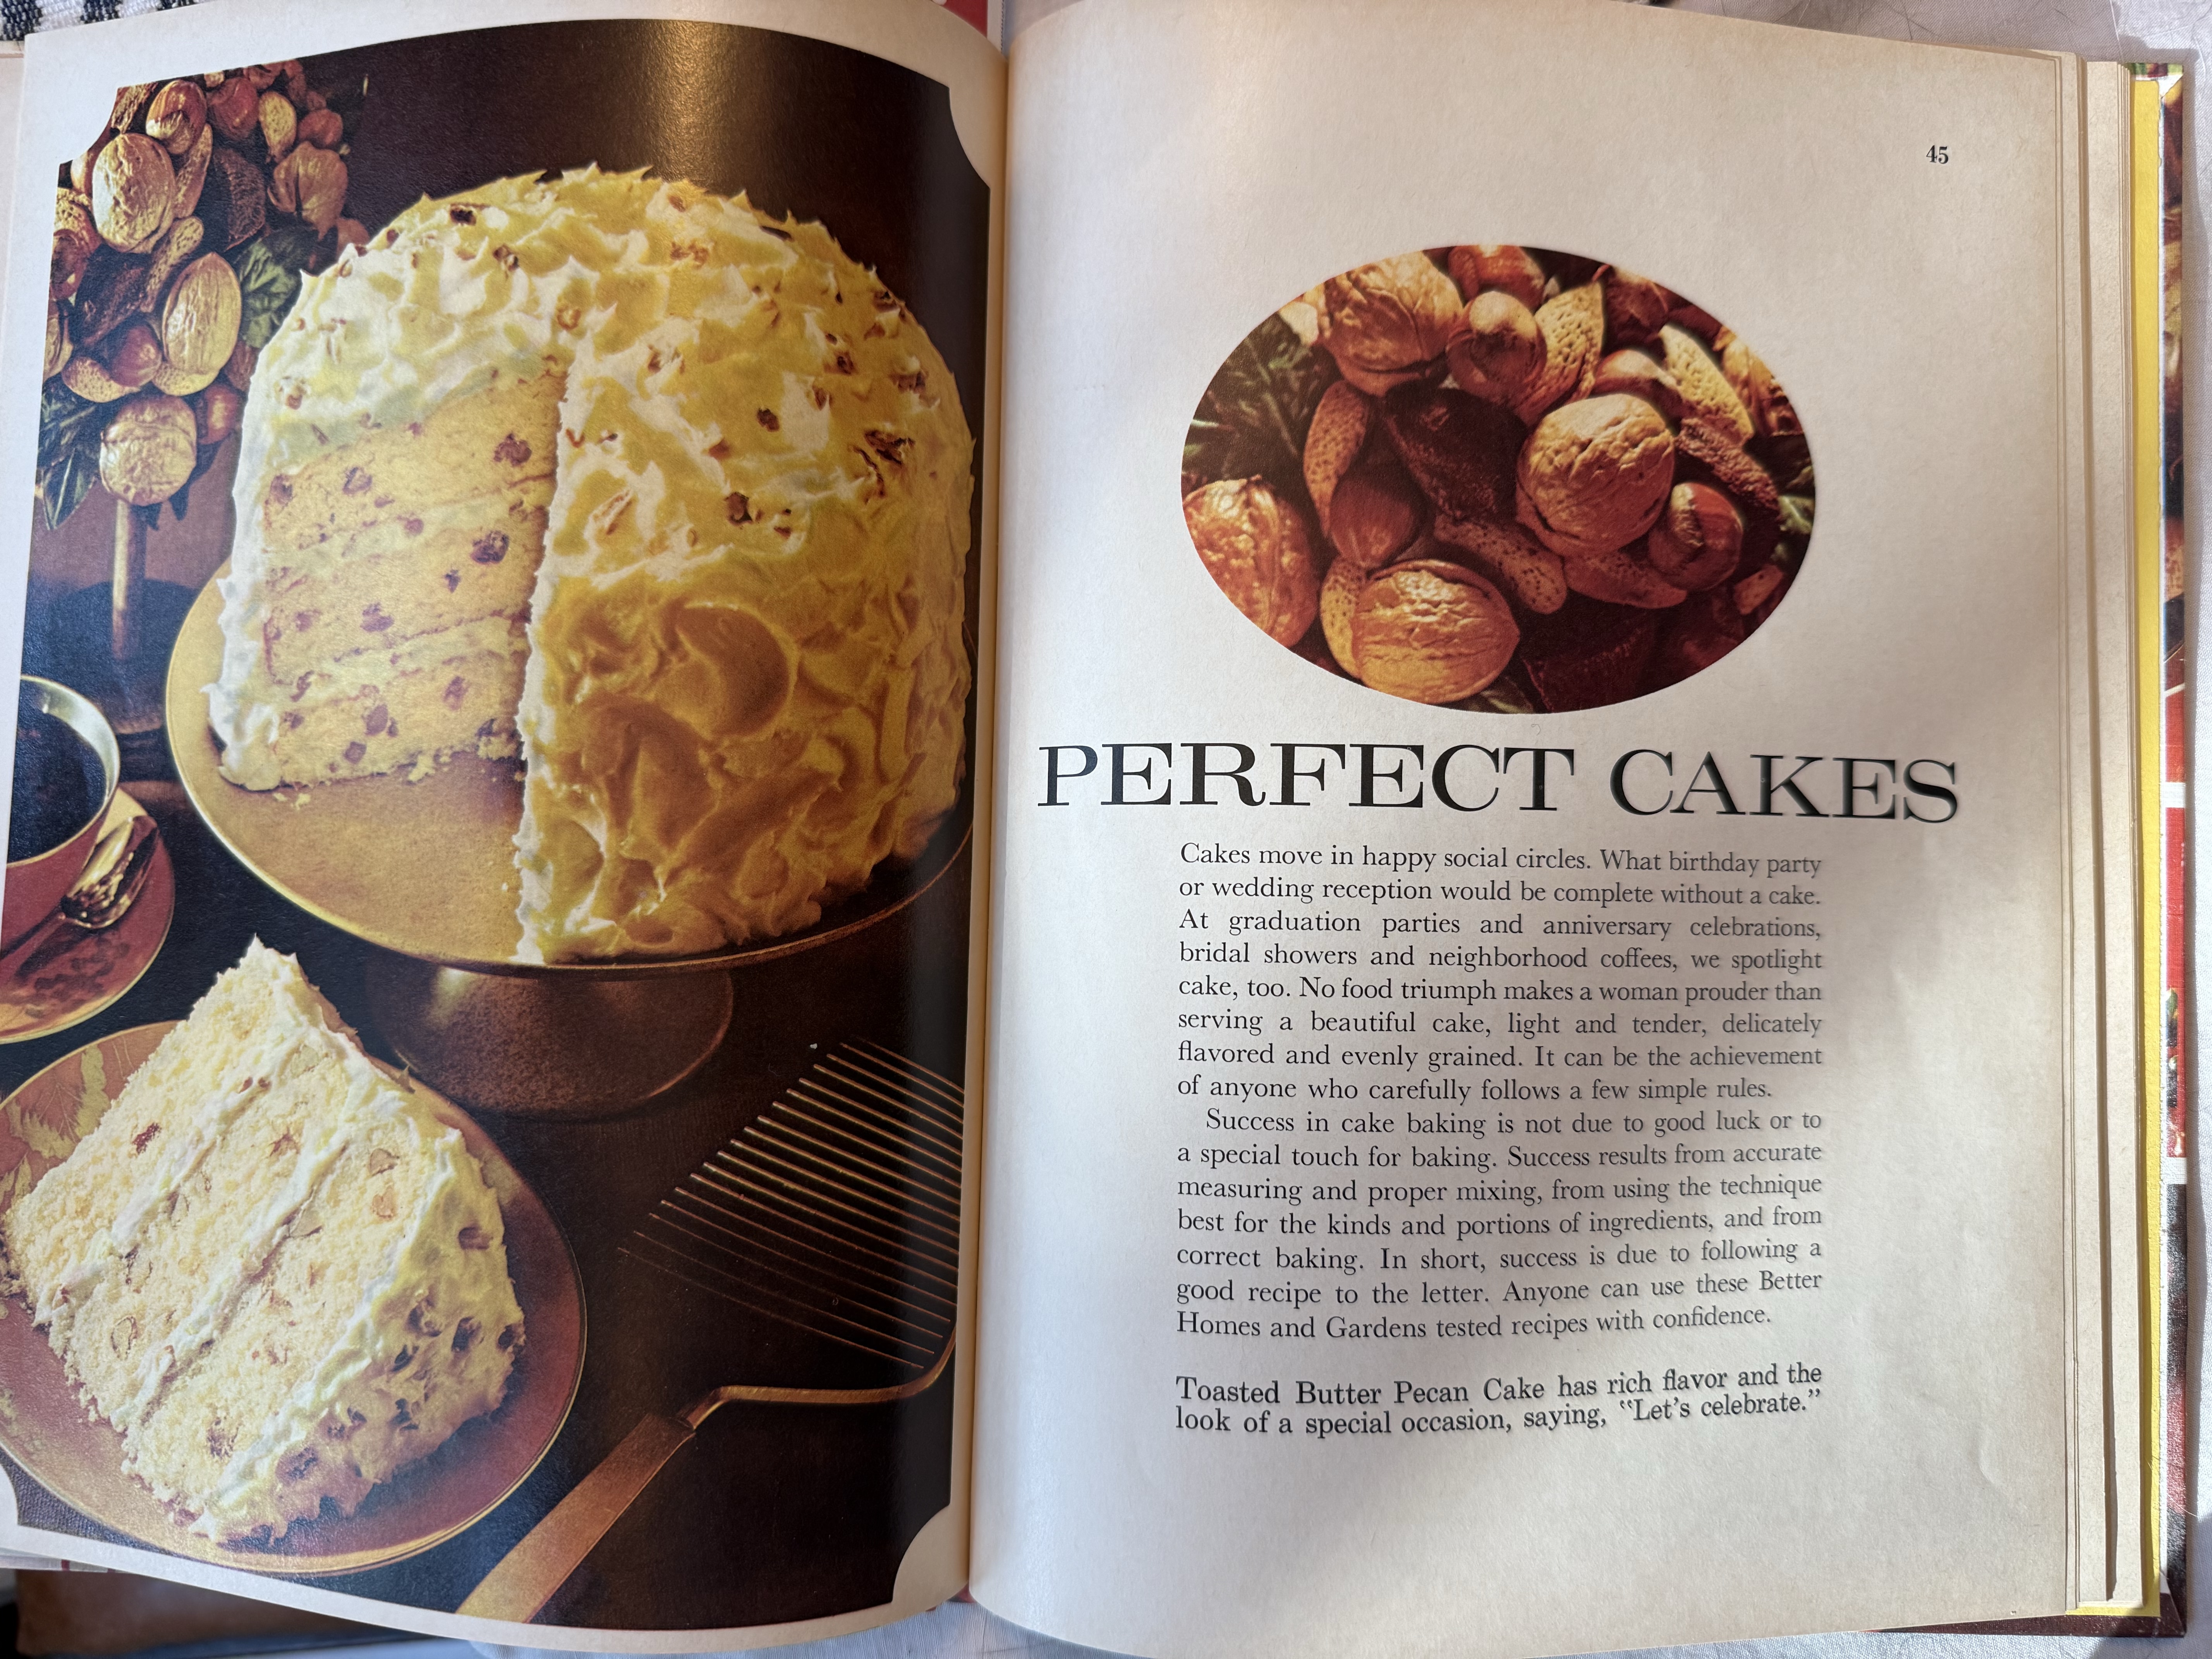
I just love this cookbook. I keep going back again and again and again. If you see it, grab it. In the meantime, enjoy some tips.

The Recipe!

Ingredients:

Mother’s Best Fudge Cake
2/3 cup sugar
1/2 cup milk
1 slightly beaten egg
3 oz. unsweetened chocolate
1/2 cup shortening
1 cup sugar
1 t vanilla
2 eggs
2 cups sifted cake flour
1 t baking soda
1/2 t salt
1 cup milk

Chocolate Frosting
6 T butter or margarine
4 cups sifted confectioners’ sugar
1 egg yolk
1 oz. unsweetened chocolate, melted and cooled
1 1/2 t vanilla
1/4 cup light cream

Directions:

Mother’s Best Fudge Cake
In saucepan combine first 4 ingredients. Cook and stir over medium heat till chocolate melts and mixture comes just to boiling. Cool. Gradually add 1 cup sugar to shortening, creaming until fluffy. Add vanilla. Add remaining eggs, one at a time, beating well after each.

Sift together dry ingredients. Add to creamed mixture alternately with 1 cup milk, beating just till smooth after each addition. Blend in the cooled chocolate mixture.

Bake in 2 greased and lightly floured 9×1 1/2-inch round pans at 350*F for 25 to 30 minutes or till done. Cool 10 minutes before removing from pans. Cool; frost and fill with Chocolate Frosting. Decorate with chocolate curls.

Chocolate Frosting
Cream butter; gradually add half the sugar, blending well. Add egg yolk, chocolate, and vanilla. Gradually add remaining sugar; beat well. Add cream to make of spreading consistency. Frosts tops and sides of two 8- or 9-inch layers. (Author’s note: I used 1.5x this recipe for my cake so that I had some extra frosting to decorate with)

Carl Gohs’ Zucchini Bread

Carl Gohs’ Zucchini Bread

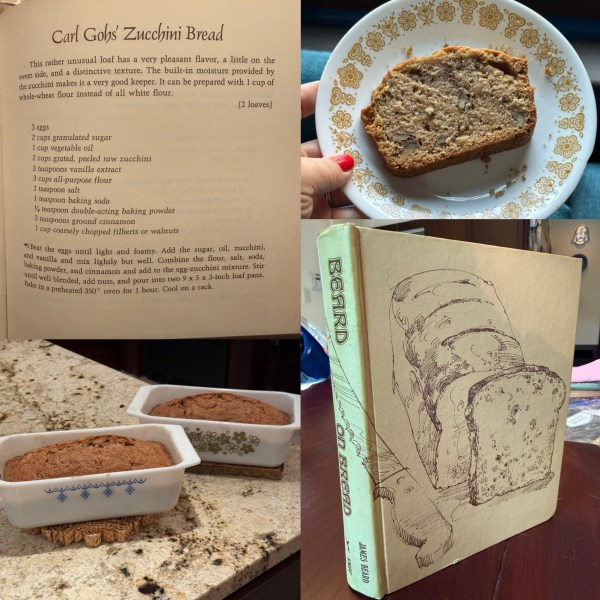
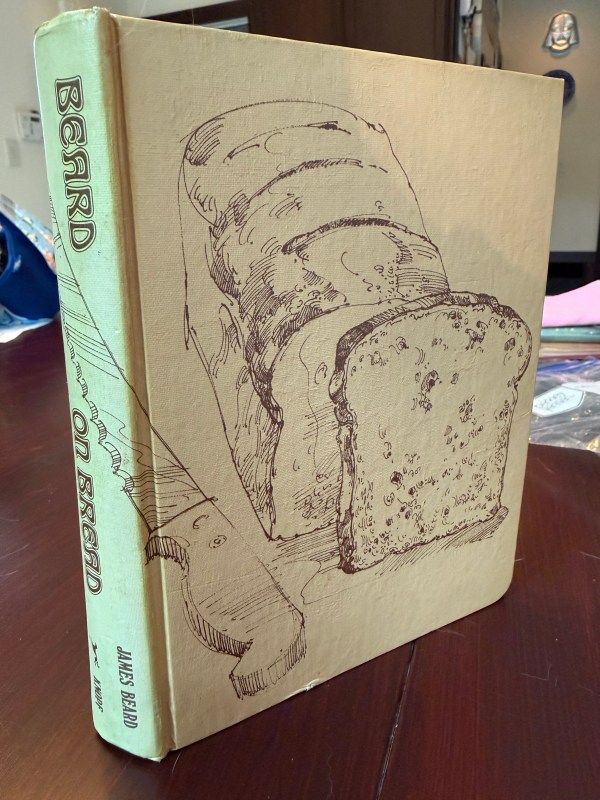
A Recipe from Beard on Bread (1973)

About the Recipe

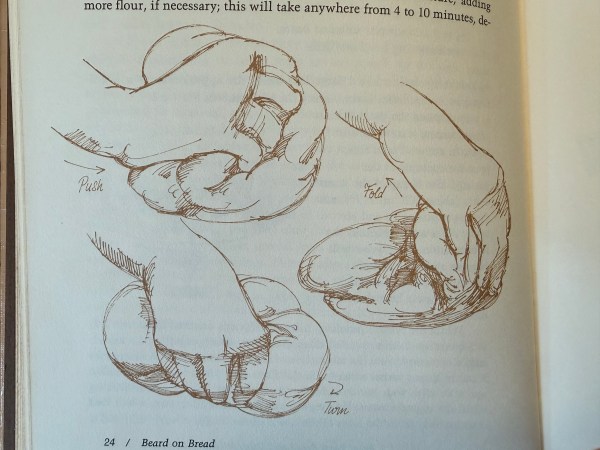
Zucchini is in season! Summer squash season is one of my favorites. So when I was in the mood to bake something, how lucky that I had some fresh zucchini to make these delightful loaves with.

I honestly don’t have much to say or change on this recipe. I used chopped walnuts, but any nut will do. I also think this would be spectacular with some chocolate chips or dark chocolate chunks.

Pro tip: A slice of the bread heated up slightly, topped with a scoop of ice cream – pure heaven. Enjoy!

About the book

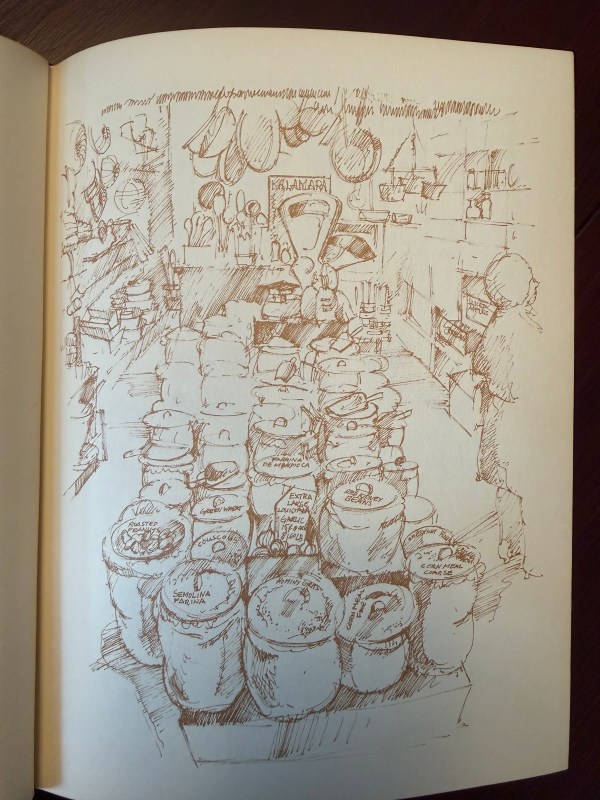
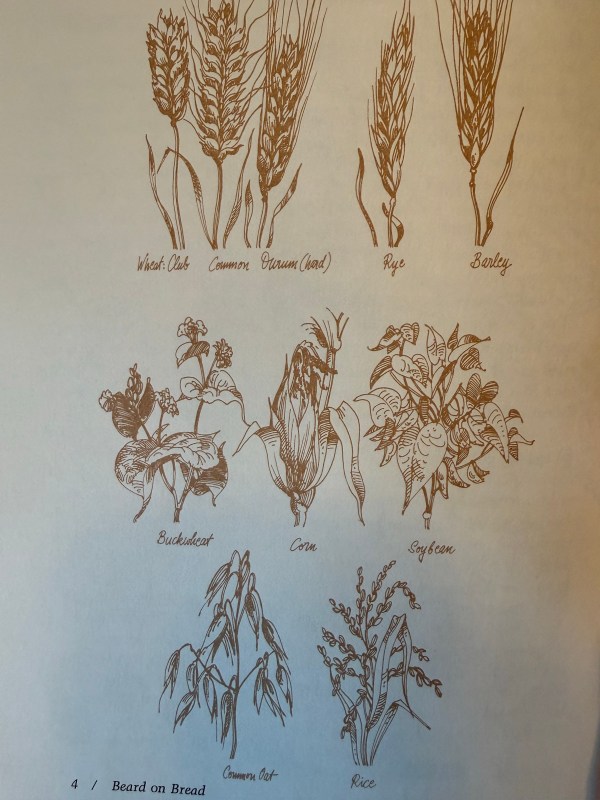
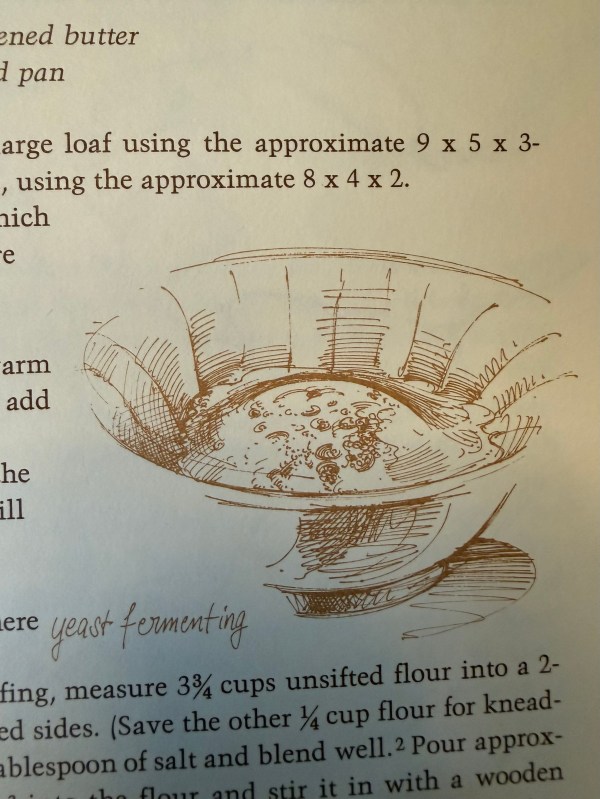
This book is truly one of the bibles of baking. I was lucky enough to stumble on a first edition, first printing. The recipes are classics. It includes little illustrations to show you how to manage each recipe just so. It’s perfect for any beginner baker or experienced chef.

The Recipe!

Ingredients:

3 eggs
2 cups granulated sugar
1 cup vegetable oil
2 cups grated, peeled raw zucchini
3 t vanilla extract
3 cups all-purpose flour
1 t salt
1 t baking soda
1/4 t double-acting baking powder
3 t ground cinnamon
1 cup coarsely chopped filberts or walnuts

Directions:

Beat the eggs until light and foamy. Add the sugar, oil, zucchini, and vanilla and mix lightly but well. Combine the flour, salt, soda, baking powder, and cinnamon and add to the egg-zucchini mixture. Stir well until blended, add nuts, and pour into two 9 x 5 x 3-inch loaf pans. Bake in a preheated 350* oven for 1 hour. Cool on a rack.

Blueberry Cream Pie

Blueberry Cream Pie

A Recipe from Fabulous Pies from Pillsbury (1961)

About the Recipe

This year’s July 4th weekend also happened to be the 10th anniversary of our beautiful house in High Falls, NY. We had a few friends over to hang out and barbecue. Clearly a festive dessert was in order. With blueberries in season, this looked to be the perfect fit.

This pie definitely takes a bit of time to make with more than a few steps to get there. But oh wow was it ever worth it! A few tips and tricks to get you to the finish line:

  • I used a butter pie crust recipe that my grandma passed down to me for this one. If you decide to make your own, don’t forget to refrigerate it overnight. Especially when you’re blind baking (baking with no pie filling) it makes a massive difference. That said – feel free to use a premade crust. Totally fine, just make sure to roll it out a little bit so it fits the 9-inch pie plate.
  • I used fresh blueberries instead of frozen without a problem. Just cook them with a tiny bit of water until they start to break down before running through the rest of the recipe.
  • I added some fresh lemon zest into the filling along with the lemon juice. No regrets.
  • My only error (and it wasn’t critical) is that I used instant pudding instead of cook and serve. I’ll definitely go for the cook and serve next time. It would have made for a more set pie. But again – not a critical failure, just a slightly less set pie.

That’s it! This is a fantastic pie, and great to make ahead and take with you next day. I might even say that it was better on day 2. Maybe.

Enjoy!

About the Book

This is such a cute little booklet. Classic mid-century illustrations accompany a note from the (fictional) Ann Pillsbury. It’s definitely worth grabbing for all the creative recipes inside.

The Recipe!

Ingredients:
Pastry for one-crust 9-inch pie
1/2 cup sugar
2 T cornstarch
1/4 t salt
1/2 cup water
2 2/3 cup frozen (or fresh! see my notes!) blueberries (from a 12-oz. pkg.), separated
1 T butter
2 t lemon juice
1 package vanilla pudding and pie filling
2 cups milk
whipped cream

Directions:

Prepare the pastry for your pie crust. Prick generously with fork. Bake at 450*F for 8-10 minutes until golden brown. Cool.
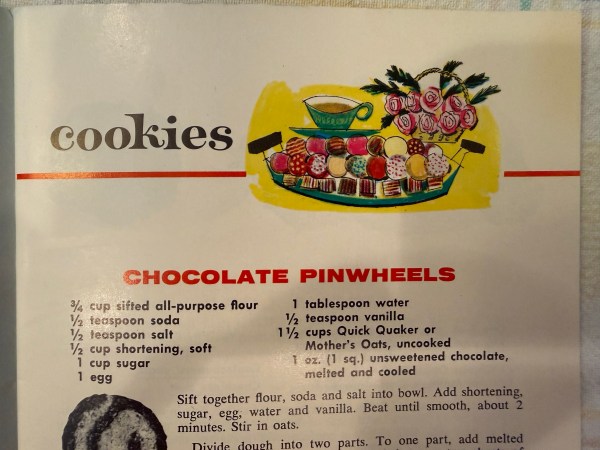
Combine sugar, cornstarch, and salt in saucepan. Blend in water. Then add 1 cup of your blueberries. Cook over medium heat, stirring constantly, until thickened. Remove from heat. Add butter and lemon juice. Stir in remaining blueberries. Spread in cooled baked pie shell.

Prepare your vanilla pudding and pie filling with milk as directed on package. Cool 5 minutes after cooking, stirring twice. Pour over blueberries. Cool 30 minutes, then chill until set, (Note: if you use instant pudding, spread once thickened then chill right away) 1 to 2 hours before serving. Spread top with thin layer of whipped cream.

Flummery

Flummery

A Recipe from From the Strawberry Patch (1980)

About the Recipe

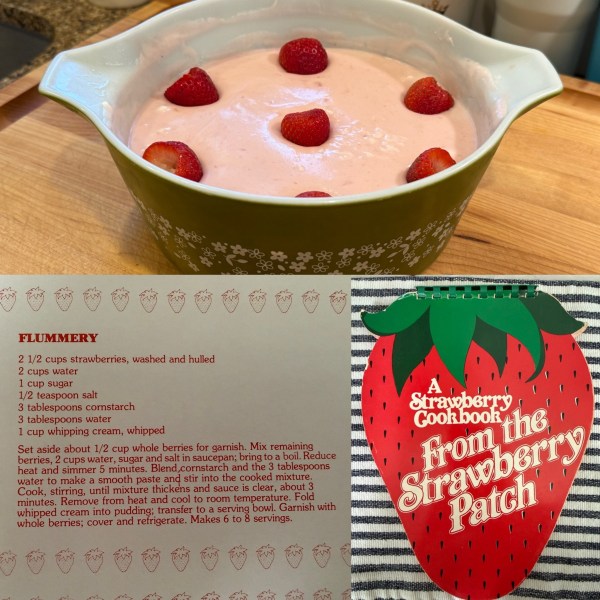
It’s strawberry season again! My favorite time of year, when strawberries are sweet, juicy, and relatively inexpensive. We were meeting friends for a casual bbq dinner. I went straight for this cookbook to find a dessert to bring along. And of course when I got to this recipe my first thought – what the heck is Flummery?!

Turns out that flummery is a light, fluffy dessert. According to the internet, it comes from Great Britain and is a starch-based, sweet, soft dessert pudding. And – yeah! That’s exactly what it was. The perfect summertime dessert

A few notes and thoughts:

  • I cooked exactly to the specifications in the recipe from a timing perspective. I actually would cook it a little longer in the future. Really make sure that you’re getting the post-cornstarch step right to get the right texture going.
  • Do not use pre-made whipped cream! Get the cream and whip it yourself. If you go for the pre-made stuff it will be way too sweet.
  • I used small whole strawberries on top. For future batches, I’d definitely do some fun decorating with slices. Everyone wanted their own fresh strawberry, and those slices would have gone a longer way.

Other than that – easy and delicious! Enjoy! Oh, and if you want some more goodness for Strawberry Season, check out the collection!

About the book

I love this strawberry cookbook. I usually don’t do cookbooks from the 80’s, but I love a good cutout. I’ve tried a few recipes from this book before and actually – they’re all pretty good! Worth the browse if you see a copy hanging around.

The Recipe!

Ingredients:

2 1/2 cups strawberries, washed and hulled
2 cups water
1 cup sugar
1/2 t salt
3 T cornstarch
3 T water
1 cup whipping cream, whipped

Directions:

Set aside about 1/2 cup whole berries for garnish. Mix remaining berries, 2 cups water, sugar, and salt in saucepan; bring to a boil. Reduce heat and simmer 5 minutes.

Blend cornstarch and the 3 tablespoons water to make a smooth paste and stir into the cooked mixture. Cook, stirring, until mixture thickens and sauce is clear, about 3 minutes. Remove from heat and cool to room temperature.

Fold whipped cream into pudding; transfer to a serving bowl. Garnish with whole berries; cover and refrigerate. Makes 6 to 8 servings.

Raisin-Meringue Bread Pudding

Raisin-Meringue Bread Pudding

A Recipe from Better Homes & Gardens Dessert Cookbook (1968)

About the Recipe

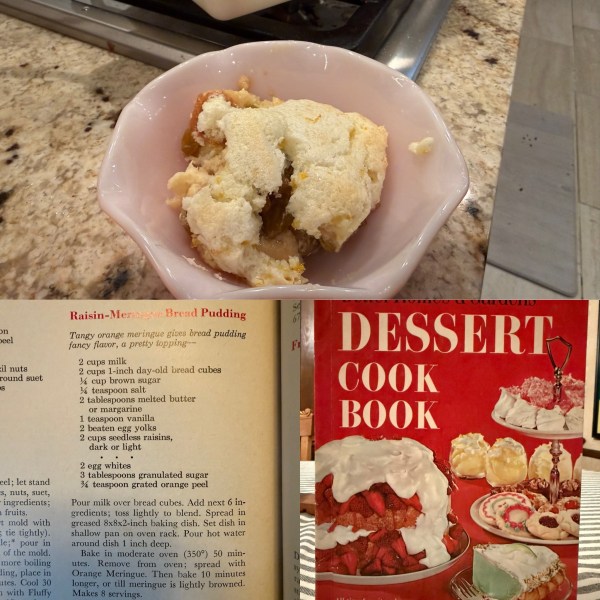
The other day, I got some dinner rolls from the grocery store for free. It was one of those specials – buy some meat and we’ll give you the sides! So I bought the meat. And I got the sides. But we don’t really do dinner rolls in my house. So I asked the internet – what should I make?

The answer was resoundingly bread pudding! So then I asked again – which bread pudding?

And the internet picked… Raisin-Meringue! Reader – it’s delicious. Some quick notes to help you make a successful bread pudding:

  1. I used a little more bread than the recipe called for. Probably closer to 3 cups, rather than just 2. It was necessary.
  2. This is so so raisiny. Now don’t get me wrong, I love raisins. But even for a raisin-lover like me, this was a bit much. I’d cut it down to a cup and a half of raisins, and you’ll still be fine.
  3. Separate your eggs when they’re cold, and let the whites come to room temp for the best, most-fluffy meringue. I separated them when I was ready for the yolks, and about 10 minutes out from the pudding being done I whipped up the whites. That worked well.
  4. No one ever was sorry that they added too much orange zest to a meringue.

Enjoy!

The Recipe!

Ingredients:
2 cups milk
2 cups (+ see note) 1-inch day-old bread cubes
1/4 cup brown sugar
1/4 t salt
2 T melted butter or margarine
1 t vanilla
2 beaten egg yolks
2 cups seedless raisins, dark or light
* * *
2 egg whites
3 T granulated sugar
3/4 t grated orange peel

Directions:

Pour milk over bread cubes. Add next 6 ingredients; toss lightly to blend. Spread in greased 8x8x2-inch baking dish. Set dish in shallow pan on oven rack. Pour hot water around dish 1 inch deep.

Bake in moderate oven (350*F) 50 minutes. Remove from oven; spread with Orange Meringue. Then bake 10 minutes longer, or till meringue is lightly browned. Makes 8 servings.

Orange Meringue: Beat egg whites till fluffy. Gradually add the granulated sugar; beat till soft peaks form. Fold in grated orange peel. Spread on baked pudding.

Cherry Crisp

Cherry Crisp

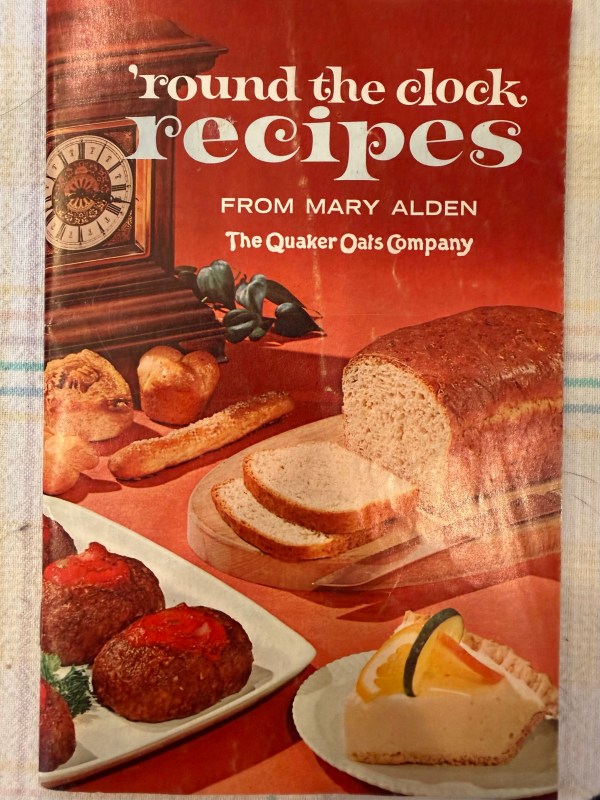
A Recipe from ‘Round the Clock Recipes from Mary Alden (1963)

About the Recipe

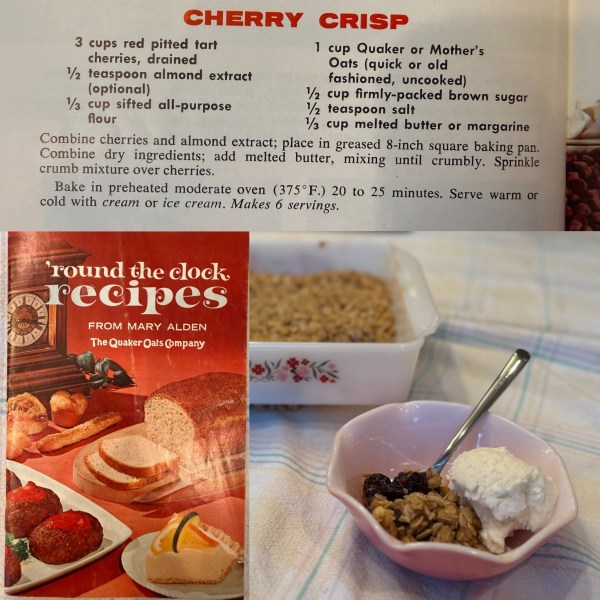
Some days, you wake up and say – “I want to bake something today.” And you ask your husband what you should bake. And he says, “I don’t know, some fruity, crumbly, cobbler-y thing?” So obviously, you go to your shelf and start thumbing through a Quaker Oats advertising cookbook – obviously! And you end up with this super easy, delicious cherry crisp.

This was so easy to make, but I do have a few thoughts:

  • I would easily double the cherries that this recipe calls for. I used frozen cherries and let them thaw in the morning before I baked.
  • I used regular old rolled oats (Quaker brand, of course). I think quick oats actually would work better for this one. The oats came out just a little more crunchy than I would have liked.
  • The almond is a great touch. Almond and cherry go really well together. If almond isn’t your thing, it would work just as well with vanilla or even orange extract.
  • The vanilla ice cream was an absolute must. It cut through the tartness of the cherries and was just perfect, especially when it was hot out of the oven.

But that’s it! This is an easy one to pull out when you need a quick dessert or are just jonesing for something sweet. Enjoy!

About the book

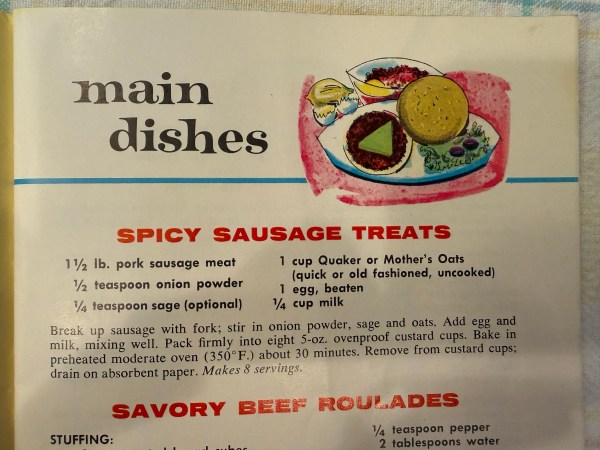
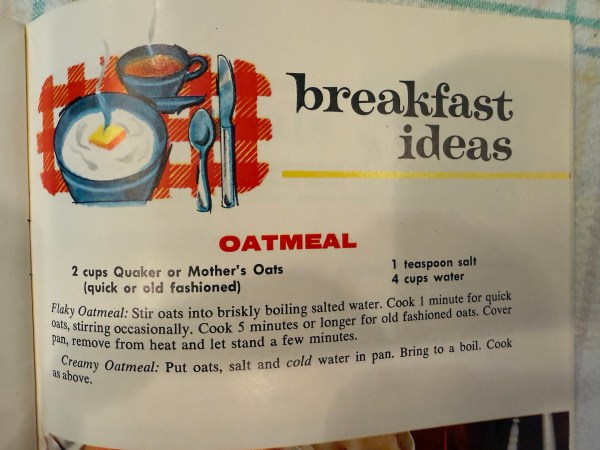
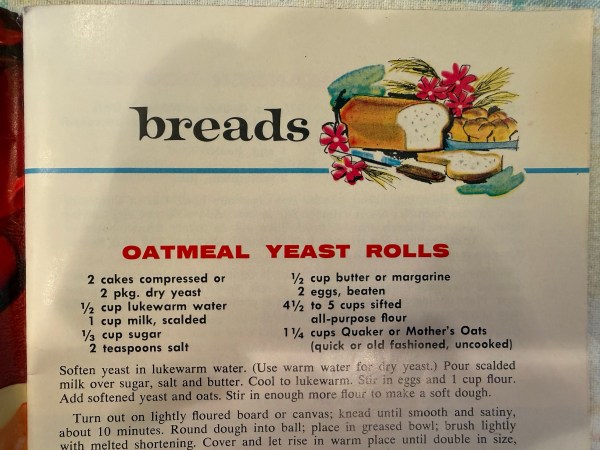
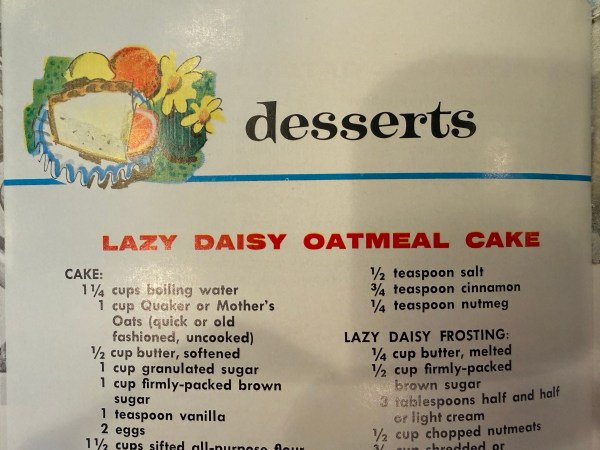
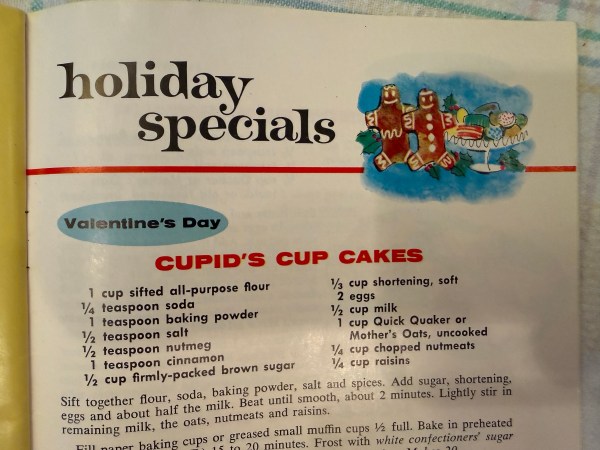
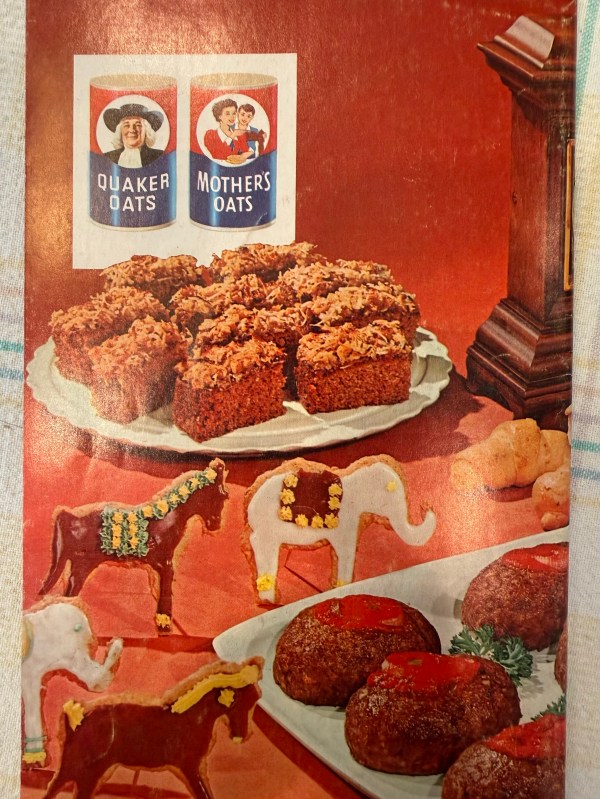
I’ve said it before, and I’ll say it again – I love these advertising cookbooks. The title pages and illustrations are so delightfully ’60’s. The font reminds me of the original Parent Trap, the one with Hayley Mills. Enjoy the art (and a few bonus recipes)!

The Recipe!

Ingredients:

3 cups red pitted tart cherries, drained
1/2 t almond extract (optional)
1/3 cup sifted all-purpose flour
1 cup Quaker or Mother’s Oats (quick or old fashioned, uncooked)
1/2 cup firmly-packed brown sugar
1/2 t salt
1/3 cup melted butter or margarine

Directions:

Combine cherries and almond extract; place in greased 8-inch square baking pan. Combine dry ingredients; add melted butter, mixing until crumbly. Sprinkle crumb mixture over cherries.

Bake in preheated moderate oven (375*F) 20-25 minutes. Serve warm or cold with cream or ice cream. Makes 6 servings