A Recipe from Favorite Recipes of America Desserts (1968)

About the Recipe
If you’ve been with my blog for awhile, you’ll know that I love a recipe that tricks me into making something fancy that I probably wouldn’t have tried otherwise. This time, it was a beautiful lemon curd.
This recipe is magnificent. It’s tart and crunchy and absolutely perfect with the whipped cream on top. It would make a great make-ahead for a dinner party. I re-heated it in the warming drawer in my oven. The hubs and I even nibbled on it the next day. How was it? Still good.
One important note on this recipe to make sure it’s successful: Make sure that you have your mise en place set up and ready to go before you start working on the stove. You will not have time (or hands) to measure as you go on this one.
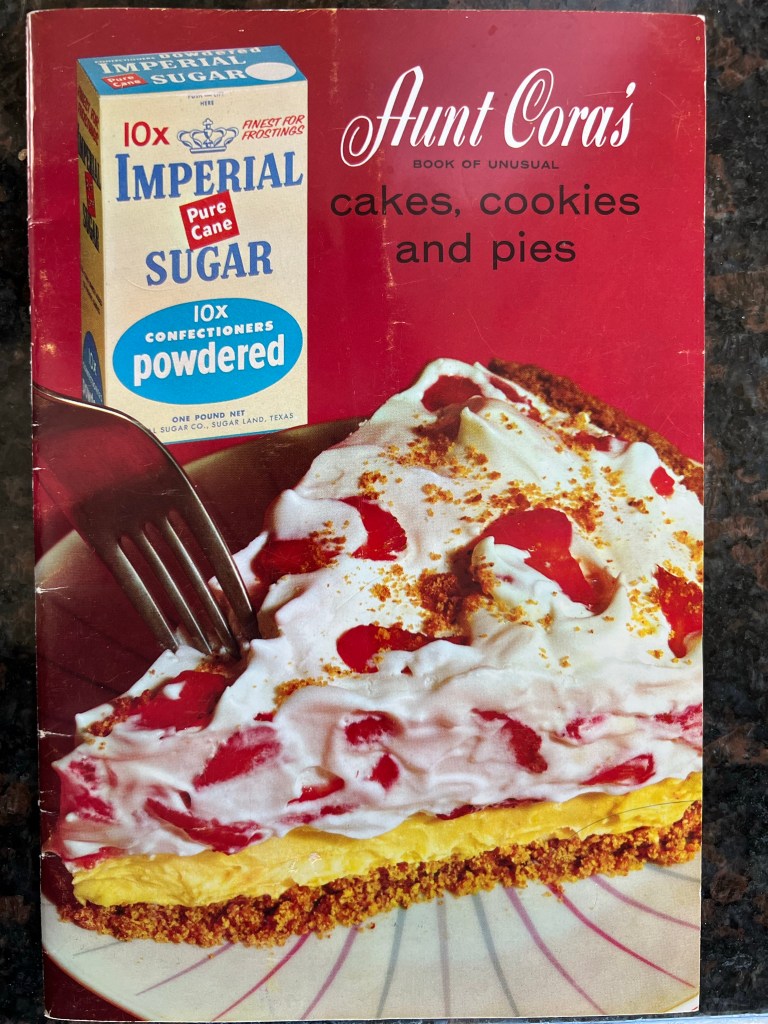
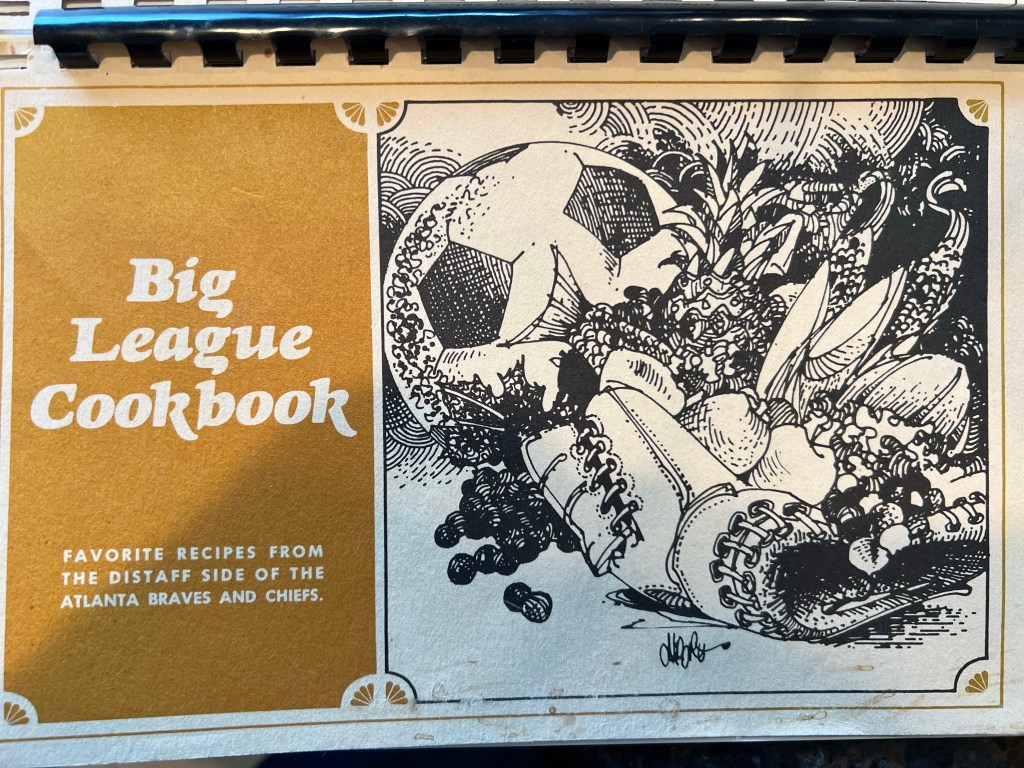
About the book
This book is one in a set of 5. I actually found a different book out of this set first (Casseroles. Don’t judge, I’m a fan). When I saw the full set on the shelf in my favorite antiques store, I had to have it.
The books are like a nationwide community cookbook. The submissions are clearly folks’ favorites. Typically they’re easy to make and every one I’ve tried has turned out well. They’re truly a look into kitchen favorites during this time period.
The Recipe!
Ingredients:
6 T butter or margarine
3/4 cup brown sugar
1 cup sifted flour
3/4 t salt (divided)
1/3 cup flaked coconut
3/4 cup finely crushed saltine crackers
3/4 cup white sugar
2 T cornstarch
1 cup hot water
2 beaten egg yolks
1/2 t grated lemon peel
1/2 cup lemon juice
Directions:
Cream butter and brown sugar; add flour, soda, 1/2 teaspoon salt, coconut and crackers. Press half crumb mixture into 8 x 8 x 2-inch baking pan. Bake at 350*F for 10 minutes.
In saucepan combine white sugar, cornstarch and remaining salt; gradually stir in water. Bring to boil, stirring constantly; boil about 2 minutes. Remove from heat; stir small amount of hot mixture into egg yolks. Return to pan. Bring to a boil, stirring constantly; remove from heat. Stir in lemon peel and juice gradually. Pour over baked crust; top with remaining crumb mixture.
Bake at 350*F for 30 minutes or until lightly browned. Top with whipped cream. Yield: 8 servings