A Recipe from the Mary Margaret McBride Encyclopedia of Cooking (1959)

About the Recipe
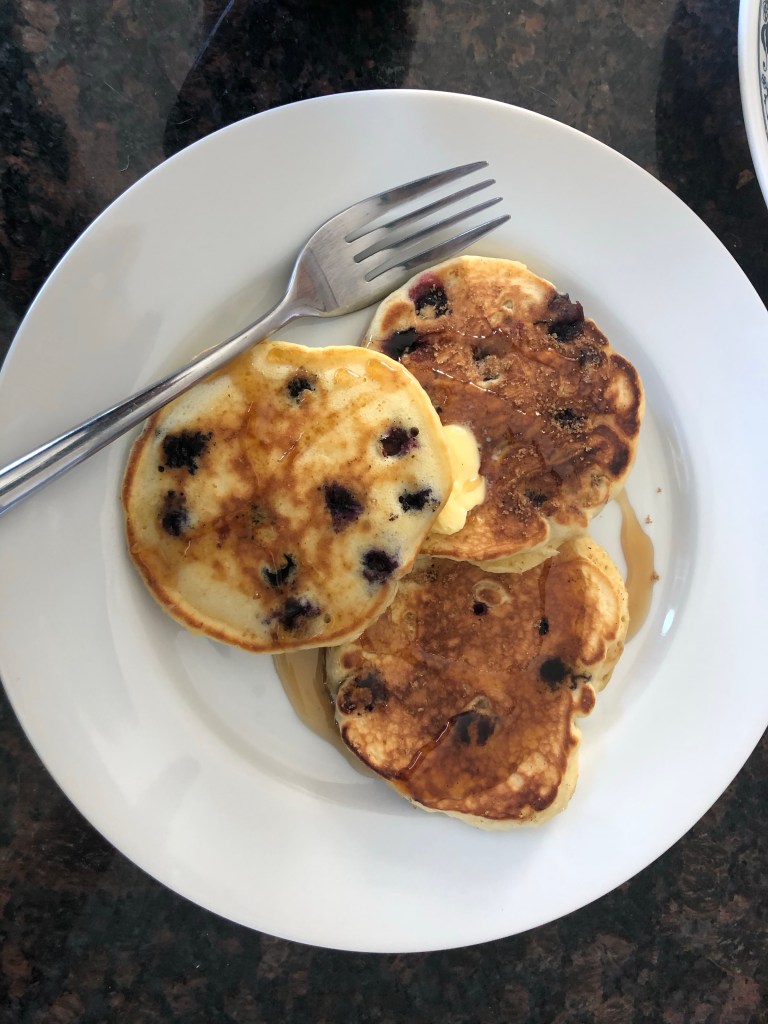
I woke up yesterday with an undeniable craving for blueberry pancakes. After a quick search through the MMMB, I came across this particular recipe. I took a look around for Blueberry Pancakes #1 – and did not find it. SO! Blueberry Pancakes #2, a delightfully over-complicated pancakes recipe it is!
Separating the eggs and beating up the whites plus the slightly high amount of baking powder makes for a wonderfully fluffy pancakes. They were well balanced between sweet, savory, and fruit. I would even make them again with different fruit or sans fruit altogether! Try a little lemon rind for a special twist if you’d like, but otherwise enjoy. And know that the extra 10 minutes or so to make them are definitely going to be worth it. Bonus points to the hubby this time around for helping to fold the egg whites!

I got to pull out my favorite Pyrex Frankenset and enlist the help of the hubby to fold in the egg whites. A wonderful way to kick-off brunch, indeed!

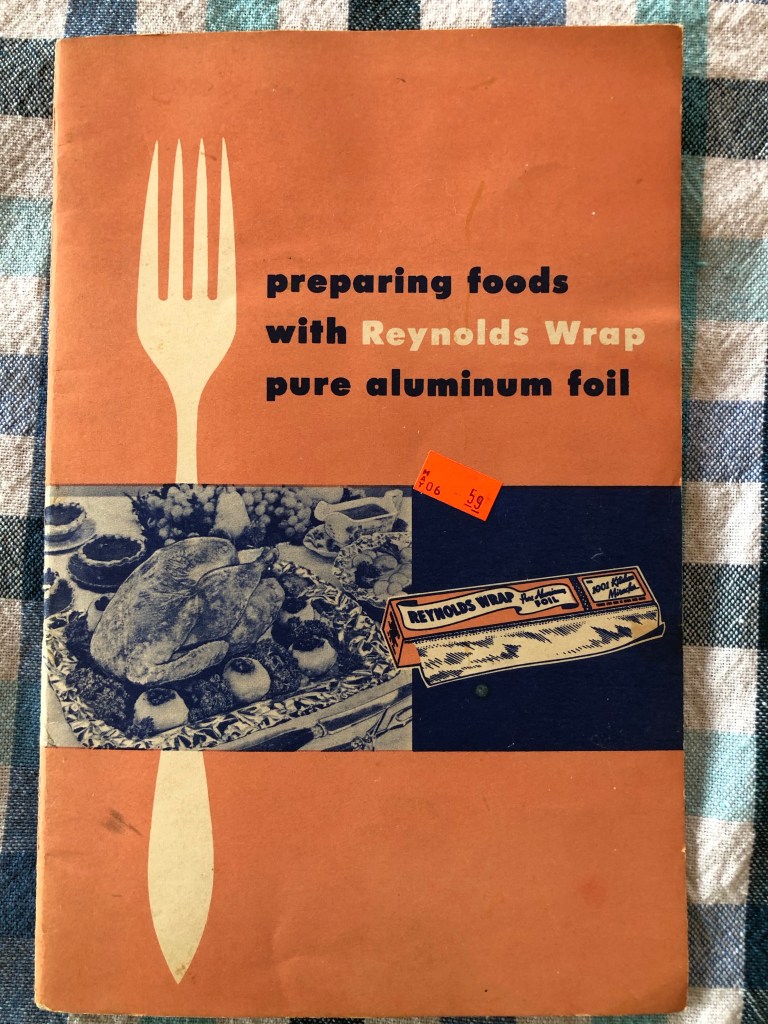
About the Book
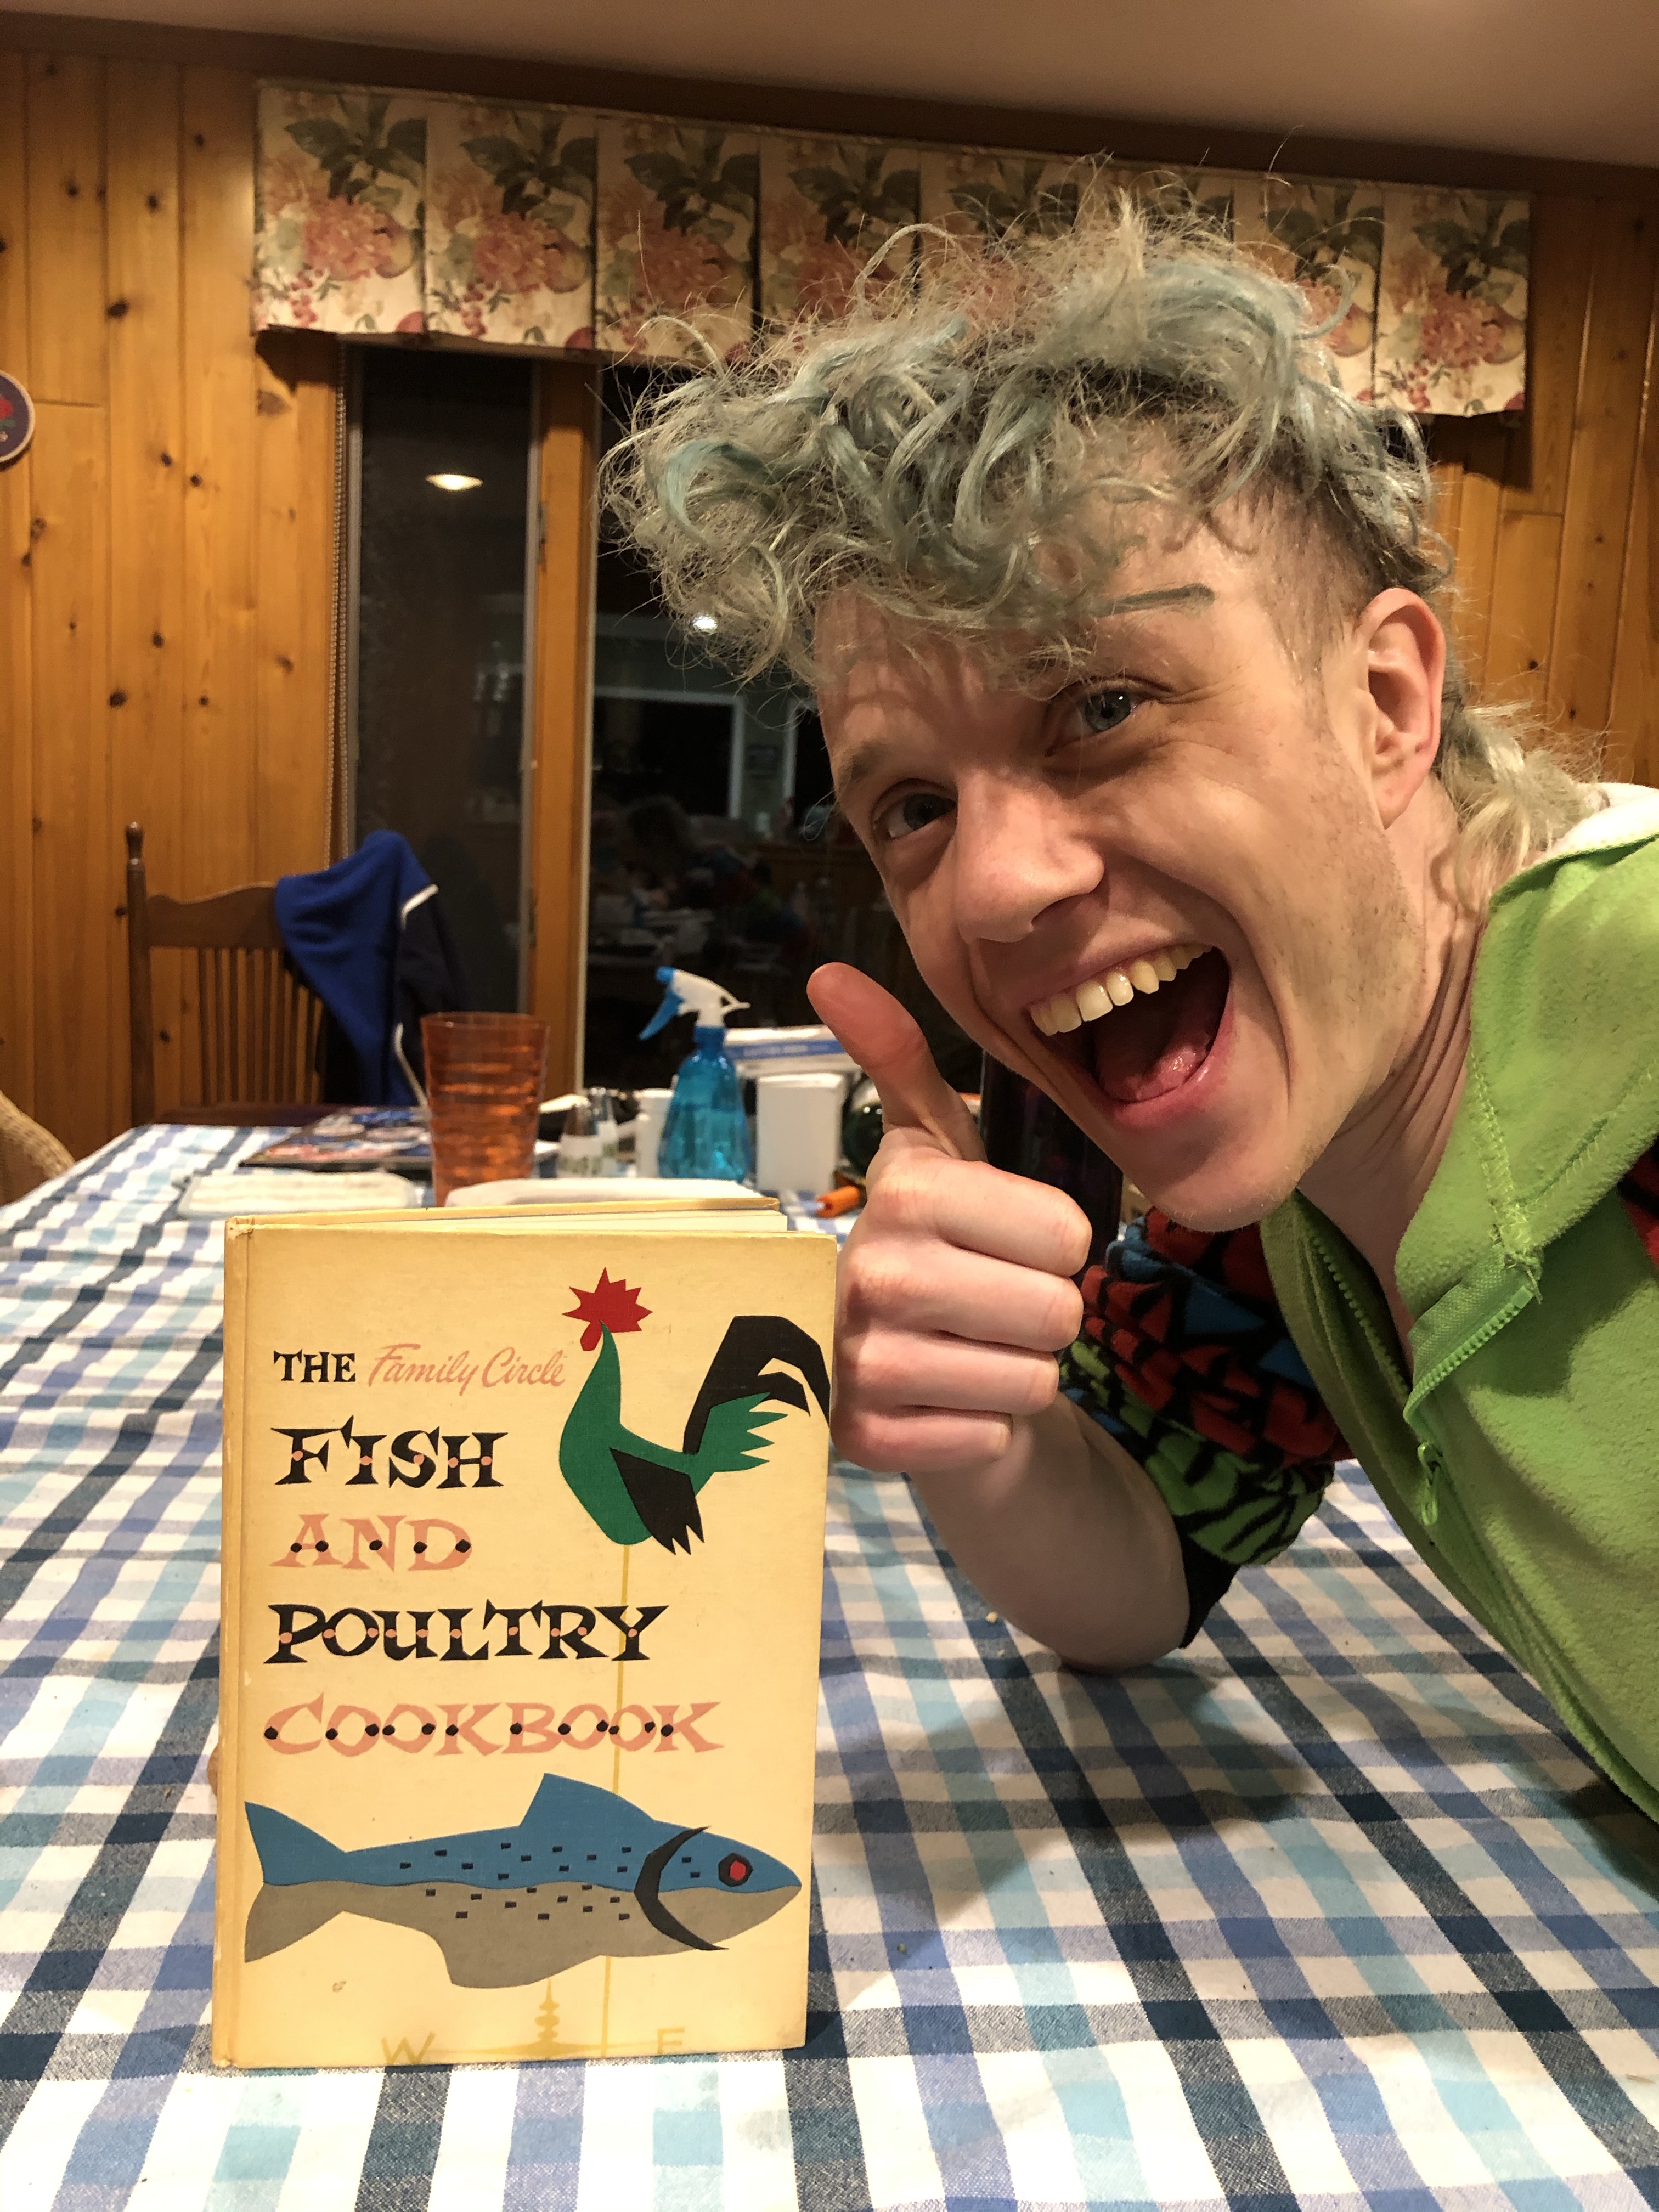
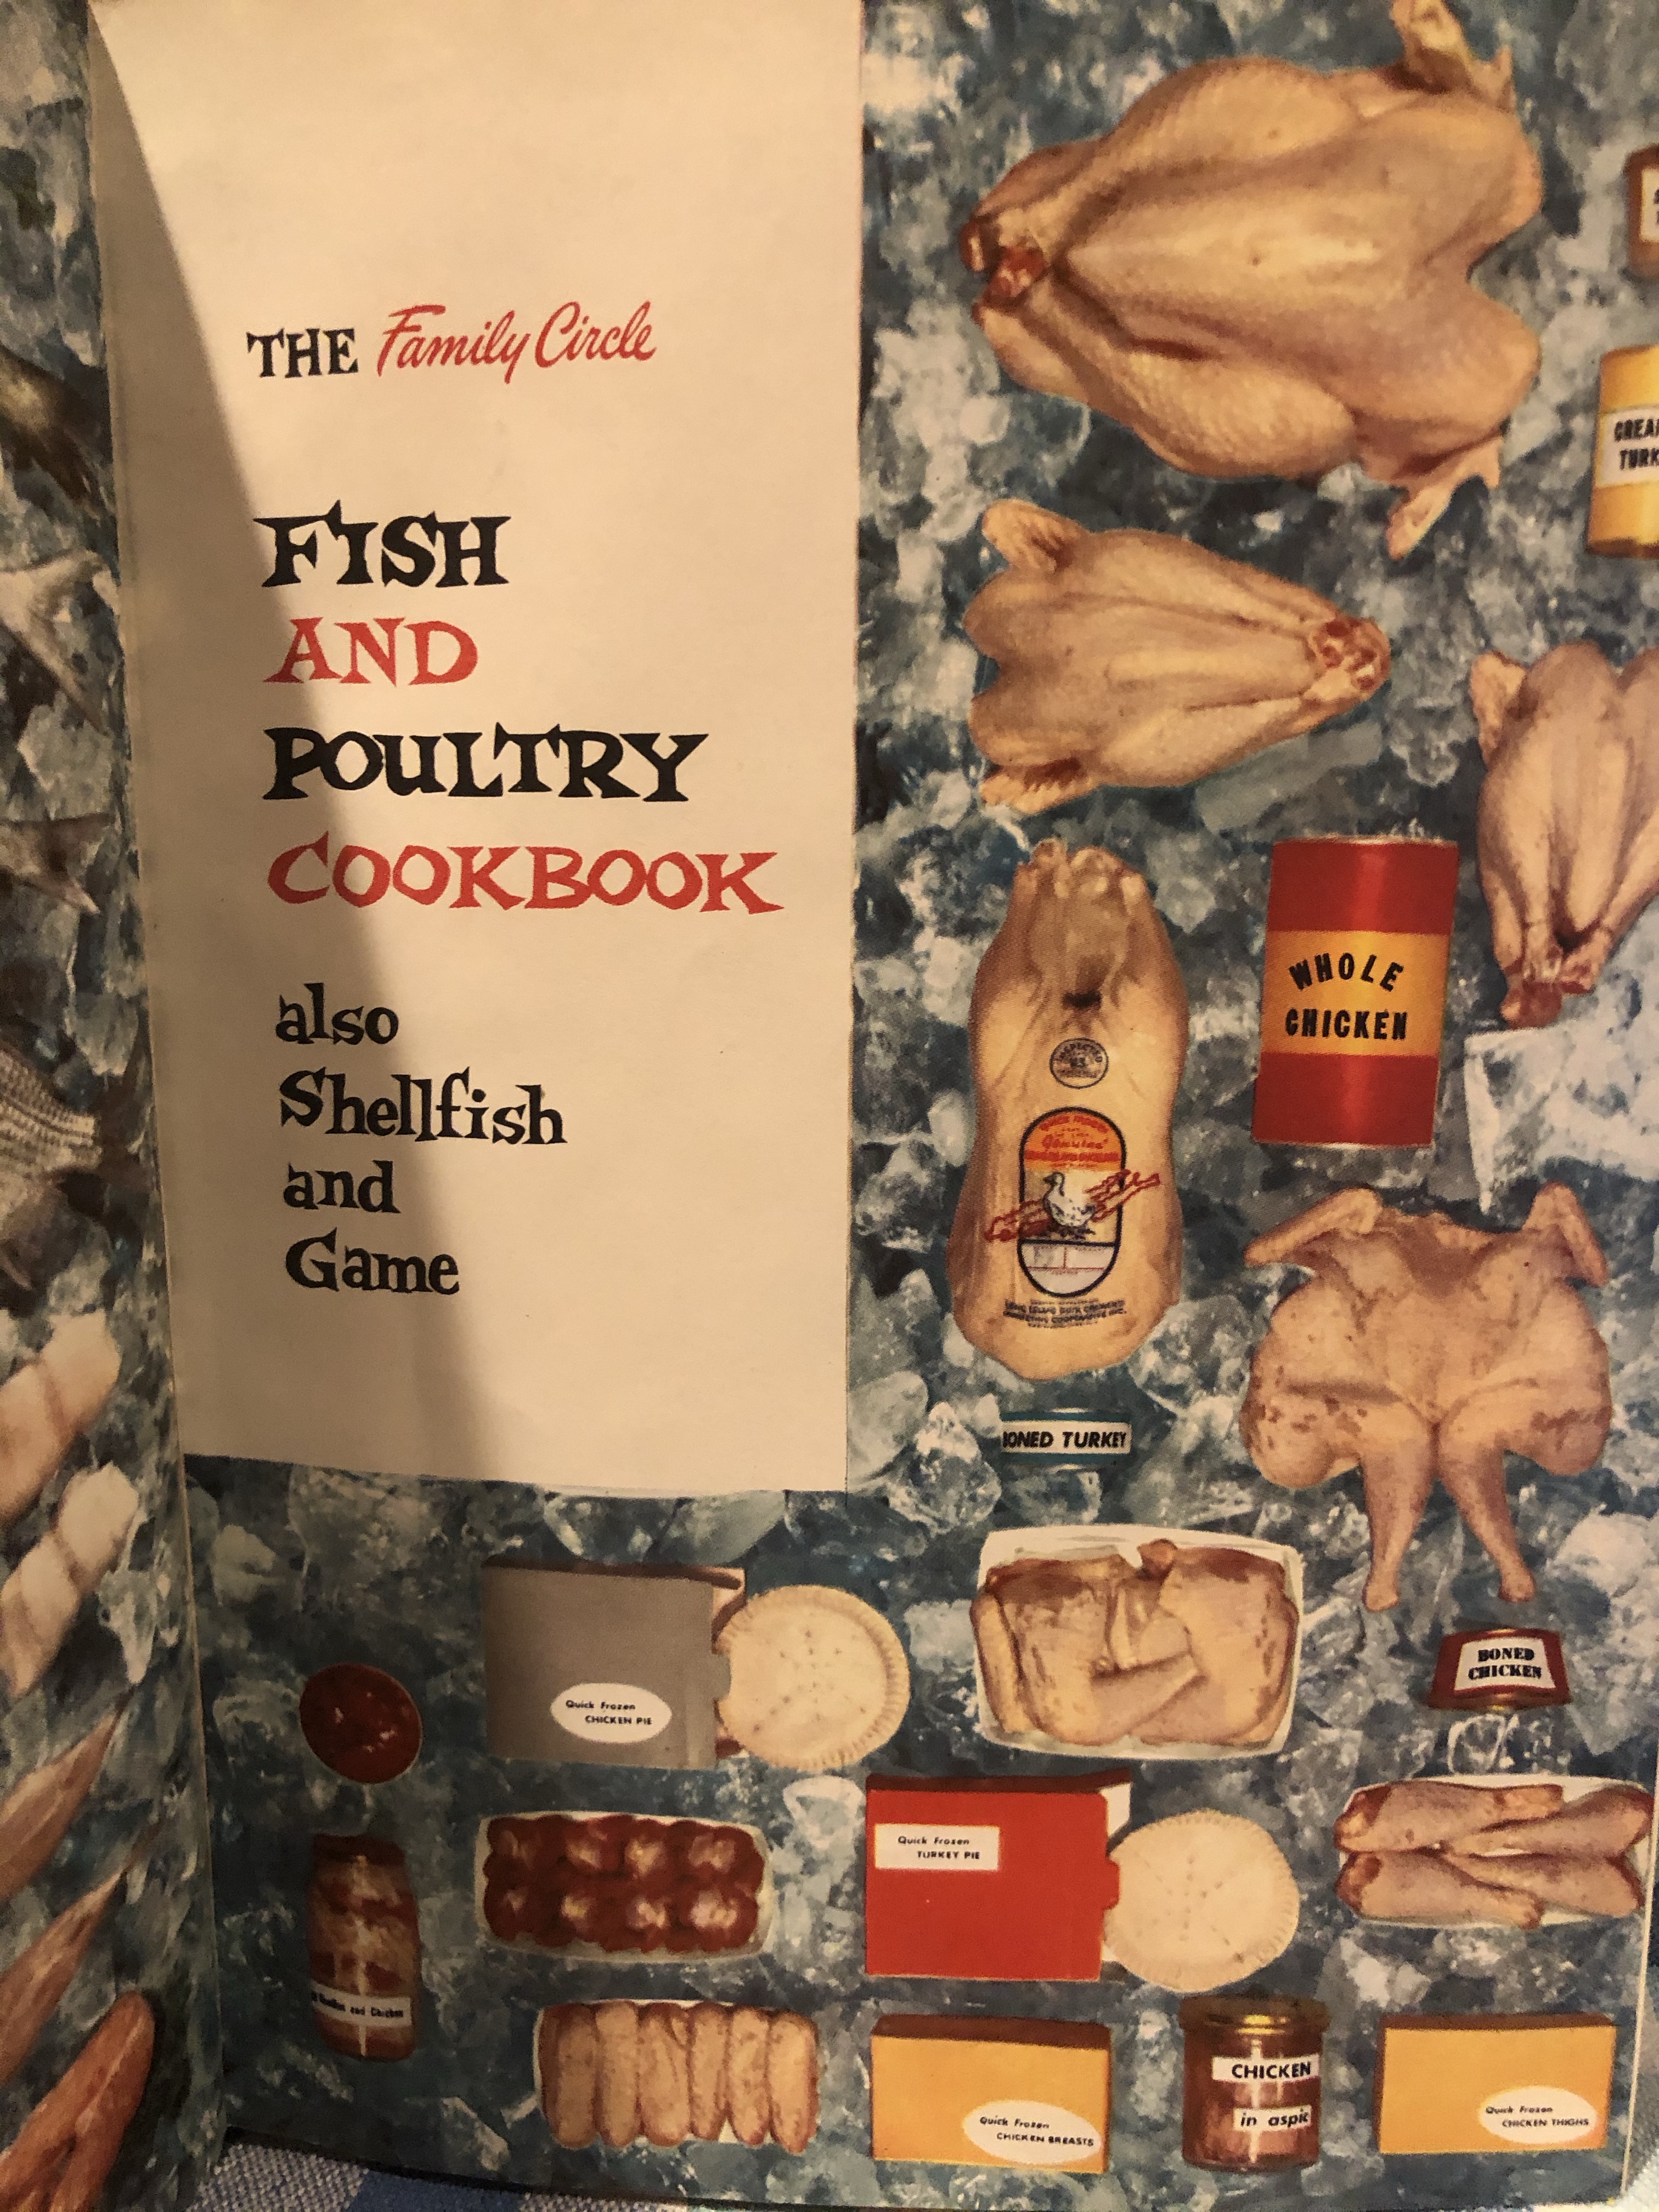
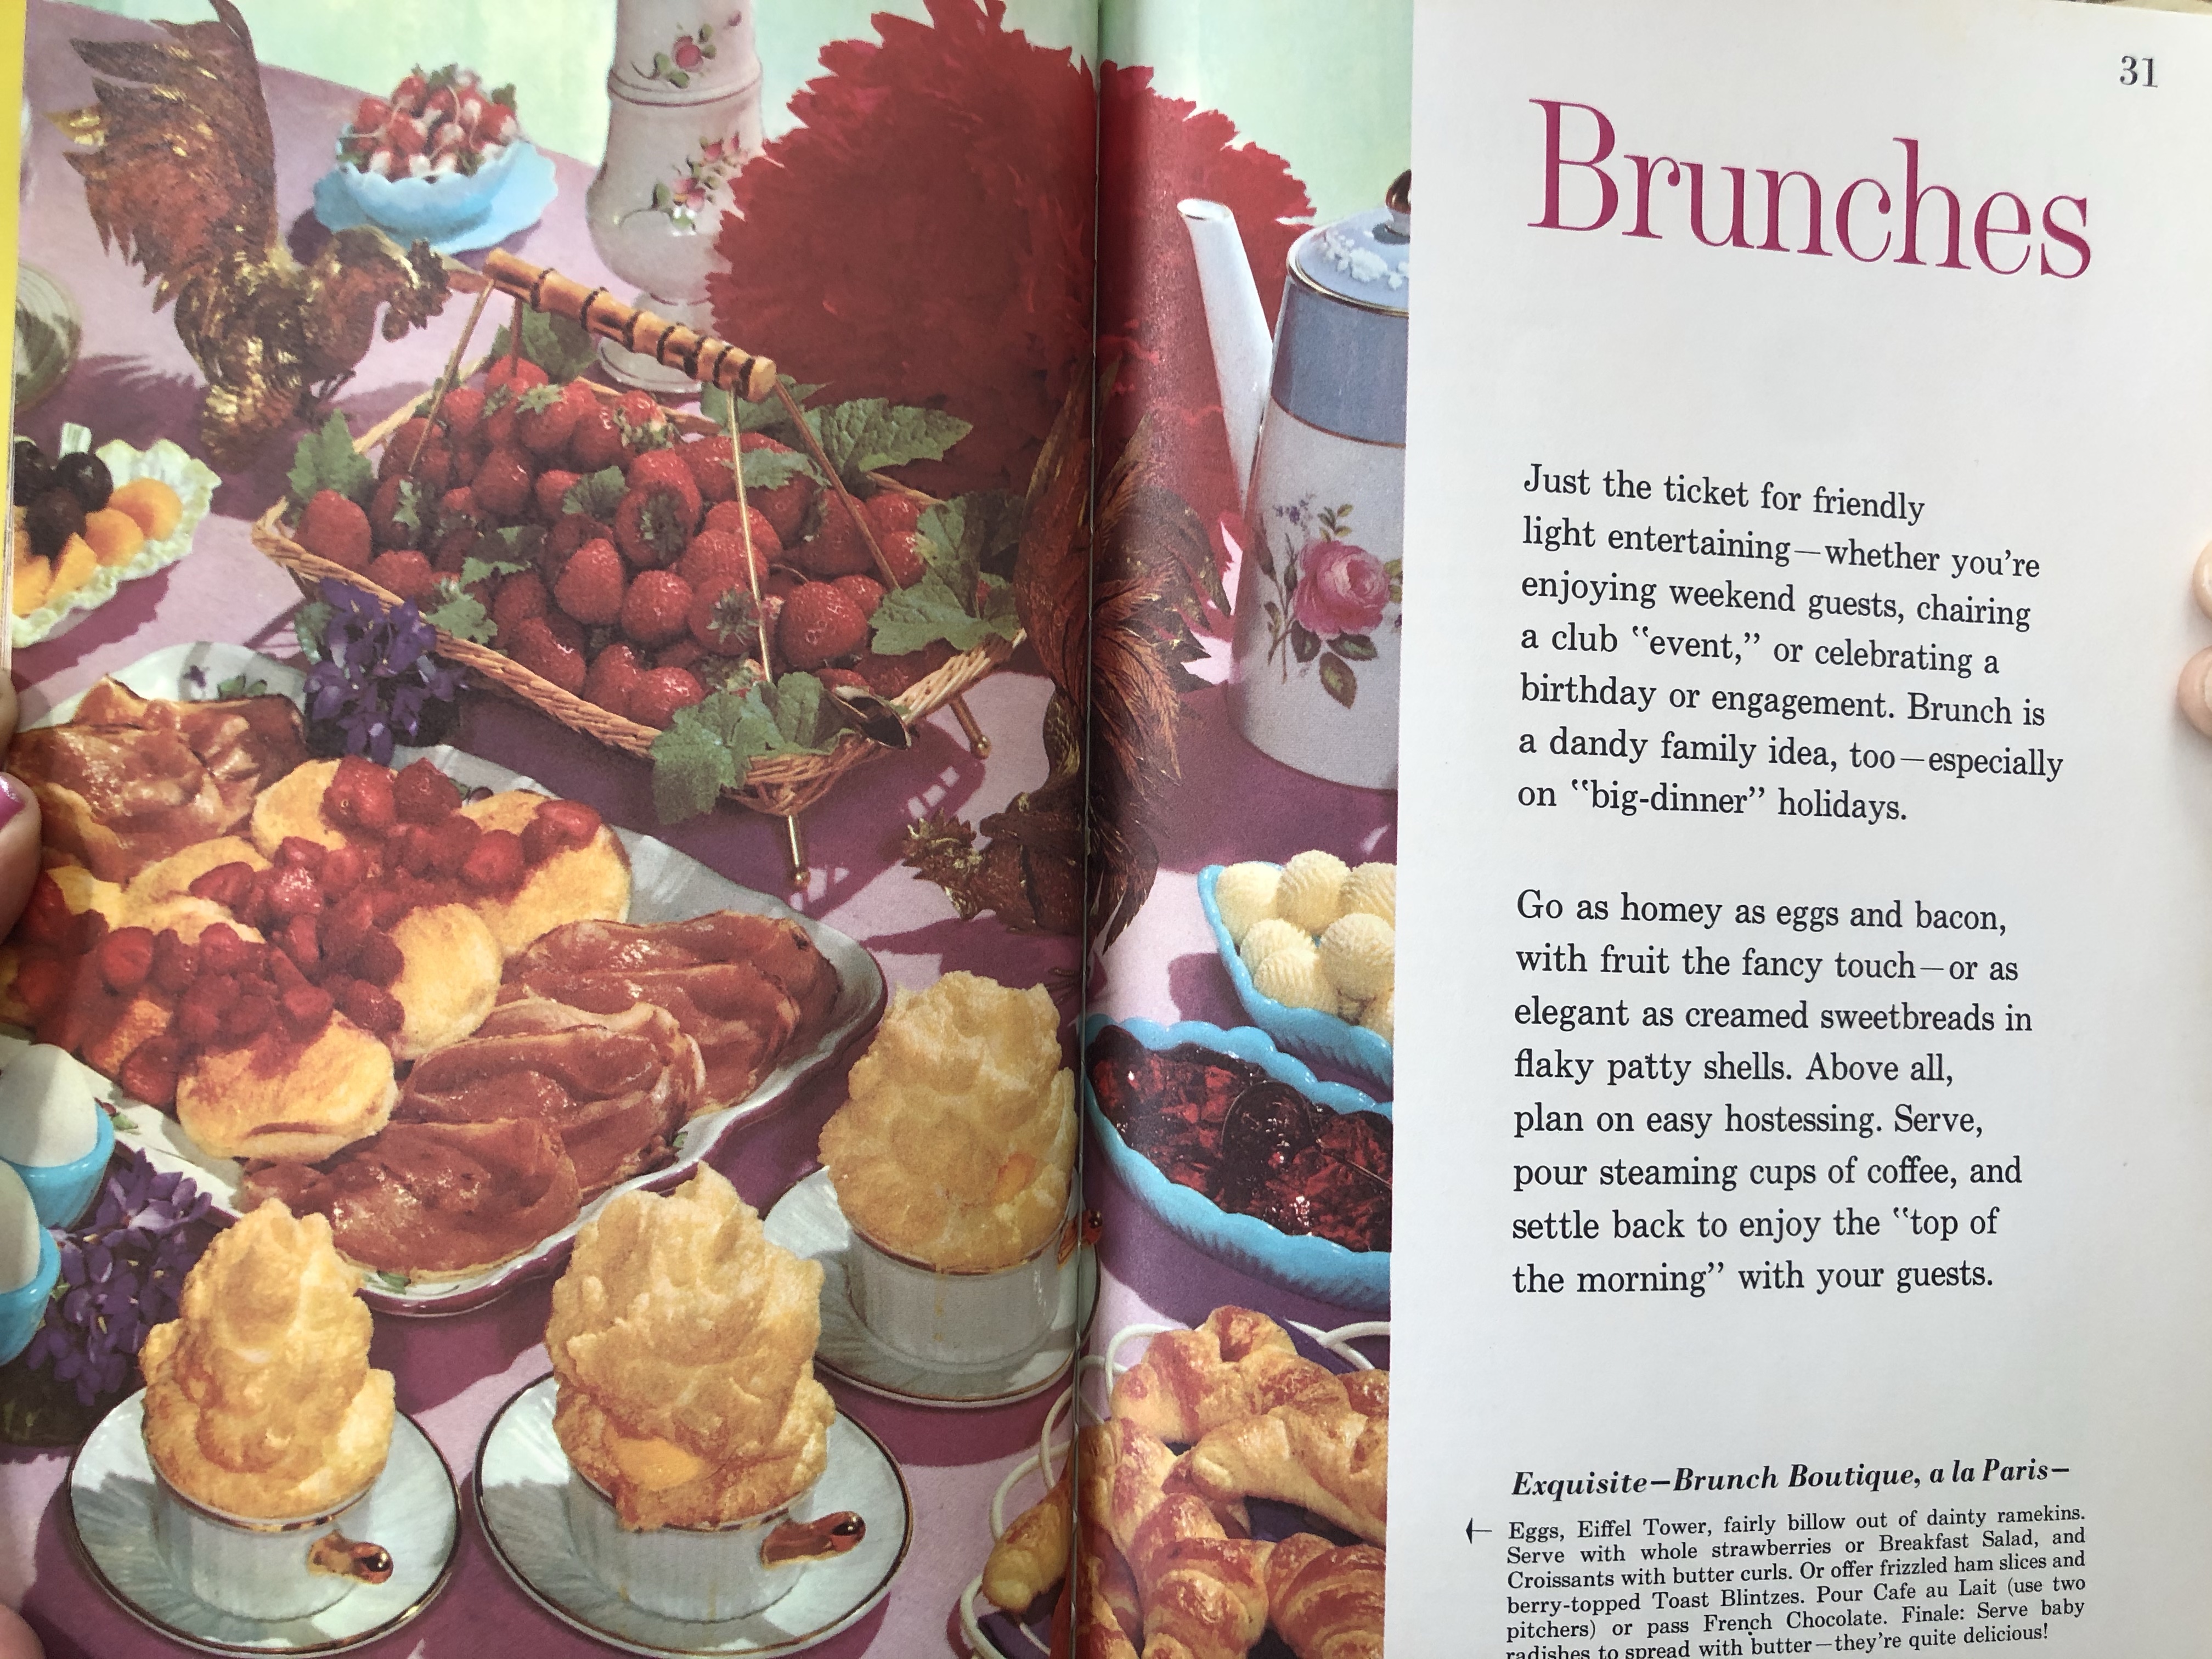
I’ve said it before, and I’ll say it again – I love this cookbook. Not only is it a fantastic resource for any home cook looking for literally any recipe, but the illustrations and photographs are everything you’d look for in a mid-century cookbook. They look both appetizing and disgusting, all at once!

Check out more recipes in the Mary Margaret McBride Collection here!
The Recipe!
Ingredients:
1 1/2 cups sifted enriched flour
2 1/2 t baking powder
3 T granulated sugar
3/4 t salt
2 eggs, separated
1 cup milk
3 T melted shortening
1 cup blueberries
Melted butter
Brown sugar
Directions:
Sift dry ingredients together. Beat egg yolks with rotary beater; combine with milk and shortening.
Add to dry ingredients and mix until smooth. Stir in blueberries. Then fold in stiffly beaten egg whites.
Bake on hot, greased griddle. Serve with melted butter, and sprinkle with brown sugar. Makes 12 3-inch pancakes.