A Recipe from Better Homes and Gardens (1951)
About the Recipe
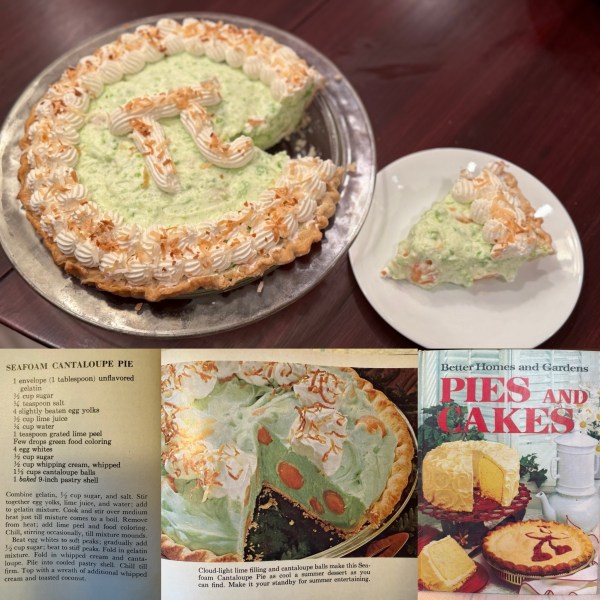
It’s Pi(e) Day 2026! I always like to make a savory pie to go along with the sweet. Honestly, this year I was at a little bit of a loss. I kept looking through book after book, but nothing was inspiring me. At the same time, I was thinking of my grandma, who passed away a few months ago. Pies always make me think of her. Some of my earliest baking memories are rolling pie dough in her kitchen. So I picked up the Better Homes and Gardens that she gifted me. And what a gift it turned out to be.
This recipe is deceptively simple, and would be so easy to adapt depending on your circumstances. Have access to fresh green beans? Steam them quickly and pop them in! Don’t want to spend time boiling potatoes? Use instant! Not a red meat eater? Use ground turkey! No matter how you choose to make it, this one will turn out delicious.
For more Pi(e) Day recipes, click here!
About the book
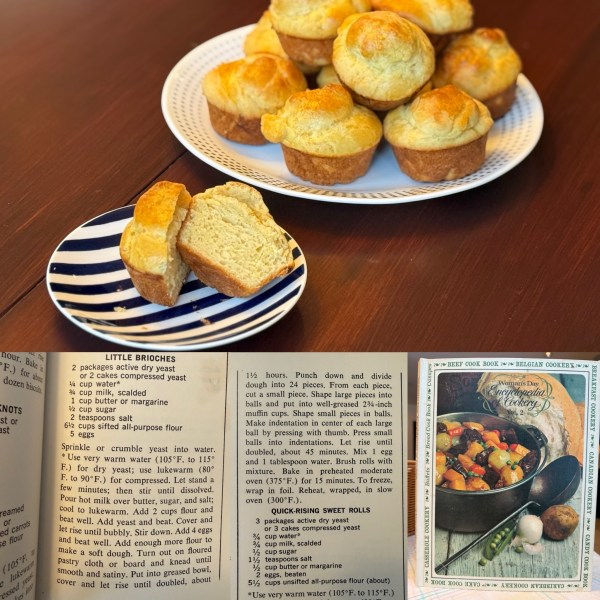
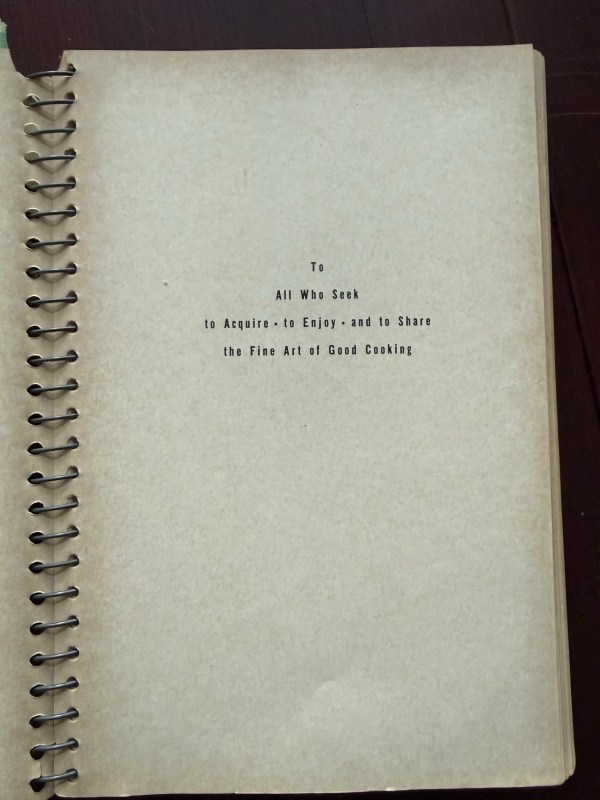
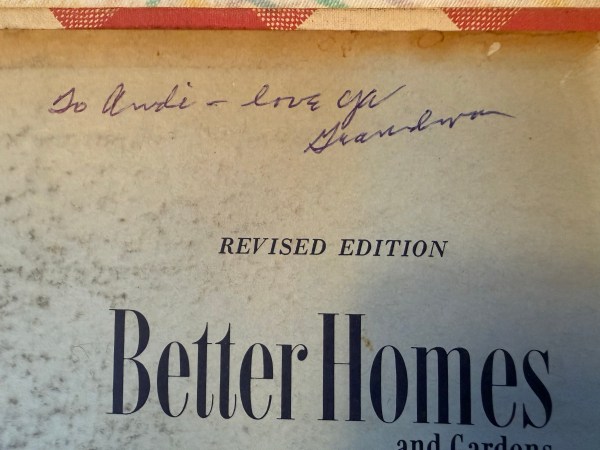
My grandma gave me this book several years ago. It was a gift to her when she married my grandpa Marvin, after whom I’m named. It’s stuffed to the gills with updated pages and little notes. She left a page of lined notebook in the front where she wrote down (and crossed out) recipes that she tried. And most importantly, there’s this inscription:
The Recipe!
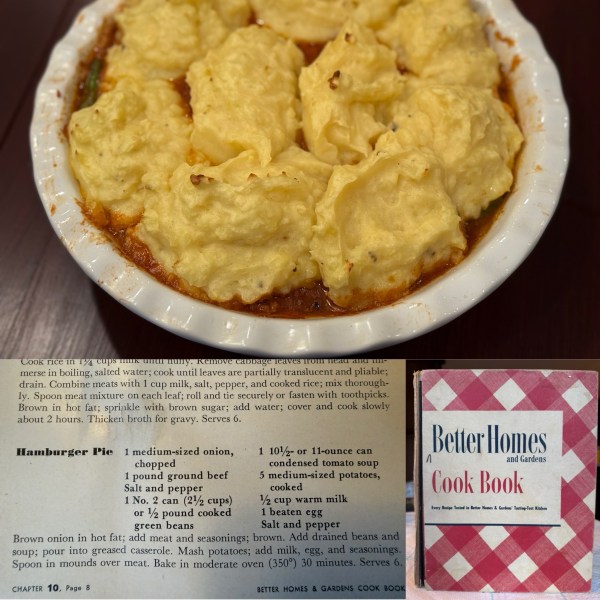
Ingredients:
1 medium-sized onion, chopped
1 pound ground beef
salt and pepper
1 No. 2 can (2 1/2 cups) or 1/2 pound cooked green beans
1 10.5 or 11-ounce can condensed tomato soup
5 medium-sized potatoes, cooked
1/2 cup warm milk
1 beaten egg
salt and pepper
Directions:
Brown onion in hot fat; add meat and seasonings; brown. Add drained beans and soup; pour into greased casserole. Mash potatoes; add milk, egg, and seasonings. Spoon in mounds over meat. Bake in moderate oven (350*F) 30 minutes. Serves 6.