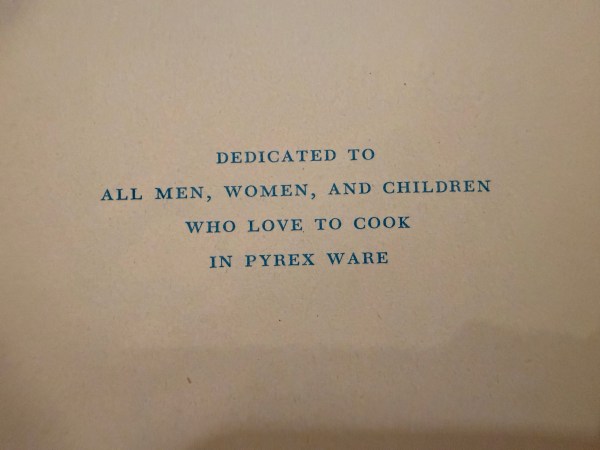
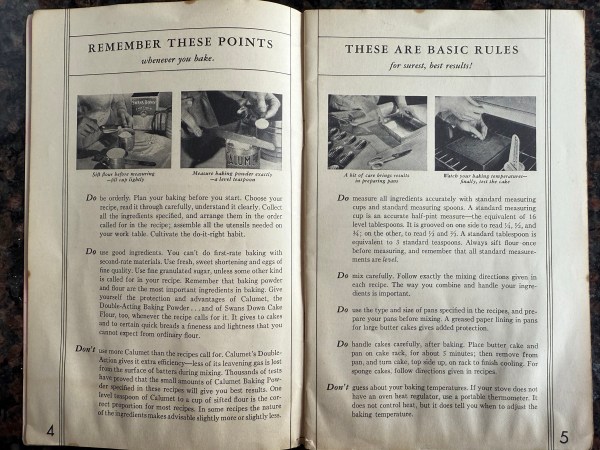
A Recipe from Pyrex Prize Recipes (1953)
About the Recipe
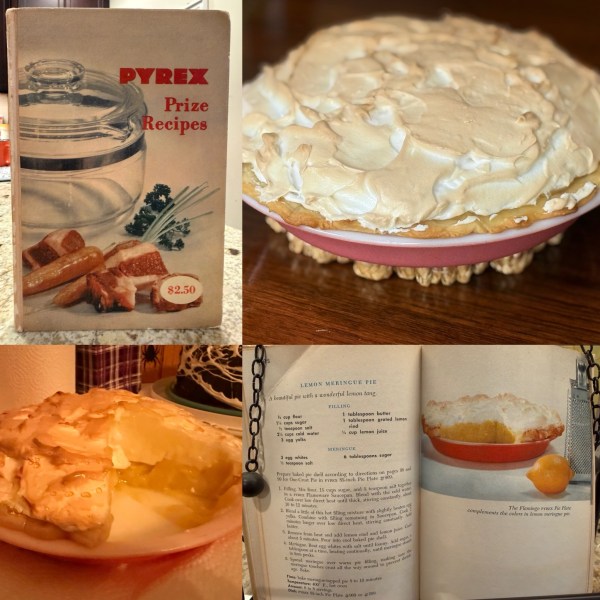
I have a confession to make: This was my first lemon meringue pie. I know! Crazy! But when two of my best friends requested one for their birthday, how could I refuse? And this – this is an amazing pie. Plus, I had exactly the prescribed pie plate in my Pyrex collection.
The part I found the most challenging was actually adding the meringue to the top of the pie. If you do it right and get your nice, glossy, stiff peaks, it’s incredibly hard to spread. I’ll probably pipe it in the future, just to make it a little easier. Though I do love the rustic look that came out of just plopping it on and filling in gaps.
A few quick tips to help your pie come out as beautifully as mine did:
- Separate your eggs when they’re cold, then let them come to room temperature. It will help to keep your yolks from scrambling when you’re making the custard, and it will make a more successful meringue.
- I added just a touch (maybe half or quarter of a teaspoon) of cream of tartar to my meringue to help it to hold its structure.
- Take your time. No really – take your time. When you’re cooking the flour, sugar, and water it may take more than 12 minutes. It’s okay. Wait until it gets really nice and thick or your custard won’t set. Make sure you’re scraping the bottom. I used a spoon, but a rubber, heat-resistant spatula will work well for this.
- Do your mise en place for this one. You’ll need ingredients quickly, and will not be able to walk away from stirring your custard to grab something.
Lemon meringue pies can be daunting. I get it. But it give it a whirl! There’s nothing like meeting a baking challenge and enjoying the fruits (or lemons!) of your labor.
About the book
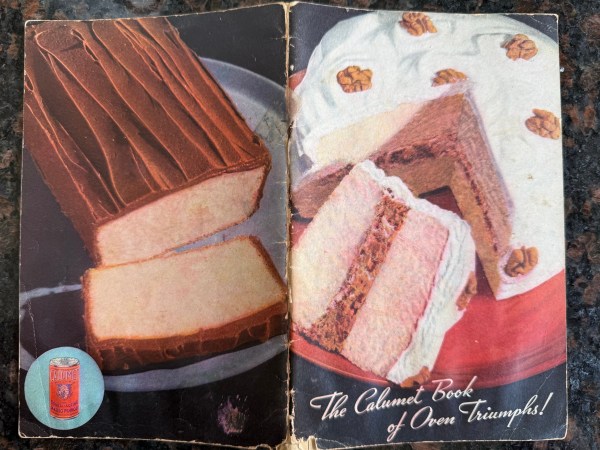
I love this little book. It’s a little love story for anyone who has these beautiful pieces of glassware in their home. Each recipe recommends a specific dish to use to make sure your recipe comes out perfectly. It makes good use of everything from the coffee pots to the Flameware to the little Flamingo Pie Plate I got to use for this pie. Enjoy a little bit more of the goodness from Pyrex Prize Recipes:


The Recipe!
Ingredients:
FILLING:
2/3 cup flour
1 1/4 cups sugar
1/2 t salt
2 1/4 cups cold water
3 egg yolks
1 T butter
1 T grated lemon rind
1/3 cup lemon juice
MERINGUE:
3 egg whites
1/2 t salt
6 T sugar
Directions:
Prepare baked pie shell according to directions in your favorite recipe or pre-made crust in PYREX 8 1/2-inch Pie Plate #909
- Filling. Mix flour, sugar, and salt together in a PYREX Flameware Saucepan. Blend with the cold water. Cook over low direct heat until thick, stirring constantly, about 10 to 12 minutes.
- Blend a little of this hot filling mixture with slightly beaten egg yolks. Combine with filling remaining in Saucepan. Cook 2 minutes longer over low direct heat, stirring constantly. Add butter.
- Remove from heat and add lemon rind and lemon juice. Cool about 5 minutes. Pour into cool baked pie shell.
- Meringue. Beat egg whites with salt until foamy. Add sugar, a tablespoon at a time, beating continually, until meringue stands in firm peaks.
- Spread meringue over warm pie filling, making sure the meringue touches crust all the way around to prevent shrinkage. Bake.
Time: bake meringue-topped pie 8-10 minutes
Temperature: 400*F hot oven
Amount: 6-8 servings
Dish: PYREX 8 1/2-inch Pie Plate #909 or #209