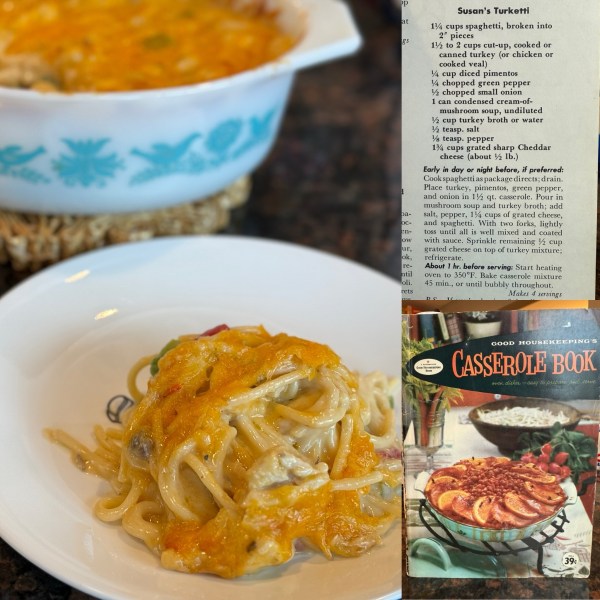
A Recipe from Good Housekeeping’s Casserole Book (1958)
About the Recipe
Today is husband’s birthday! In honor of his day, we have another Husband’s Choice. This one is a play on turkey tetrazzini – pasta and turkey in a warm, savory sauce topped with cheese. Y’all know I love a casserole, and this one is pure magic. It’s a make-ahead, so I made it on a Sunday afternoon when I had some time. The time spent in the refrigerator allows the pasta to really soak up the broth and soup. The result is a super savory, comfort casserole, perfect for a cozy family dinner.
The “Susan” mentioned here is yet another fictional cook that came out of this advertising trend. She’s a teen cook who loves to whip up easy to follow recipes in the kitchen. My feeling is that any recipe labeled with Susan’s name is probably a little bit more simple than the average recipe in this book. But that’s just my gut feeling. If anyone has any more information about Susan, I’d love to hear about it!
A few quick notes to help make it amazing:
– I used turkey breasts that I marinated in salt, pepper, and a little bit of olive oil for a few hours before cooking them up in a skillet. You could also use Thanksgiving leftovers or rotisserie chicken to make this really quick and easy.
– Any short pasta will work in this recipe. Don’t use the full strands of spaghetti without breaking them as it’ll be difficult to mix and serve.
– Any sort of broth will work in this recipe as well, including a bullion cube dissolved in water. I love Penzey’s soup bases and use the turkey one for literally every recipe that calls for a poultry based broth.
– Because I salted my turkey and the broth and mushroom soup are already high in sodium, I didn’t add the additional salt in the recipe. Trust me when I say it was salty enough.
For more Husband’s Choice recipes, click here!
About the book
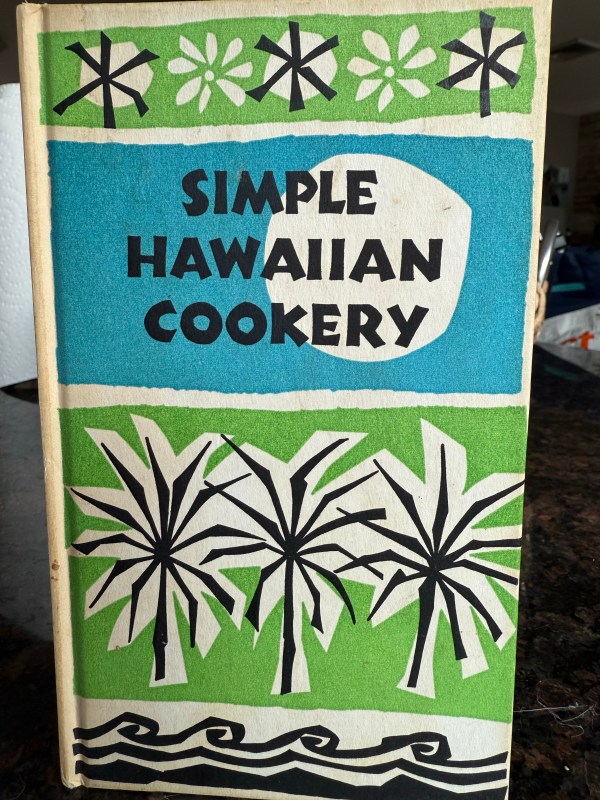
I love these little Good Housekeeping booklets. They’re the ones that used to live in the grocery store aisles. There’s a whole set of them, and usually you see them at antique or vintage stores for $1 or so each. If you see one, grab it. The recipes are easy to follow and use common ingredients. The illustrations are so mid-century it hurts.
The Recipe!
Ingredients:
1 1/4 cups (about 3 oz.) spaghetti, broken into 2″ pieces
1 1/2 to 2 cups cut-up, cooked or canned turkey (or chicken or cooked veal)
1/4 cup diced pimentos
1/4 chopped green pepper
1/2 chopped small onion
1 can condensed cream-of-mushroom soup, undiluted
1/2 cup turkey broth or water
1/2 t salt
1/8 t pepper
1 3/4 cups grated sharp cheddar cheese (about 1/2 lb.), divided
Directions:
Early in the day or night before, if preferred:
Cook spaghetti as package directs; drain. Place turkey, pimentos, green pepper, and onion in 1 1/2 quart casserole. Pour in mushroom soup and turkey broth; add salt, pepper, 1 1/4 cups of grated cheese, and spaghetti. With two forks, lightly toss until all is well mixed and coated with sauce. Sprinkle remaining 1/2 cup grated cheese on top of turkey mixture; refrigerate.
About 1 hour before serving:
Start heating oven to 350*F. Bake casserole mixture 45 min, or until bubbly throughout. Makes 4 servings
PS. – If you’re having 8 for dinner or a help-yourself supper, early in day make twice above recipe, using 3-qt casserole; refrigerate. At mealtime, bake about 1 hr. or until bubbling hot.